Your windows are the biggest screens you own. From the outside, every lit window is a glowing rectangle that passersby can’t help but look at. From the inside, windows are dark voids where anything might be looking in. Either way, windows are powerful decorating surfaces that most people ignore in favor of more props on the lawn.
A well-designed window display works 24 hours a day. During daylight, silhouettes and clings are visible. After dark, lighting effects, projections, and backlighting take over. And unlike yard decorations, window displays are fully weather-protected.
Silhouette Techniques
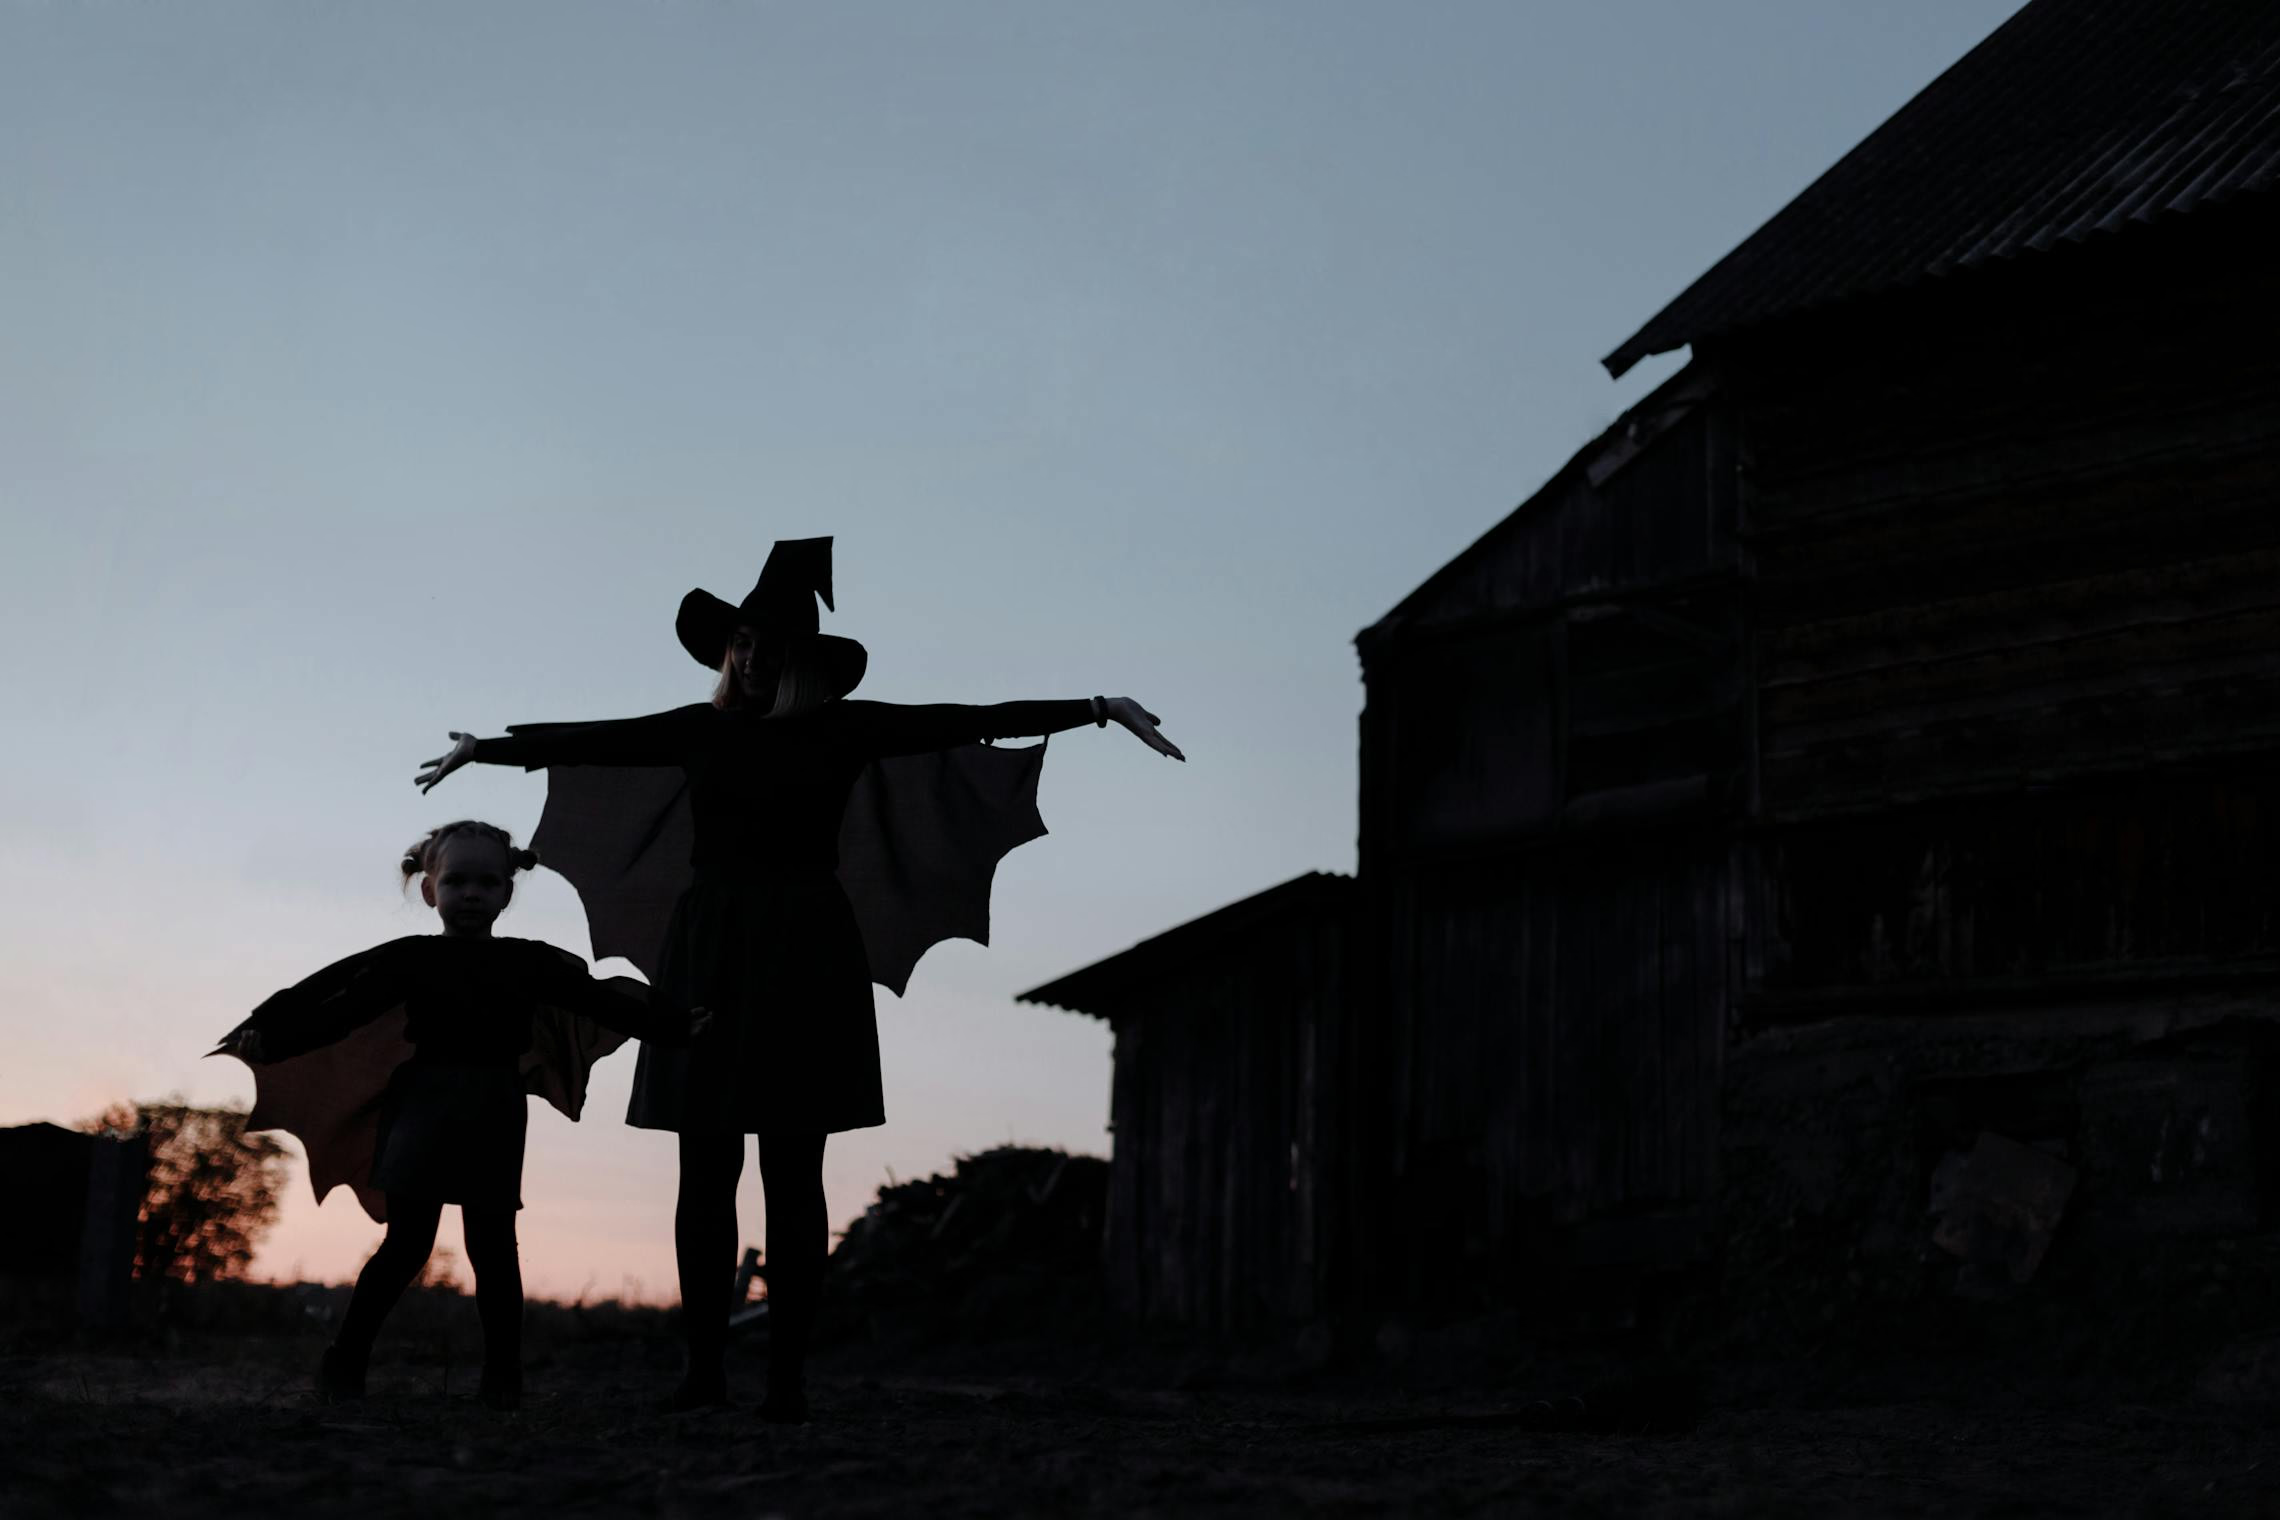
Silhouettes are the oldest and most effective window decoration. A black shape against a lit background is immediately readable, even from across the street. Your brain fills in the details that the silhouette doesn’t provide, which is exactly why silhouettes are scarier than detailed props. The viewer’s imagination does the work.
Cardboard Cutouts
The most accessible method. Buy or scavenge large sheets of cardboard (appliance boxes from a hardware store are free and huge). Draw your design on the cardboard with a marker, cut it out with a box cutter, and tape it to the inside of the window.
Design tips: Keep shapes simple and recognizable. A witch’s profile with a pointed hat, a cat arching its back, a bare tree with gnarled branches, a hand reaching upward, a raven perched on a branch. Avoid complex or ambiguous shapes. If someone can’t identify it from 30 feet away in two seconds, simplify it.
Sizing: Measure your window first. A silhouette should fill at least 60-70% of the window’s height to register from the street. A 12-inch spider in a 48-inch window looks like a mistake. A 36-inch spider in the same window looks intentional.
Black is best. Paint the cardboard with flat black spray paint or cover it with black contact paper for a cleaner edge. Brown cardboard works in a pinch, but it’s translucent when backlit, which softens the silhouette’s impact.
Foam Board Cutouts
For cleaner edges and stiffer shapes, use foam board (the rigid white stuff from craft stores). It’s easier to cut precisely than cardboard, and it holds its shape against the window without sagging. Paint one side flat black. A 20x30 inch sheet costs $2-3 at most craft stores.
Vinyl/Contact Paper Silhouettes
For permanent-feeling precision, cut shapes from black contact paper (adhesive vinyl) and apply directly to the window glass. This creates a crisp, professional-looking silhouette with no tape, no sagging, and easy removal. Use a craft cutting machine (Cricut, Silhouette) for complex shapes, or cut simple ones by hand.
Projected Effects
Window projections have exploded in popularity, and for good reason. A projected video on a window creates animated effects that no static prop can match: floating ghosts, creeping spiders, dancing skeletons, swirling portals.
How It Works
A projector inside your house points at a window covered with a rear-projection screen (or a white sheet). The image appears on the window surface, visible from outside. From the street, it looks like something is happening inside your house.
The Screen
The critical component. Options, from cheapest to best:
- White bedsheet ($5 thrift store find). Stretch it flat across the window frame. Works, but the image is dim and the fabric texture is visible up close.
- White shower curtain liner ($3). The frosted plastic diffuses light well. Tape it taut to the inside of the window frame.
- Professional rear-projection screen material ($15-30 for a window-sized piece). The sharpest image and best light diffusion. Worth the investment if you project every year.
- Holographic mesh ($20-40). Transparent mesh that catches projected light while remaining partially see-through. Creates a “floating image” effect because viewers can still see through the mesh to the dark room behind it.
The Projector
Any projector works, but brightness matters. For a window that faces a lit street, you need at least 2,000 lumens. For a window on a dark side of the house, 1,000-1,500 lumens is enough. Cheap mini projectors ($40-80) work for a single window. Position the projector 4-8 feet from the window, centered on the screen, and adjust the keystone to fill the screen evenly.
The Content
Halloween projection loops are available on YouTube (search “Halloween window projection loop”), as paid downloads from sites like AtmosFX, and as free community-made clips. The paid options (AtmosFX is the market leader) are significantly better than free alternatives. Their effects are designed specifically for window projection, with proper scaling, looping, and transparency.
Set the projection to loop on a media player (an old laptop, a streaming stick, or a dedicated media player connected to the projector) and let it run all night.
Backlighting
Backlighting is simpler than projection and creates a different effect. Instead of animated images, you get a glowing window with shapes silhouetted against the light.
Single-Color Backlighting
Place a bright lamp or LED flood inside the room, 3-5 feet behind the window, pointed directly at it. Cover the lamp with a color gel filter (orange, red, purple, green) or use a colored LED bulb. Close any blinds, curtains, or sheers halfway to diffuse the light. From outside, the window glows with solid color, and any silhouettes you’ve placed on the glass stand out sharply.
Best colors for backlighting: Orange (warm, inviting, classic). Purple (eerie, unusual). Red (aggressive, menacing). Green (unnatural, toxic). Avoid white backlighting unless you’re using it specifically for silhouettes, as it just looks like someone left the lights on.
Flickering Backlighting
Replace the static light with a flickering LED candle lamp, a “flame effect” bulb, or a standard bulb plugged into a flicker adapter ($5-8 at hardware stores). The flickering creates a “firelight inside the house” effect that’s more dynamic than a static glow. Pair with branch silhouettes for a “fire in the haunted house” look.
Color Gel Filters
Color gels are thin, heat-resistant plastic sheets that change the color of any light source. They’re used in theater and film production, and they cost $3-8 per sheet. One sheet covers a standard window-mounted clip lamp.
Where to buy: Stage lighting suppliers sell sample packs with 50+ colors. Amazon and theater supply stores carry individual sheets. Rosco and Lee Filters are the major brands.
How to use: Cut the gel to size and clip, tape, or rubber-band it over a lamp shade, a clip lamp, or a flood light. The gel sits between the light source and the window. For large windows, use multiple lamps with the same gel color for even coverage.
Best gel colors for Halloween:
- Rosco #23 (Orange) or Lee #105 (Orange): Classic Halloween glow
- Rosco #58 (Deep Lavender) or Lee #180 (Dark Lavender): Rich purple
- Rosco #27 (Medium Red): Blood red without being too dark
- Rosco #89 (Moss Green): Sickly, swamp green
Moving Shadows
Shadows that move create a sense of life (or un-life) behind the window. You don’t need projections to achieve this.
The Fan Method
Hang lightweight shapes (paper bats, fabric ghosts, cardboard spiders) from the ceiling inside the room, between the backlight and the window. Point a slow oscillating fan at them. As the shapes sway and rotate, their shadows move across the backlit window. From outside, it looks like things are flying or crawling inside the room.
The Turntable Method
Mount cutout shapes on a lazy Susan or a cheap battery-powered turntable. Place it between the backlight and the window. As the shapes rotate, their shadows sweep continuously across the window surface. A single rotating tree branch creates the effect of swaying, windblown trees.
The Actor Method
For a one-night performance (your party night), have someone stand in the backlit room and slowly move. From outside, all passersby see is a silhouette moving behind the glass. Have the person stop for long periods, then move suddenly. Pair with another silhouette that appears to approach or flee.
Window Clings Done Right
Window clings are the fast-food of Halloween window decorating: quick, cheap, and usually disappointing. Most store-bought clings look exactly like what they are, vinyl stickers from a dollar store. But clings can work if you follow two rules:
Rule 1: Scale up. Small clings scattered randomly across a window look like stickers. Large clings that span half the window or more look like a design choice. A single 24-inch spider cling centered on a window is better than twelve 3-inch spider clings scattered around it.
Rule 2: Use them as part of a composition, not as the whole composition. A spider cling on a window that’s also backlit in green, with cobwebs in the corners and a flickering light behind it, looks like a scene. A spider cling on an otherwise normal window looks like you went to the dollar store on October 29th.
The best use of clings is as accent pieces within a backlit or projected display. They add foreground detail to a scene that’s already working.
Putting It All Together: A Window-by-Window Strategy
For a house with multiple street-facing windows, vary the treatment:
- Window 1 (largest): Projection loop with atmospheric effects (floating ghosts, swirling fog)
- Window 2: Orange backlit silhouette scene (witch, cauldron, cat)
- Window 3: Green or purple backlighting with moving shadows (fan method)
- Window 4 (smallest or side window): Flickering red backlight with a single hand silhouette pressed against the glass
The variety keeps the eye moving from window to window. Every window telling the same story is less interesting than each window telling a different chapter.