The Art of the Jump Scare Part 2: Timing and Placement
A scare in the wrong place is wasted. A scare at the wrong time is a dud. Professional haunt designers spend more time on layout and timing than on any individual prop, because placement determines whether a $1,000 animatronic gets a scream or a shrug. The same principles apply to your front-yard walkthrough or garage haunt.
The Rule of Three: Safe, Safe, Scare
Humans are pattern-recognition machines. After two encounters with the same type of stimulus, the brain predicts a third and relaxes its guard. The rule of three exploits this.
The setup: The guest encounters a potential scare location. Nothing happens. Safe. They encounter a second one. Nothing happens. Safe. The brain downgrades the threat level. Then the third one fires.
In practice: Three doorways in a hallway. The first two are empty. The third has the actor. Or: three identical tombstones along a path. The first two are static. The third is a pop-up.
Variations:
- Fire the first one, skip the second (establishing a pattern of alternating), then fire the third. The guest expected it on even numbers and got it on odd.
- Fire the first one early (startling but weak), skip the second and third (building tension through the absence), then fire a much larger scare from a completely different direction.
The rule of three isn’t rigid. It’s a framework for understanding that patterns create expectations, and broken expectations create scares.
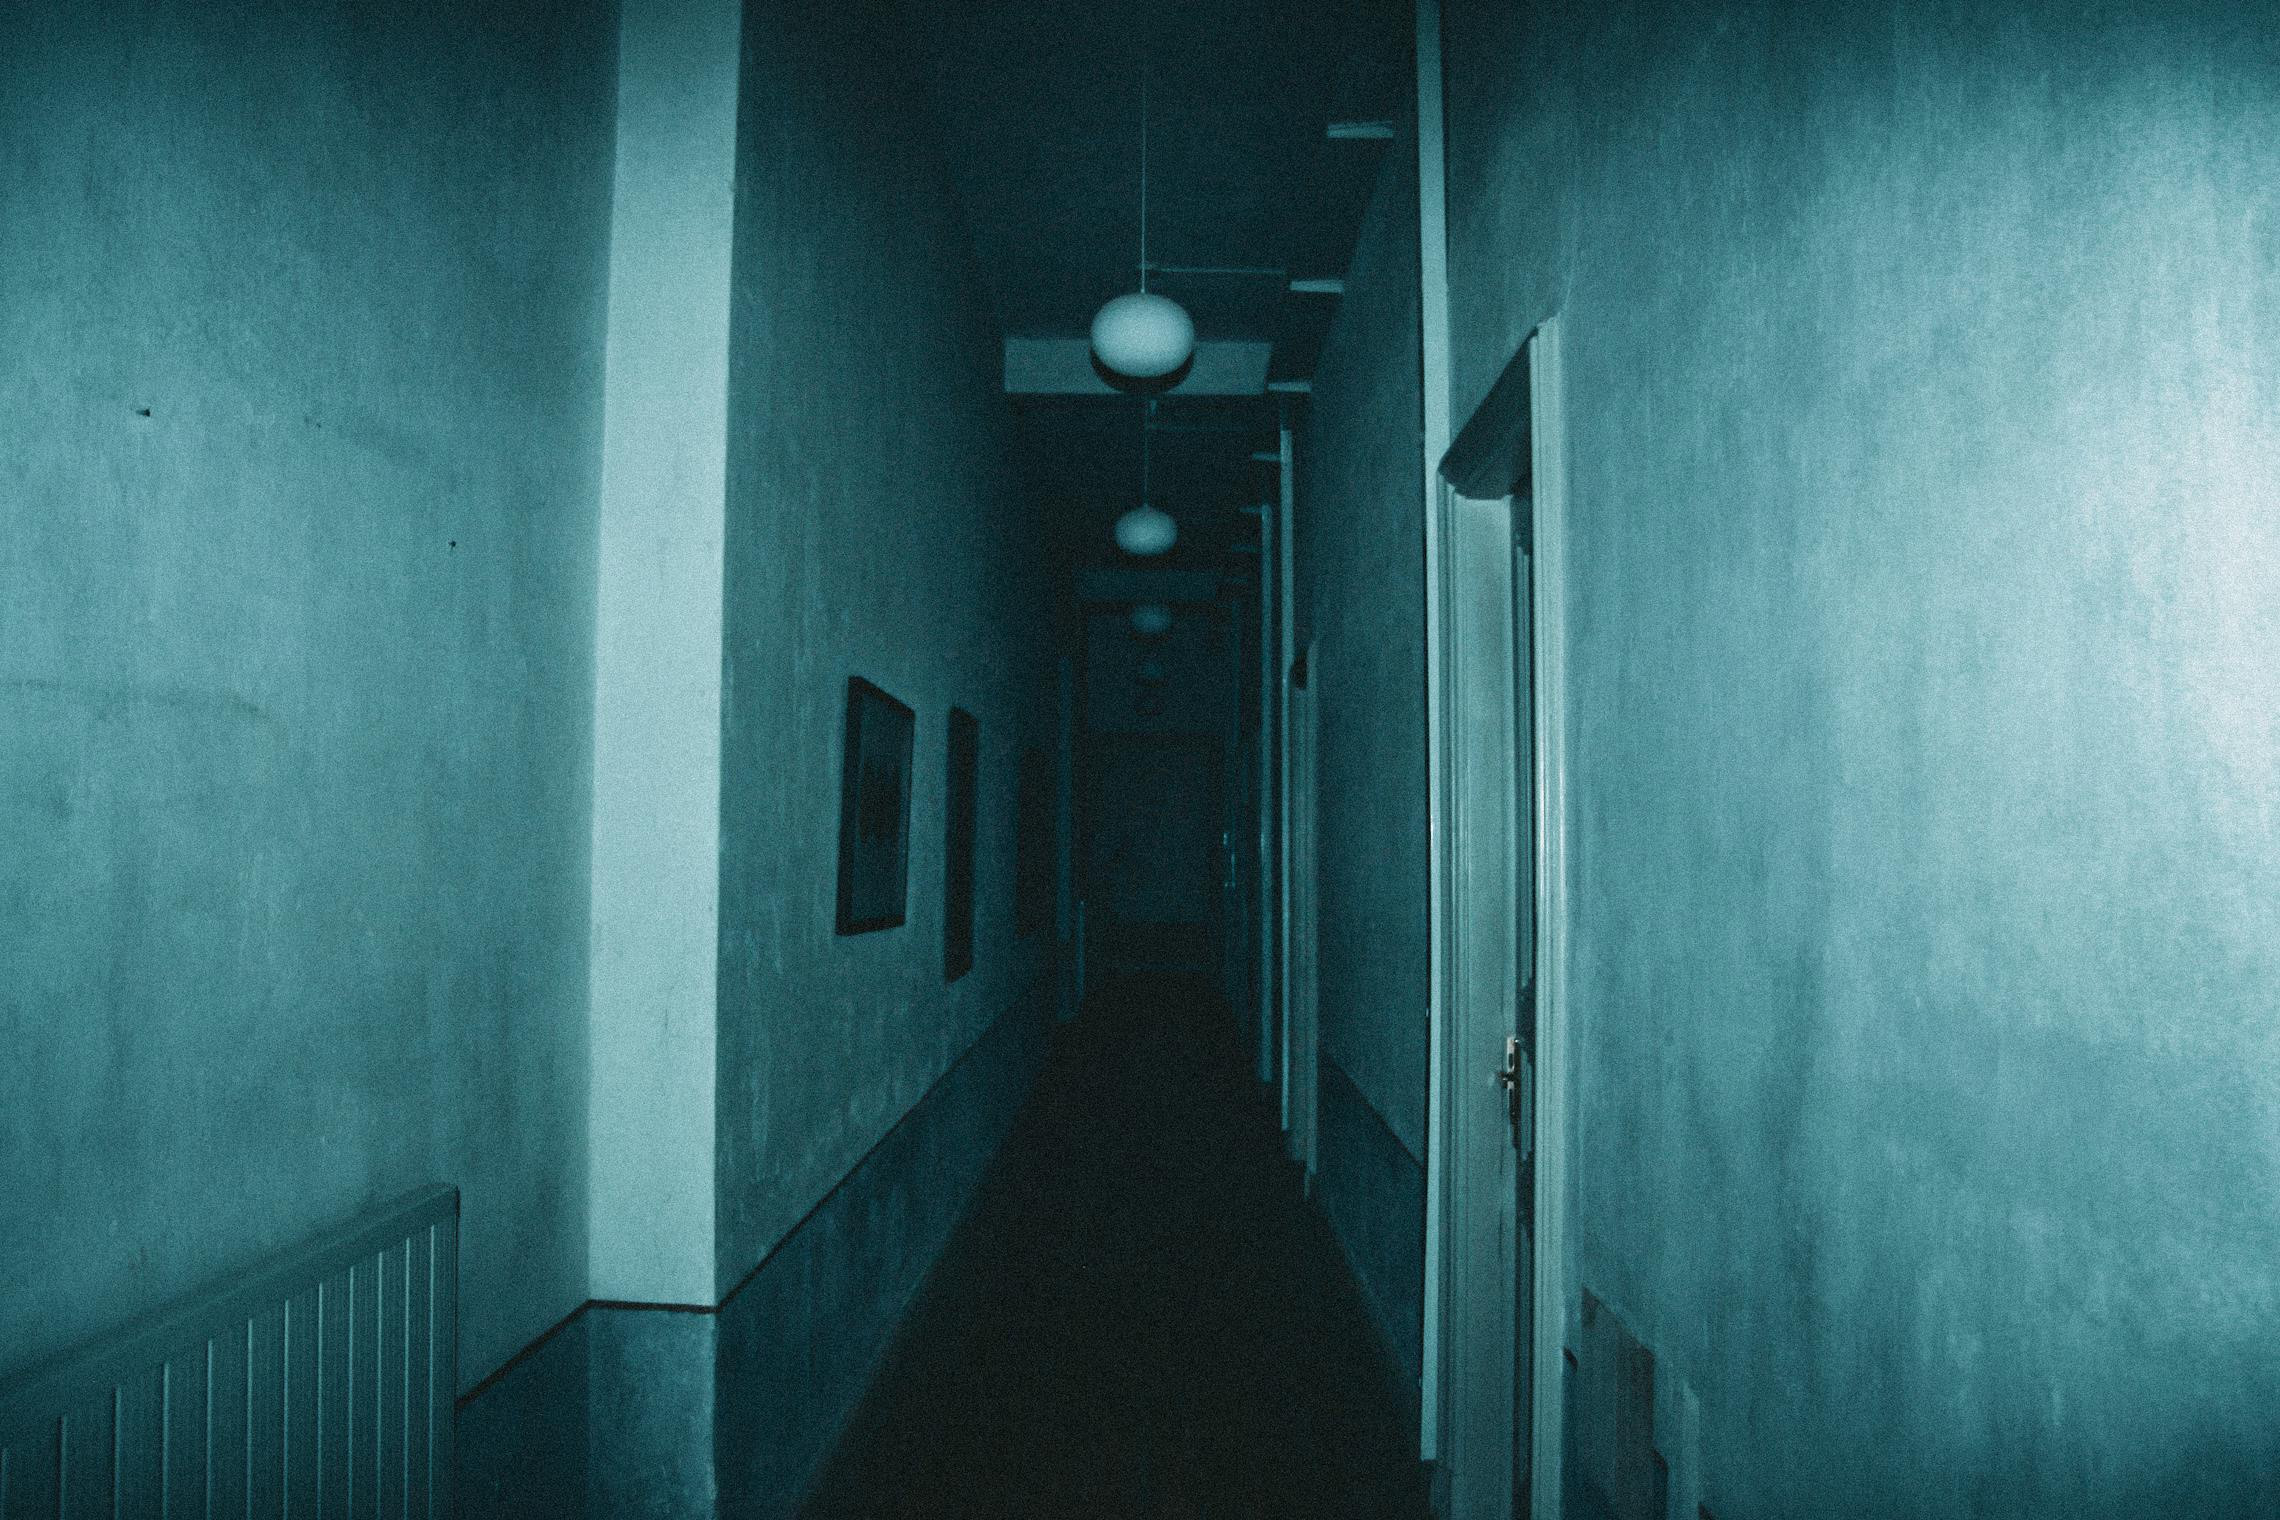
Corridor Theory
Long, narrow spaces are inherently anxiety-producing. You can see the end, but your peripheral vision is limited. Escape routes are behind you or ahead of you, nowhere else. This is corridor theory: the deliberate use of narrow passages to build tension.
Length matters. A 5-foot corridor isn’t long enough to build dread. A 15-20 foot corridor gives the guest time to scan ahead, imagine threats, and work themselves into a heightened state before they reach the payoff. If you can extend a hallway with temporary walls (black plastic sheeting and PVC frames), do it.
What goes in the corridor:
- Very little. Corridors work through emptiness and anticipation. A fog-filled narrow space with a single colored light at the far end is more effective than a corridor stuffed with props.
- One audio element. A low ambient sound bed (heartbeat, distant whispers, creaking wood) makes the silence between sounds feel enormous.
- The scare belongs at the end or, if you’re confident, at the midpoint where the guest is maximally far from both exits.
Blind corners. An L-shaped corridor forces the guest around a corner where they can’t see what’s waiting. The moment of turning the corner is pure vulnerability. This is prime scare territory.
Choke Points
A choke point is any location where guests must slow down, stop, or change direction. Doorways, stairs, gates, curtain dividers, and narrow squeezes are all choke points. They’re valuable because:
- The guest is briefly stationary and distracted by the physical act of passing through.
- The guest’s attention narrows to the immediate obstacle (ducking under a curtain, stepping over a threshold).
- The guest’s exit speed is limited.
Place scares immediately after choke points, not at them. If the scare fires while the guest is squeezing through a narrow opening, they can’t move and the experience becomes unpleasant rather than thrilling. Let them clear the choke point and take one or two steps into the open space beyond. Then hit them.
The classic: a curtain divider between rooms. The guest pushes through the curtain, takes two steps, and a scare fires from the side. The curtain prevented them from seeing ahead, and the moment of pushing through absorbed their attention.
The Distraction Scare
Direct attention toward one thing, then deliver the scare from somewhere else. This is misdirection, the same principle magicians use.
Visual distraction: A prop that draws the eye (a glowing cauldron, a moving animatronic, a flickering screen) positioned to the left. The guest looks left. The scare comes from the right.
Audio distraction: A sound from behind (footsteps, a whisper, a door closing). The guest turns to look. The scare fires from in front.
Decoy scare: Trigger a small, obvious scare (a loud bang, a pneumatic pop-up) that the guest flinches at. While they’re recovering and congratulating themselves on handling it, the real scare fires from a different location. The decoy consumed their startle buffer, so the second hit lands harder.
The Double-Take
The double-take is a delayed scare. Something the guest walks past, thinking it’s a static prop, activates after they’ve already looked away and moved on.
The still actor. A person standing motionless among other stationary props. The guest scans them, categorizes them as a prop, and moves on. The actor follows at a slow pace. When the guest happens to look back, the “prop” is now 10 feet closer and staring directly at them.
The delayed prop. A pneumatic pop-up or drop panel on a timer delay. The guest passes the trigger point, the system waits 3-5 seconds, and then the prop fires. The guest is now past it and has to turn around to see what happened behind them. The sound alone (compressed air, a slam, a scream) combined with the rear approach is disorienting.
Why it works: Double-takes attack the guest’s sense that they’ve already cleared a zone. They thought they were safe because they passed that area. The realization that threats can come from behind their current position changes how they process every subsequent room.
Pacing: The Rhythm of a Haunt
A haunt is a sequence, and like any sequence, it needs rhythm. Non-stop scares produce diminishing returns. After the fourth or fifth, the guest is numb. No scare is surprising because every moment is a scare.
The ideal pacing:
- Atmosphere zone (30-60 seconds). No scares. Set the mood with fog, lighting, and sound. Let the guest absorb the environment and begin building their own dread.
- First scare (sharp, clear, recoverable). Gets the adrenaline flowing without overwhelming.
- Cool-down zone (20-30 seconds). Atmospheric but safe. Let the guest process what just happened.
- Build zone (30-45 seconds). Increasing tension. Something is clearly coming. The cues are impossible to miss but the timing is uncertain.
- Main scare (the big one). Multiple elements firing together.
- Exit zone. Quick, clear path out with enough light to navigate. Let guests laugh, scream at each other, and decompress.
This rhythm can be compressed for small haunts (a single garage) or expanded for multi-room walkthroughs. The principle is the same: tension, release, tension, bigger release.
With the timing and placement dialed, the final lesson covers the mechanical side: building and wiring the actual trigger systems.
Next up: Part 3: Mechanical Triggers