Fog Mastery Part 3: Outdoor Fog Techniques
Indoor fog is forgiving. Close the doors, pump the machine, and the room fills up. Outdoor fog is a different discipline entirely. Wind, temperature gradients, humidity, and open space all conspire to shred your carefully planned atmosphere in seconds. But with the right positioning and a few tricks, you can keep fog where you want it long enough to create the effect.
Wind: Your Primary Opponent
Wind doesn’t need to be strong to ruin outdoor fog. Even a 5 mph breeze will push heated fog sideways and dissipate it within 10 feet of the machine. Ground fog (chilled) holds up slightly better because it’s denser, but a sustained breeze still wins.
Check the forecast. Not just for wind speed, but for direction. October evenings in most regions tend to have predictable wind patterns. Position your fog machines so the wind carries fog toward your audience, not away from them.
Create windbreaks. Fences, hedges, walls, parked cars, and even temporary barriers (a row of hay bales, a fabric backdrop) block ground-level wind. You don’t need to stop the wind entirely. Reducing it from 8 mph to 3 mph makes a dramatic difference in fog density.
Use terrain. Low-lying areas, depressions, and enclosed courtyards naturally collect cold air and resist wind mixing. If your yard has a dip or a sunken pathway, that’s where your ground fog will perform best.
Positioning Strategies
The Upwind Deploy
Place your fog machine upwind and let the breeze carry fog through the scene. This is the simplest approach and works surprisingly well when the wind is cooperative (light, steady, in the right direction). The fog arrives looking natural, almost like real weather.
The downside: you’re at the mercy of shifting wind. Have a backup position ready.
The Hidden Source
Tuck the fog machine behind a prop, inside a tombstone cluster, underneath a porch, or inside a garbage can with holes cut in the sides. The fog appears to emerge from nowhere, which sells the illusion far better than a visible machine blasting from the corner of the driveway.
For ground fog, position the chiller output at ground level behind a low wall or inside a planter. The fog rolls over the edge naturally.
The Corridor Trap
If your haunt has a defined path (walkway, driveway, between hedges), place machines at both ends. The fog fills the corridor and has nowhere to go laterally. Guests walk through a tunnel of fog. This is one of the most reliable outdoor setups because the enclosure acts as a natural windbreak.
The Overhead Canopy
Stretch a tarp, fabric, or even a row of umbrellas above the fog zone. The canopy traps rising fog and pushes it back down. Combined with a chiller, this creates an incredibly dense, persistent fog zone. Haunted trail operators use this technique with camouflage netting draped between trees.
Covering Large Areas
A single fog machine, no matter how powerful, can’t blanket a 50-foot-wide front yard. You need multiple machines working together.
Zone your yard. Divide the space into zones of roughly 15-20 feet each. Each zone gets its own machine. This sounds expensive, but three $30 400W machines on timers outperform a single $150 1500W machine trying to cover the same area.
Stagger the timing. If all three machines fire simultaneously, you get 20 seconds of dense fog followed by several minutes of nothing. Instead, offset them. Machine A fires, then B 30 seconds later, then C 30 seconds after that. The fog appears continuous even though each machine is cycling independently.
Mix types. Use a hazer near your lighting fixtures (so beams cut through the air) and heated fog machines at ground level with chillers. The hazer provides sustained background atmosphere while the fog machines create dramatic bursts and ground effects.
Timed Bursts vs. Continuous Output
Continuous fog sounds ideal, but it actually works against you outdoors. Your eyes adjust to persistent fog and it becomes invisible. Timed bursts, where the machine fires for 15-30 seconds every few minutes, create a wave effect that holds attention.
Many fog machines include a timer function on the remote. Set the burst duration to 15 seconds and the interval to 2-3 minutes. This also conserves fluid and extends the life of your heating element.
For events with a scare component, save a big burst for the moment guests enter a specific zone. A sudden wall of fog is disorienting and effective. We cover the specifics of timing fog with scares in Part 4: Timing and Control.
Temperature and Humidity
Fog performs better in cold, humid conditions. A 45-degree October night with 80% humidity will hold fog for minutes. A dry 65-degree evening will eat it in seconds. You can’t control the weather, but you can plan for it:
- Cold nights: Use less fluid. The fog lasts longer, so heavy output just wastes juice.
- Warm, dry nights: Increase output and shorten the distance between machine and target zone. Accept that the effect will be thinner and plan your lighting to compensate (hazer effects and light beams look great in light fog).
- Rain: Most outdoor-rated fog machines handle light rain. Ground fog actually benefits from wet ground, which cools and sustains it. Heavy rain, however, is a different story. Protect your equipment.
Practical Outdoor Layouts
Front Yard Graveyard: Two machines behind tombstones with chillers, angled toward the sidewalk. One hazer near the porch uplights. Fog flows toward approaching trick-or-treaters.
Driveway Walkthrough: Machine at the garage end, machine at the street end, both with chillers. Guests walk through a fog corridor. Add colored uplighting for maximum impact.
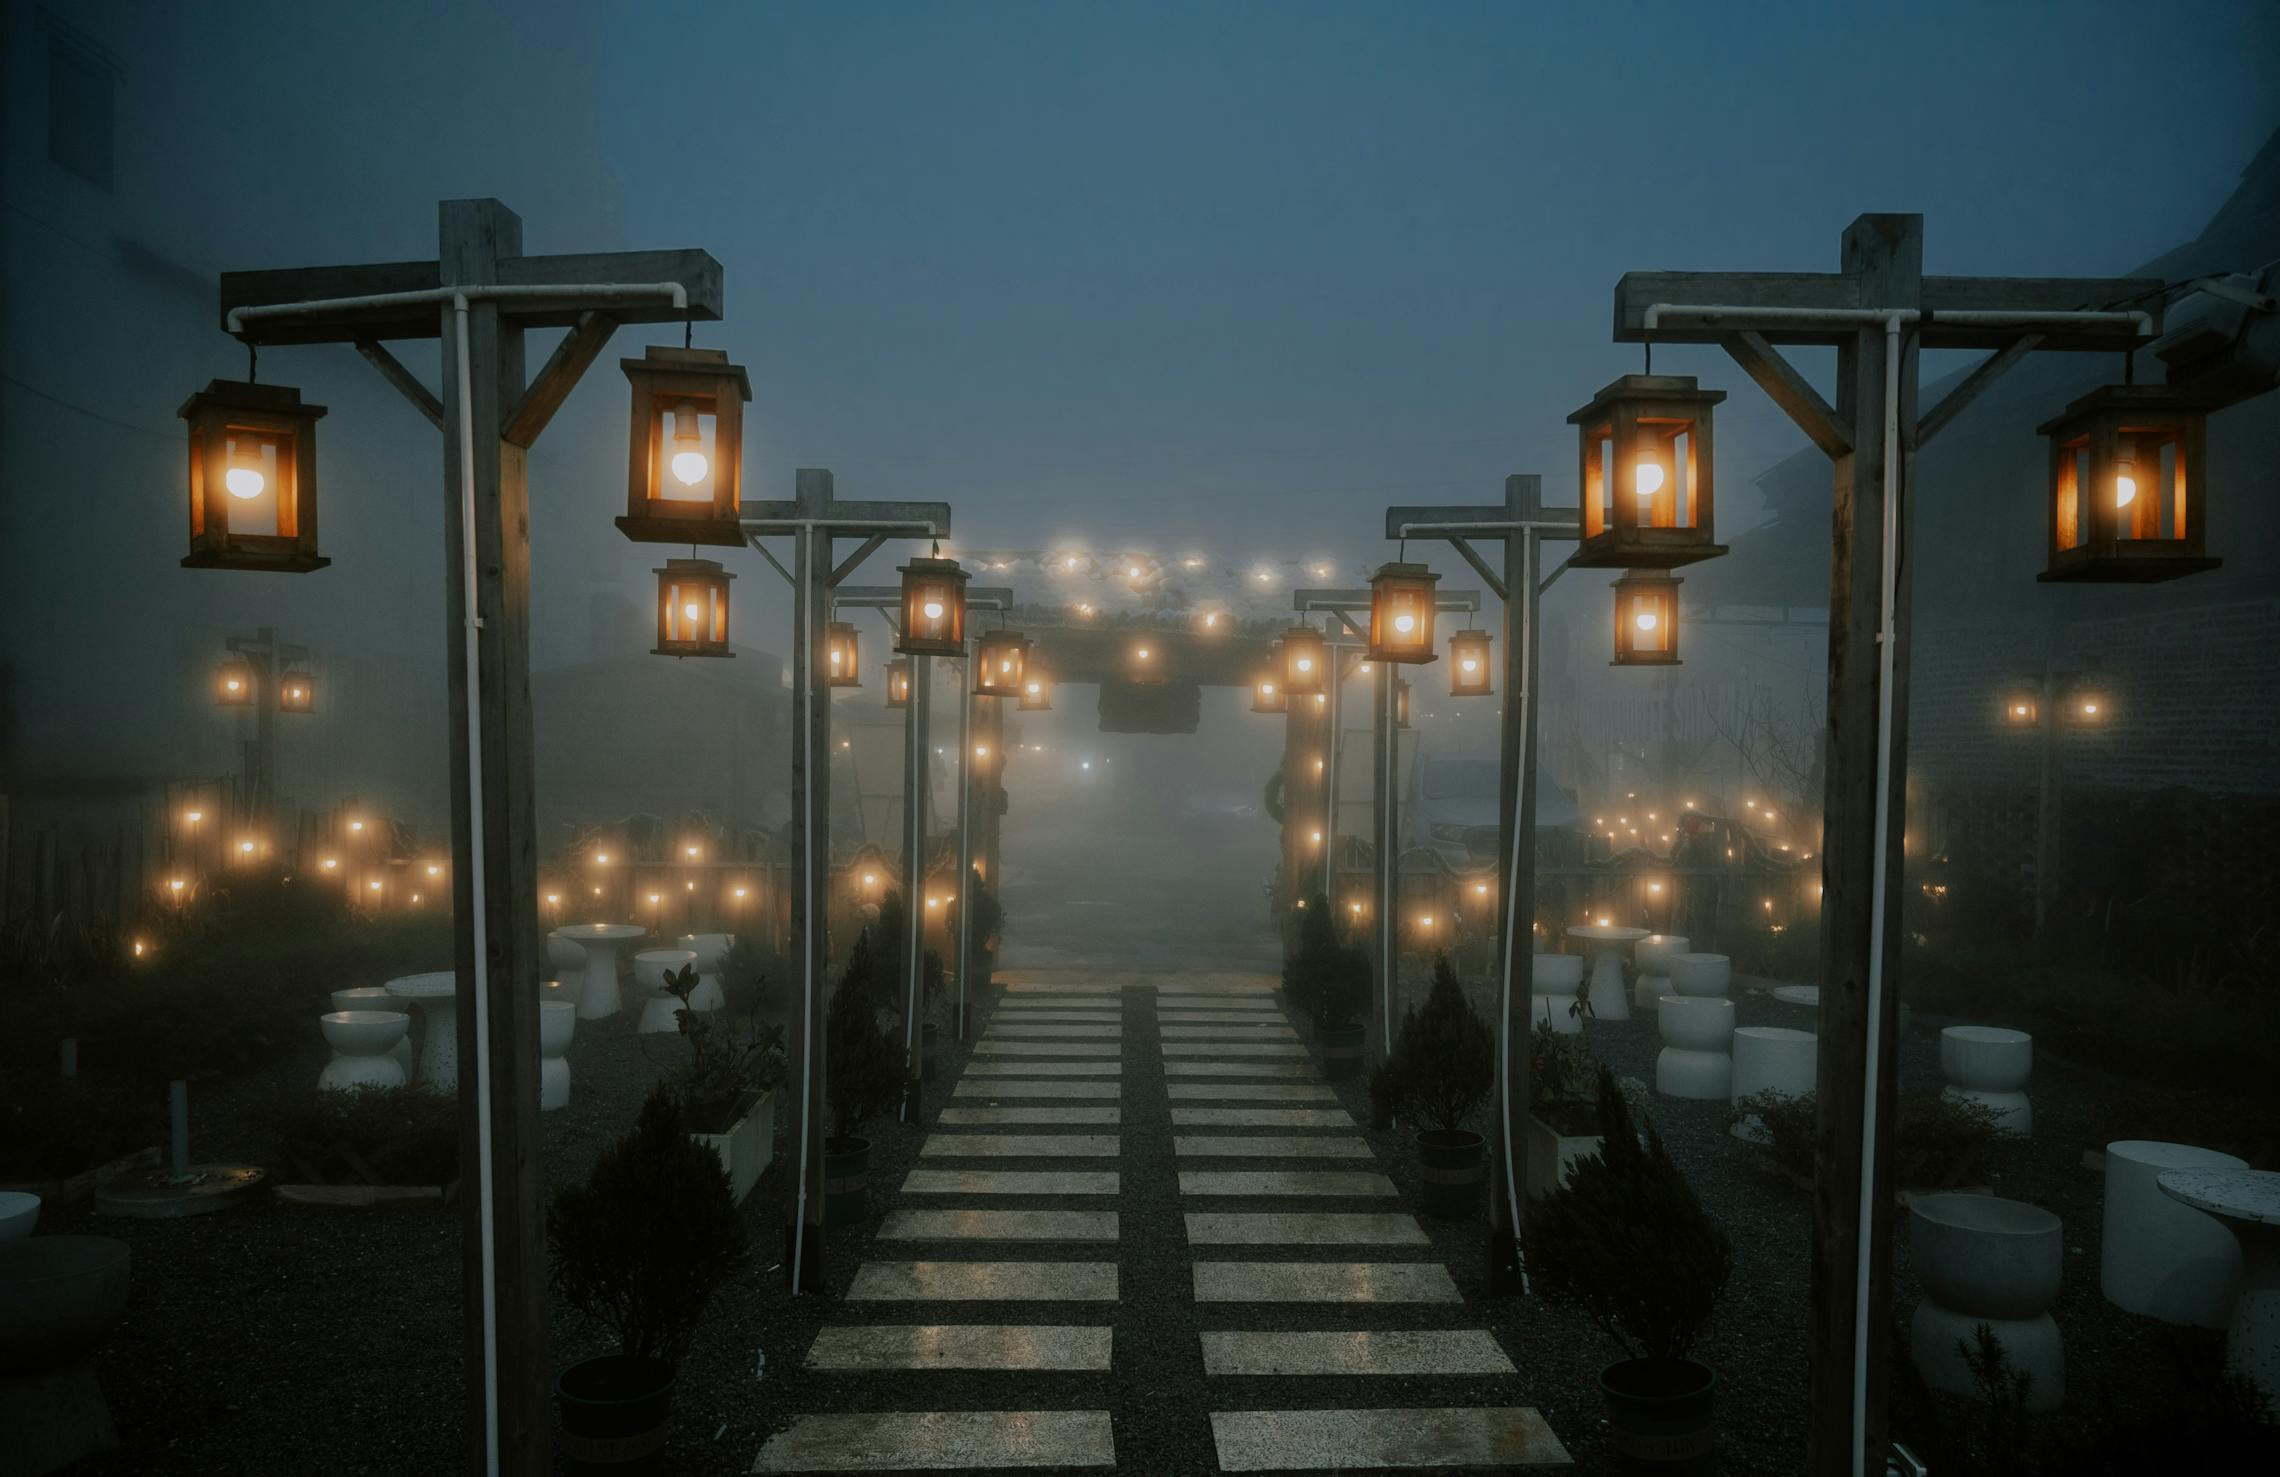
Backyard Party: One machine per 200 square feet of gathering space. Position them at the perimeter, blowing inward. A hazer near any string lights or lanterns makes the whole space glow.
Next up: Part 4: Timing and Control