Lighting Your Haunt Part 4: Outdoor Techniques
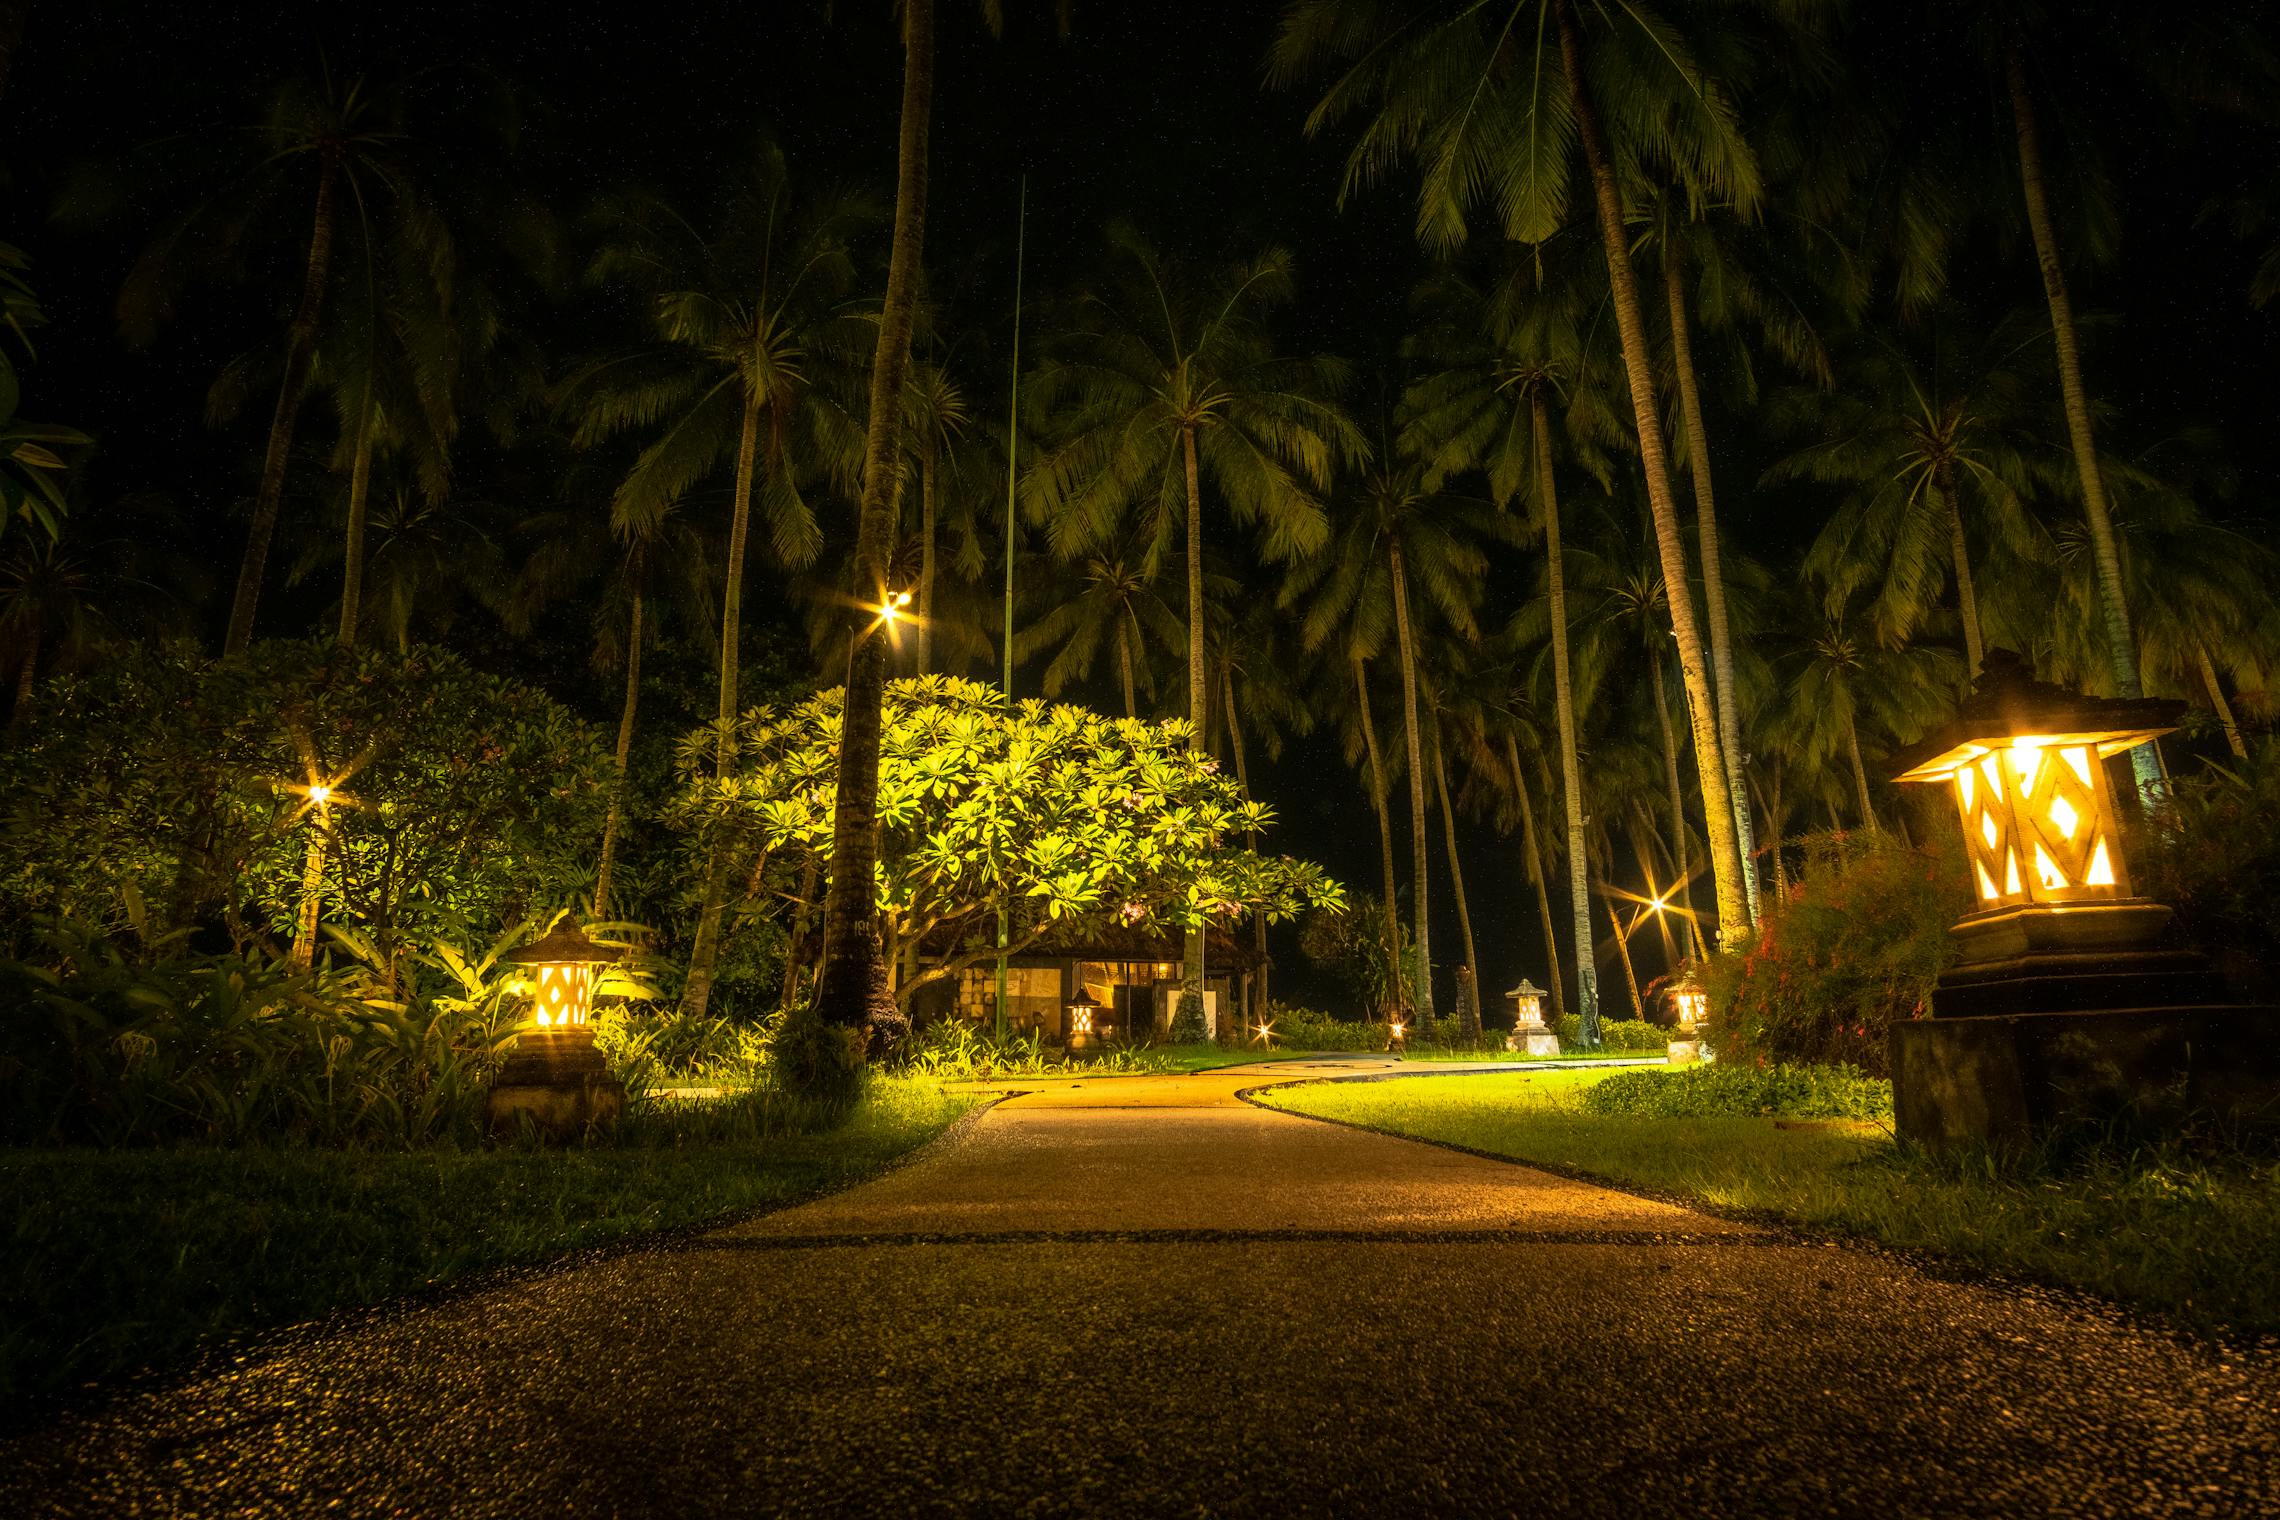
Outdoor lighting has two jobs: create atmosphere and keep people from breaking an ankle on your graveyard props. If you’re planning your full exterior setup, our outdoor Halloween decorating guide covers layout and props alongside lighting. Balancing spectacle with safety is the central challenge, and most home haunters lean too far toward one side or the other. This lesson covers practical outdoor techniques that deliver both.
Pathway Lighting: Safety That Sells the Scene
Every path a guest walks needs enough light to navigate safely. But “enough light” doesn’t mean floodlights. It means strategic ground-level illumination that reveals the walking surface without washing out the atmosphere.
Luminaries (paper bag lights). A staple of Halloween porch decorating: a paper bag weighted with sand, a battery LED tea light inside. Skip real flames: a paper bag is fuel. The NFPA’s tip sheet is about pumpkins, not luminaries: it wants lit pumpkins kept “far enough out of the way of trick-or-treaters, doorsteps, walkways, and yards” (NFPA Halloween tip sheet). Our reading is that the same logic rules out a flame in a bag lining the walkway, since that is exactly where luminaries go. Line them every 3-4 feet along walkways. They provide just enough warm glow at ankle height to define the path while looking authentically atmospheric. Cost: nearly nothing. Effect: timeless.
Stake lights. Solar or wired LED stake lights ($10-20 for a set of 10) come in orange, purple, and warm white. Push them into the ground along pathway edges. The light pools on the ground surface and creates a runway effect that naturally guides foot traffic.
Rope lights. A length of purple or orange rope light laid along the edge of a walkway provides a continuous guide line. Tape it down or stake it to prevent tripping. Rope lights are waterproof by design and work well in all weather.
What to avoid: Overhead path lighting. Anything above waist height casts light upward and outward, killing the dark atmosphere of the surrounding scene. Keep path lights at ground level.
Uplighting Trees and Structures
Trees are free architecture. A mature tree with bare or thinning autumn branches, lit from below with a colored spotlight, becomes the most dramatic set piece in your display. The branches cast a web of shadows across the house, the ground, and the sky.
Placement: Set the spotlight 1-2 feet from the base of the trunk, aimed straight up. For wider trees, use two spots on opposite sides. The light catches the bark texture and illuminates the branch structure from underneath.
Color choices:
- Green turns a tree into something from a swamp. Pair with ground fog for maximum effect.
- Purple makes the whole canopy feel supernatural.
- Red suggests fire or hell. Works best on dead or leafless trees.
- Blue simulates moonlight filtered through branches. The subtlest and most naturalistic option.
Structures: The same technique works on fences, tombstone clusters, archways, and building walls. Anywhere you have a vertical surface, an uplight at the base adds dimension and drama.
Projection
A Halloween projector displays animated images (ghosts, fire, bats, abstract patterns) onto a flat surface. The technology has matured considerably, and modern projectors are bright enough to be visible from the street.
Window projections are the most popular application. Project ghostly figures or flickering firelight onto a white curtain or rear-projection screen in a window. From outside, it looks like something is happening inside the house. This is one of the highest-impact, lowest-effort techniques available.
Wall projections blanket a house facade with animated effects. Spiders crawling across the siding, cracks spreading across brick, eyes opening in the wall. The scale is impressive and visible from a distance.
Limitations: Projectors need a relatively flat, light-colored surface. They lose brightness quickly on textured or dark surfaces. They also wash out under ambient light, so competing streetlamps or a neighbor’s security light can ruin the effect. Wait until full dark for best results.
Tip: Angle the projector slightly upward and project onto the second floor or roofline where competing light is less likely to reach. Check your manual first: Epson wants the HC 980 to face the screen squarely and warns it could be damaged past 30 degrees of tilt, and Optoma’s GT1080HDR manual asks for it flat and perpendicular to the screen (15 degrees at most on another page), so with an Optoma, raise the whole projector instead of propping up the front. Our guide to hiding and weatherproofing a projector has the limits for each model, plus enclosure clearances and what to do on a dewy night.
For the throw-distance and lumens arithmetic behind a facade projection, and what projector manuals say about rain and cold, see our whole-house projection guide.
Waterproofing and Weather
October weather is unpredictable. Your lighting setup needs to handle rain, morning dew, and possibly frost.
IP ratings decoded:
- IP44: Splash-resistant. Fine for covered porches.
- IP65: Jet-resistant. Handles rain, sprinklers, and heavy dew. This is the minimum for exposed outdoor use.
- IP67: Submersible briefly. Overkill for most haunts but useful if you’re putting lights in ground-level water features.
Practical steps:
- Buy outdoor-rated lights explicitly. Indoor LED spots are cheaper but will short-circuit in the first rain.
- Raise electrical connections off the ground. A cinder block or overturned bucket keeps plugs above standing water.
- Cover exposed connections with weatherproof outlet covers or wrap them in plastic bags sealed with electrical tape. Not pretty, but effective.
- Bring everything inside if a major storm is forecasted. No lighting display is worth replacing $200 in damaged equipment.
Extension Cords and Power Distribution
Outdoor haunts devour extension cords. A large display easily requires 4-6 runs from the house to various positions across the yard.
Use outdoor-rated cords. They have thicker insulation and are rated for moisture. Indoor cords in outdoor environments are a fire and shock hazard.
Gauge matters. For runs under 50 feet with low-draw LED lighting, 16-gauge cords are fine. For runs over 50 feet or circuits with fog machines, use 14-gauge or 12-gauge.
Route cords under pathways, not across them. Tripping on an extension cord in the dark is a liability issue. Bury cords under a thin layer of mulch, run them under doormats, or route them along the far edge of walkways where foot traffic doesn’t go.
One circuit per zone. Plug each outdoor zone into a separate house outlet (ideally on different circuit breakers). If a breaker trips, you lose one zone instead of the entire display.
GFCI outlets. All outdoor outlets should be GFCI-protected (the outlets with the “Test” and “Reset” buttons). If yours aren’t, plug a portable GFCI adapter into the outlet before connecting your display. Check that it’s meant for outdoor use: some plug-in GFCIs aren’t. Southwire’s portable GFCI plug, for example, says in its listing that it “is suitable for indoor use in your bathroom, kitchen, basement and garage.” OAONAN’s GFCI adapter, for one, says in its listing that it “can be used both indoors and outdoors.” This protects against ground faults caused by moisture.
Solar Options
Solar-powered Halloween lights have improved significantly. Modern solar stake lights, string lights, and spotlights charge during the day and run for 6-8 hours after dark.
Advantages: No cords, no outlet dependency, easy repositioning. You can place a solar spotlight in the middle of the yard without running 100 feet of extension cord.
Limitations: They need direct sun during the day to charge. Cloudy late-October days may not provide enough charge for full-brightness operation. Output is also noticeably dimmer than wired alternatives.
Best use: Supplemental accent lighting in remote locations. Use solar for pathway stakes and distant tree uplights where running a cord is impractical. Use wired fixtures for your primary scare zones and focal points where brightness matters.
Putting It All Together
A complete outdoor lighting plan for a medium front yard haunt:
- Pathway: Luminaries or stake lights every 3-4 feet along the walkway from sidewalk to door.
- Trees: One or two colored spotlights per large tree, aimed upward from the base.
- Focal props: Individual colored spotlights on key pieces (graveyard, animatronic, cauldron).
- House facade: Projection for a window, string lights along the roofline or porch railing.
- Fog zone: A hazer near the porch light or spotlights to make beams visible. Ground fog in the graveyard.
- Scare zone: A strobe and/or sudden color shift, triggered by proximity.
Set everything on timers to come on at dusk and shut off at a fixed hour. The CPSC’s decoration safety sheet says to turn off decorative lights “when you go to bed or leave the house” because they “could short and start a fire,” and a timer does that for you. We pick a cutoff that suits the street, not the latest hour we can get away with. Our guide to Halloween decorations and the neighbors covers light trespass, strobes, and one city’s code that bans flashing lights visible from the street.
Next: the psychology behind the perfect scare.
Put It to Work
Laser Plus Fog: Is It Worth It?
When lasers in fog or haze are worth the money and when they aren't: fog versus haze, how the laser swamp and vortex tunnel are built, what the FDA's laser classes and beam-height guidance mean for a home haunt, aircraft rules, and what each tier costs.
Fake Fire Effects: Silk Flames, Flame Bulbs, LED Candles and Fire on Fabric
How silk-flame lights, flame bulbs, moving-wick LED candles and projected fire work, what their makers' manuals say about heat, clearance and outdoor use, and how to make fabric look like fire without making it a fire risk.
How to Hide and Weatherproof a Halloween Projector
Where to put a Halloween projector so nobody sees it and the weather can't reach it: the tilt and clearance limits in the Epson, Optoma and Nebula manuals, why a foam box can't touch the beam, dew nights, timers and cool-down, and what the warranties actually say.