Lighting Your Haunt Part 3: Indoor Techniques
Outdoors, lighting competes with ambient moonlight, streetlamps, and neighbors’ porch lights. Indoors, you have total control. Every photon in the room comes from your design. That’s a powerful position, but it also means every mistake is obvious. A badly placed spotlight or a too-bright corner breaks the entire atmosphere.
This lesson covers specific techniques for indoor spaces, from entryways to full walkthrough haunts.
Start by Killing the Default Lighting
Before adding anything, turn off every standard light in the space. Overhead fixtures, table lamps, recessed cans. All of them. Your haunt lighting replaces the room’s normal setup entirely.
If you’re using smart bulbs in existing fixtures, dim them to 5-10% and shift the color to deep red, purple, or amber. The fixture becomes part of the haunt instead of fighting against it.
Cover or remove anything that glows unintentionally. Clock displays, power strips with indicator LEDs, appliance lights, smoke detector LEDs. These small points of modern technology break the illusion more than you’d expect. A piece of black tape over each one takes two minutes and makes a real difference.
Uplighting
Positioning a light source at floor level, aimed upward, reverses the natural direction of light. Humans are accustomed to light coming from above (sun, overhead fixtures). Uplighting creates shadows that fall the wrong direction, which reads as inherently unsettling even if the viewer can’t articulate why.
On faces: An uplight below a face creates the “campfire story” effect. The eye sockets darken, the chin and nose cast upward shadows, and a friendly face becomes menacing.
On walls and corners: A colored LED spot on the floor, aimed at a corner, paints the wall with a gradient of color that fades as it rises. This is the single most effective low-effort lighting trick for any room.
On props: A skeleton, bust, or mask mounted on a wall with an uplight beneath it becomes a focal point. The inverted shadows add depth and drama to even cheap props.
Practical placement: Use small LED puck lights ($3-5 each, battery operated) on the floor behind props. They’re invisible to guests and produce a focused uplight.
Backlighting and Silhouettes
Backlighting means placing the light source behind the subject, between the subject and the guest’s perspective. The subject appears as a dark silhouette against a lit background. This is how professional haunted attractions create their most memorable visuals.
Doorway silhouette: Place a bright light (white or colored) behind a standing figure in a doorway. From the guest’s side, the figure is a featureless black shape framed by light. The brain fills in threatening details that aren’t there.
Window silhouettes: Hang a white sheet or thin fabric inside a window frame. Position a bright light behind it. Place a cutout or mannequin between the light and the fabric. From outside, guests see a sharp silhouette against a glowing pane.
The corridor reveal: Backlight the far end of a hallway, leaving the near end dark. A figure at the far end is visible only as a silhouette. As the guest approaches and the figure steps forward (away from the backlight), it gradually gains dimension and detail. The transition from flat silhouette to three-dimensional form is deeply disturbing at a subconscious level.
Shadow Projection
A single point light source and a solid object create a shadow on the wall behind it. The closer the object is to the light, the larger the shadow. This is obvious, but people forget to use it intentionally.
Oversized shadow trick: Place a small skeleton hand prop 6 inches from a bright spotlight. The shadow on the wall behind it is enormous, a monstrous claw three feet across. The guest sees the small prop and the giant shadow simultaneously, and the shadow wins their attention.
Motion shadows: Hang lightweight props (paper bats, fabric spiders, thin branches) from fishing line in front of a light source. Even slight air movement makes the shadows crawl across walls and ceilings.
Hand shadows and cutouts: A cardboard cutout of a lurking figure, placed near a strong side light, projects a convincingly realistic shadow around a corner. The guest sees the shadow before they see the source, and their imagination does the rest.
Flicker Effects
A steady light is stable and safe. A flickering light suggests instability, power failure, or fire. All of those are threatening.
Methods:
- Smart bulbs with a “candle” or “flicker” mode built into the app.
- A standard bulb plugged into a flicker adapter (a small inline device that randomly interrupts power for $5-10).
- LED candles placed inside fixtures or behind translucent screens.
- A custom setup: a microcontroller (Arduino) driving an LED strip through a randomized brightness pattern. This is overkill for most haunts but gives you exact control over the flicker speed and pattern.
When to use flicker: Transition zones (hallways, stairways), rooms you want to feel unstable, and areas leading into scare zones. The flicker tells the guest’s nervous system that something is about to happen.
When not to flicker: In rooms with detailed props or scenes you want guests to examine closely. Constant flicker makes it hard to see details and gets annoying over time.
Room-by-Room Suggestions
Entryway: Warm amber uplighting at the baseboards. A single purple or blue uplight on a focal prop (a portrait, a mirror, an urn). This eases guests from the normal world into the haunt. Keep it dimmer than the outside so their eyes start adjusting.
Hallway/Corridor: Single color wash from one end (red or green). One side lit, one side dark, so shadows play along the wall. A strobe at the far end, triggered by proximity, signals the approach of a scare zone.
Main scare room: Keep the base lighting very low. Position the scare element’s lighting so it activates with the scare itself (a sudden spotlight, a strobe burst, a color shift). Before the scare, the room should feel empty. After the trigger, the lighting reveals what was there all along.
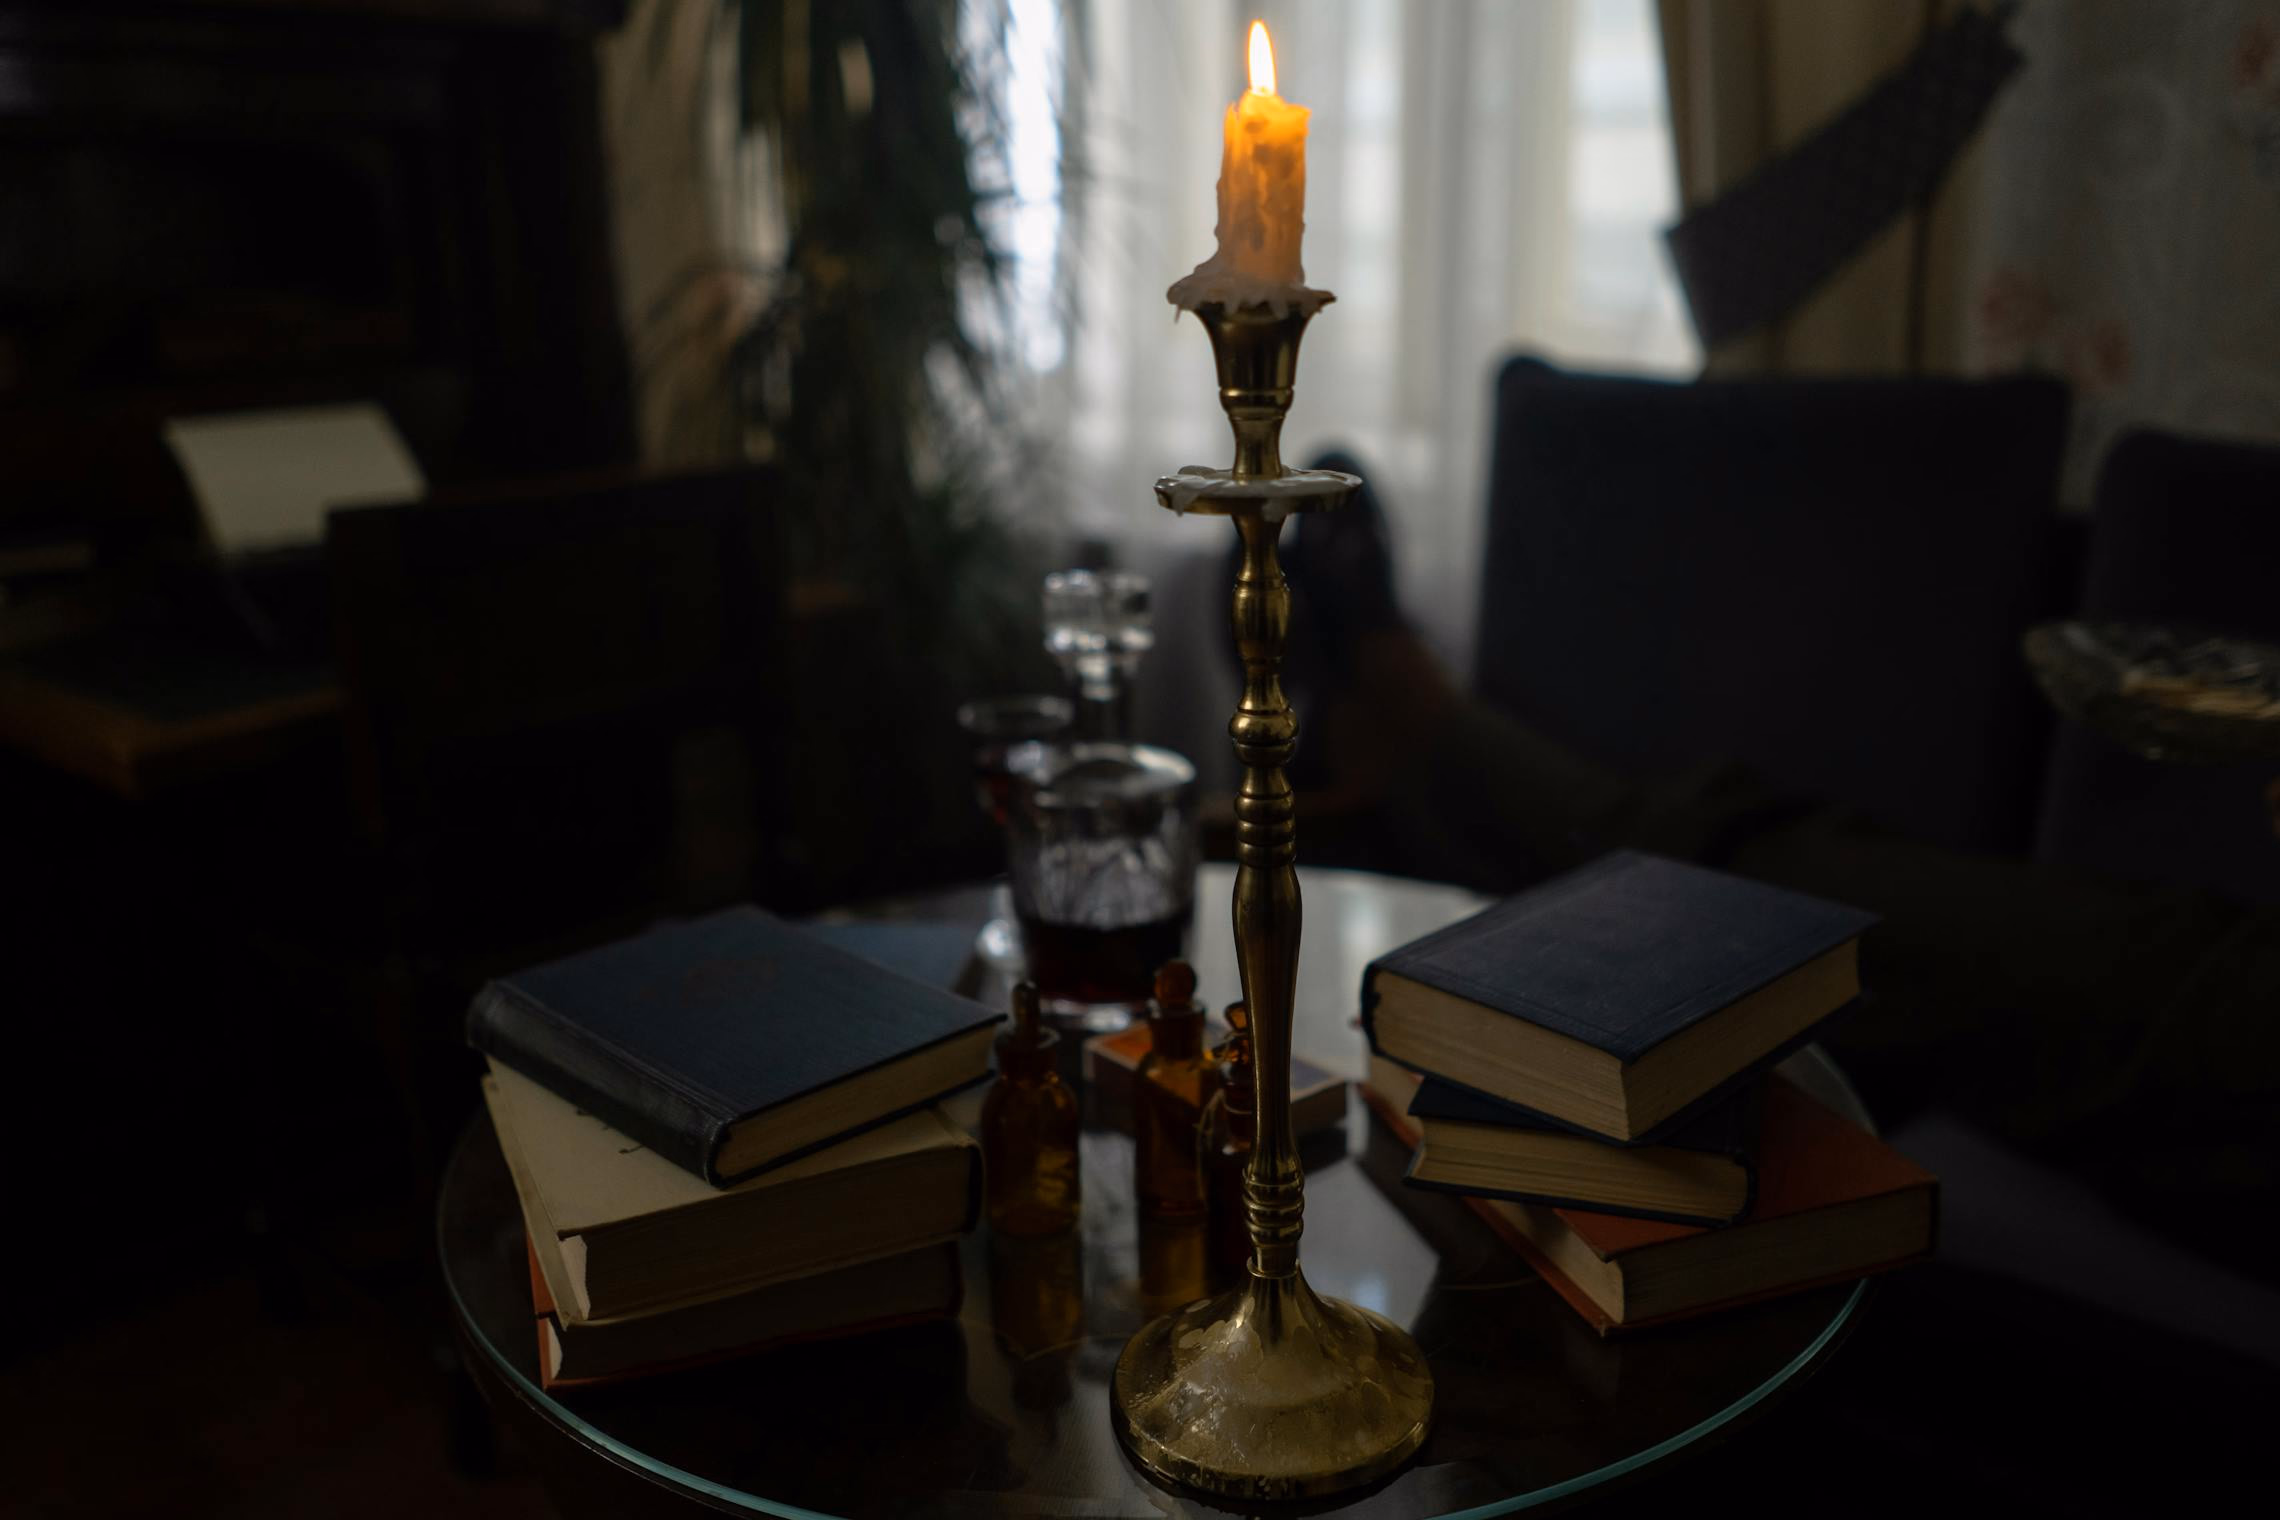
Living room/gathering space: If this room serves as a social area (not a haunt room), use smart bulbs at low brightness in warm amber or soft purple. String lights along the ceiling provide enough ambient light for conversation. Add a few candle groupings on surfaces.
Bathroom: Replace the standard bulb with a red or green bulb. That’s it. Guests opening the bathroom door to a blood-red glow is a free scare that requires zero setup.
Extension Cords and Power
Indoor haunts tend to cluster lights in locations far from outlets. A few practical notes:
- Use power strips, not daisy-chained extension cords.
- Route cords along baseboards and tape them down. Tripping hazards are lawsuit material.
- Know your circuit limits. A typical home circuit handles 15 amps (1800 watts). LED lights draw very little, but if you’re running fog machines, space heaters, and audio equipment on the same circuit, you’ll pop a breaker at the worst possible moment.
- Battery-operated lights (puck lights, LED candles) eliminate cord management entirely. Use them wherever an outlet isn’t convenient.
Now take these indoor techniques outside, where the space is bigger and the rules change.
Next up: Part 4: Outdoor Techniques