A haunted mansion needs one window that glows red and blue after dark. Most faux stained glass fails because it’s drawn like a coloring book: thin wobbly outlines, random shapes, every color in the box. Real stained glass follows rules set by how it was built, and copying those rules matters more than which craft product you use.
What Makes Stained Glass Look Real
The lead lines are the structure
The V&A describes a stained-glass window as “coloured and painted glass pieces held together by lead strips,” and those strips have a name: “H-shaped strips of lead, called cames,” which were “an integral part of a window’s design” (V&A, stained glass: an introduction). Every piece of glass sits inside a came, so every color area on your window needs a closed black border.
Real came is chunky. The National Park Service’s preservation brief on stained and leaded glass says came “ranges from 1/8” (3.2mm) wide to 1½” (38mm) wide” (NPS Preservation Brief 33). On a window seen from the sidewalk, a hairline outline disappears. Draw lines at least 1/4 inch wide, and wider on big panels.
Tall windows also need horizontal bars. The same brief says leaded panels “should generally not exceed 14 linear feet (4.25 m) around the perimeter without support,” which is why old windows are crossed by support bars every so often. A lancet with two or three straight horizontal lines through it looks built. One without them looks printed.
The shapes have names
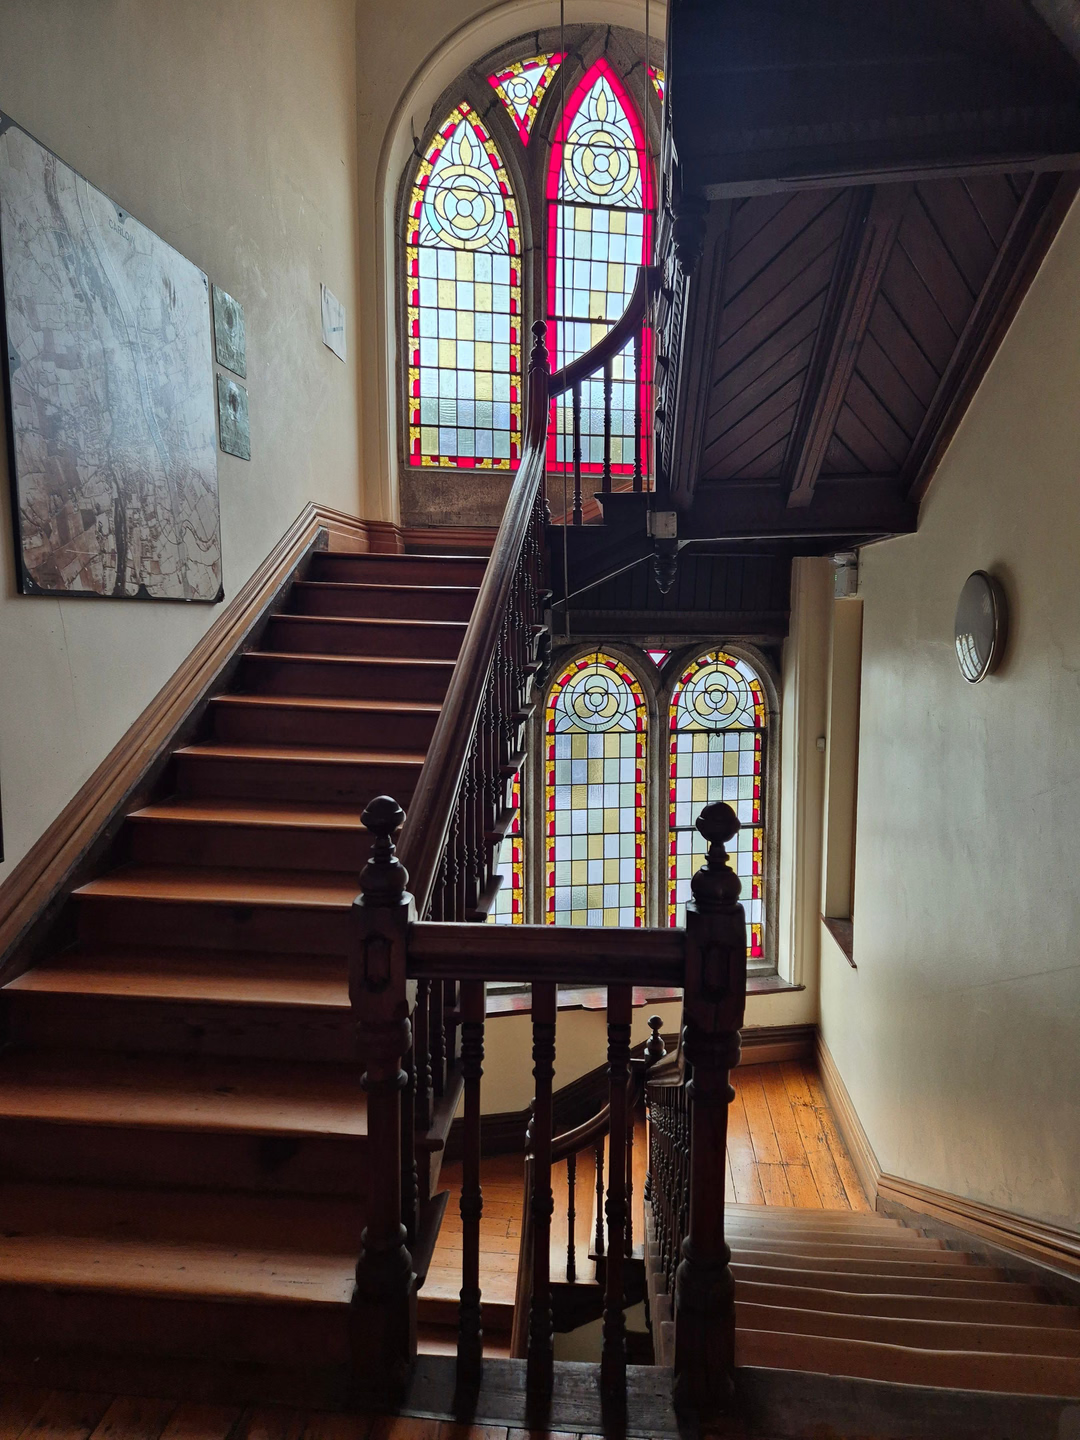
- Tracery is “the stone framework that supports the glass,” and the V&A notes that innovations in it let Gothic windows grow larger and more intricate (V&A, the Gothic style). On a flat window, fake it with a thick band of black or dark gray around the circles and trefoils at the top of the design.
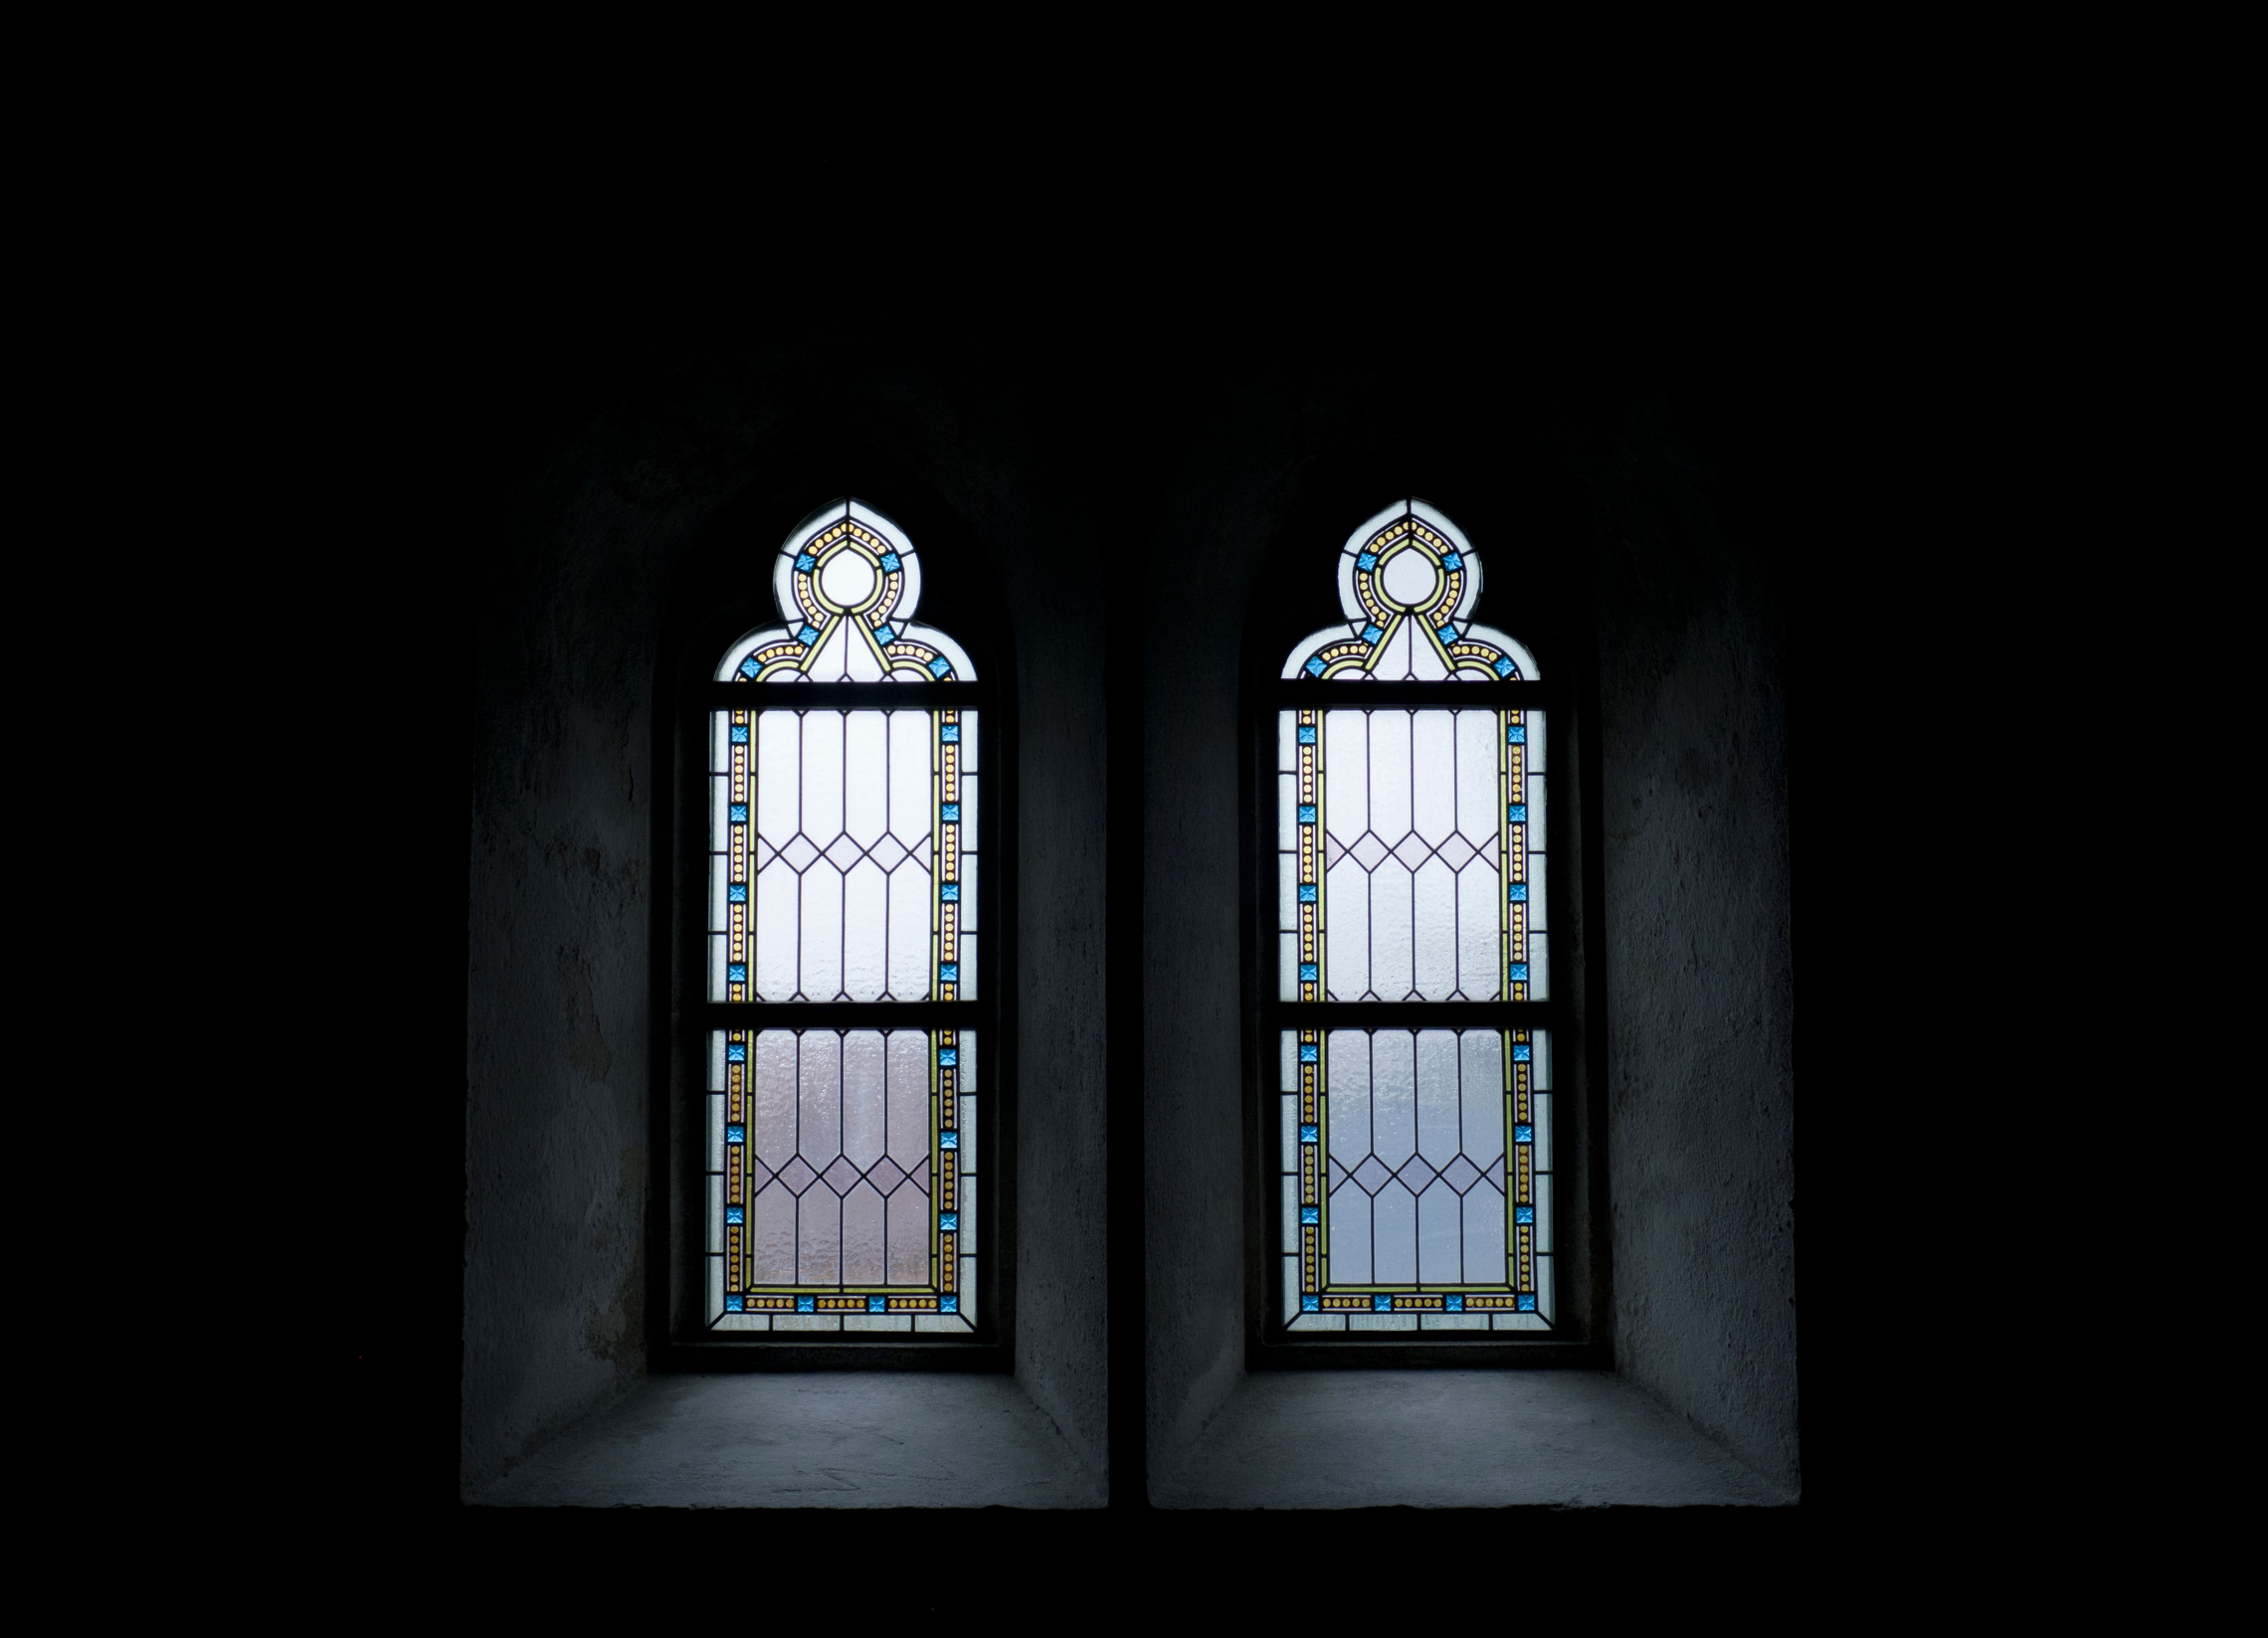
- Pointed arches “could give the impression of soaring height,” the same page says. A lancet is the tall, narrow window with a pointed top. Our favorite layout for a faux window is two lancets under a small round one.
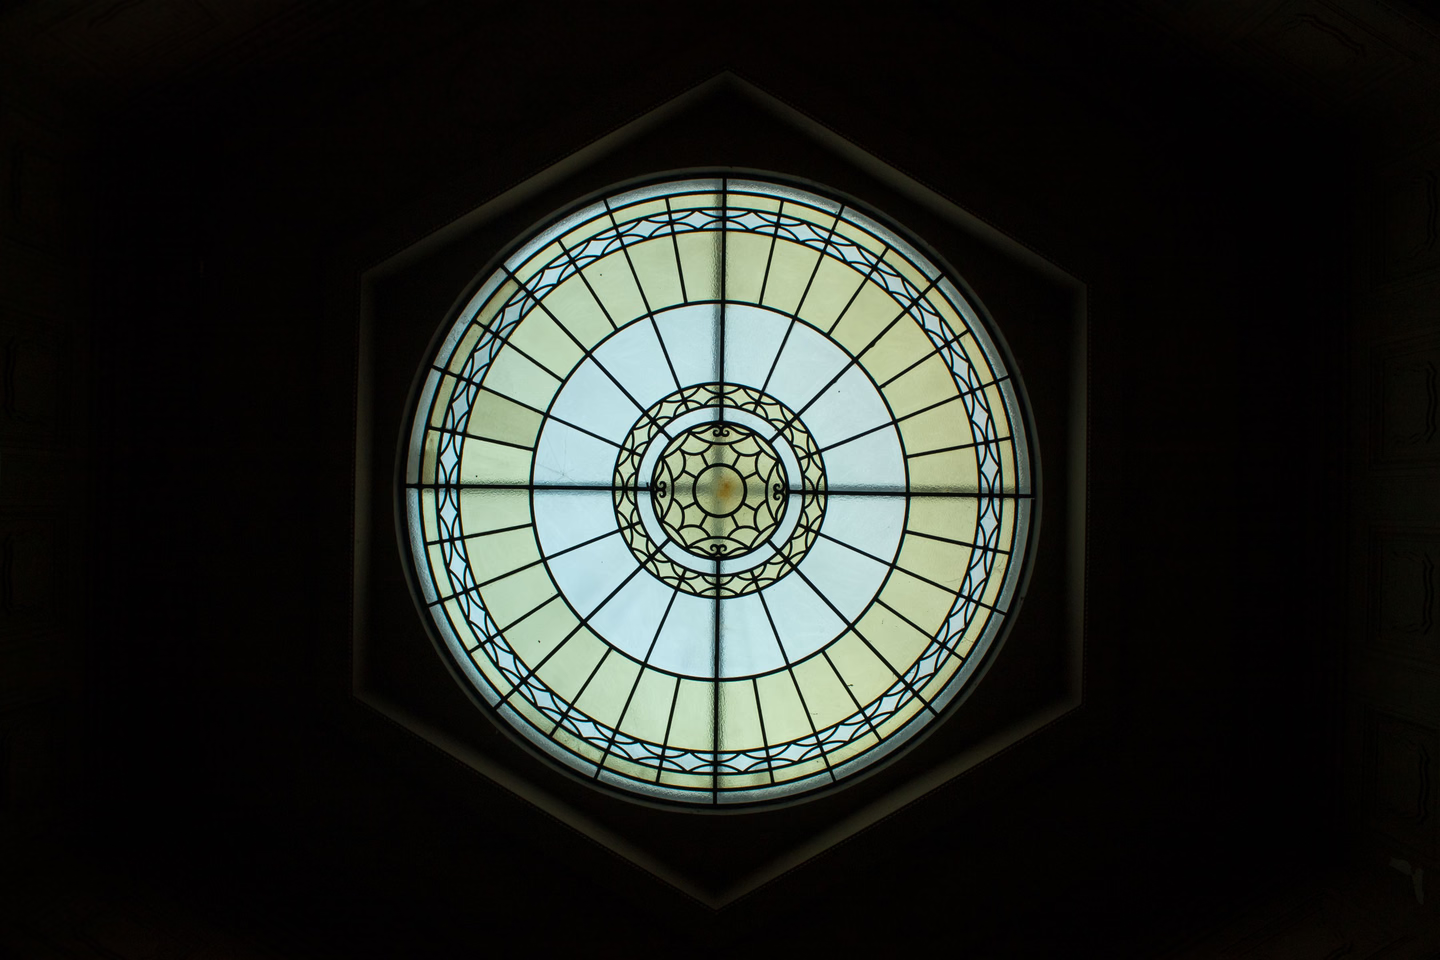
- Rose windows are round, with glass radiating from the center. The V&A credits the Gothic period with “a revival of the medieval rose window, which brought light and colour to the interior.”
- Quarries are small diamond or lozenge panes laid in a grid. The V&A holds an English window of twelve painted quarries made for Betley Hall in Staffordshire, each quarry 15.5 by 9.1 cm and made of “Clear glass, painted with coloured enamels and yellow stain,” with morris dancers circling a maypole inscribed “A Mery May” (V&A, Betley Hall window). A diamond grid with a colored border is the easiest pattern here to draw and the most domestic looking.
- Grisaille needs no color at all. The Met defines it as “an ornamental nonfigurative design painted in black line on colorless glass,” and says grisaille windows “developed after a prohibition on the use of colored glass was issued by the Cistercian Order in 1134.” By the thirteenth century, “limited amounts of colored glass were introduced” into them (the Met, Grisaille Panels). A black-line pattern on clear film is a period-correct window, not a shortcut.
The palette is short
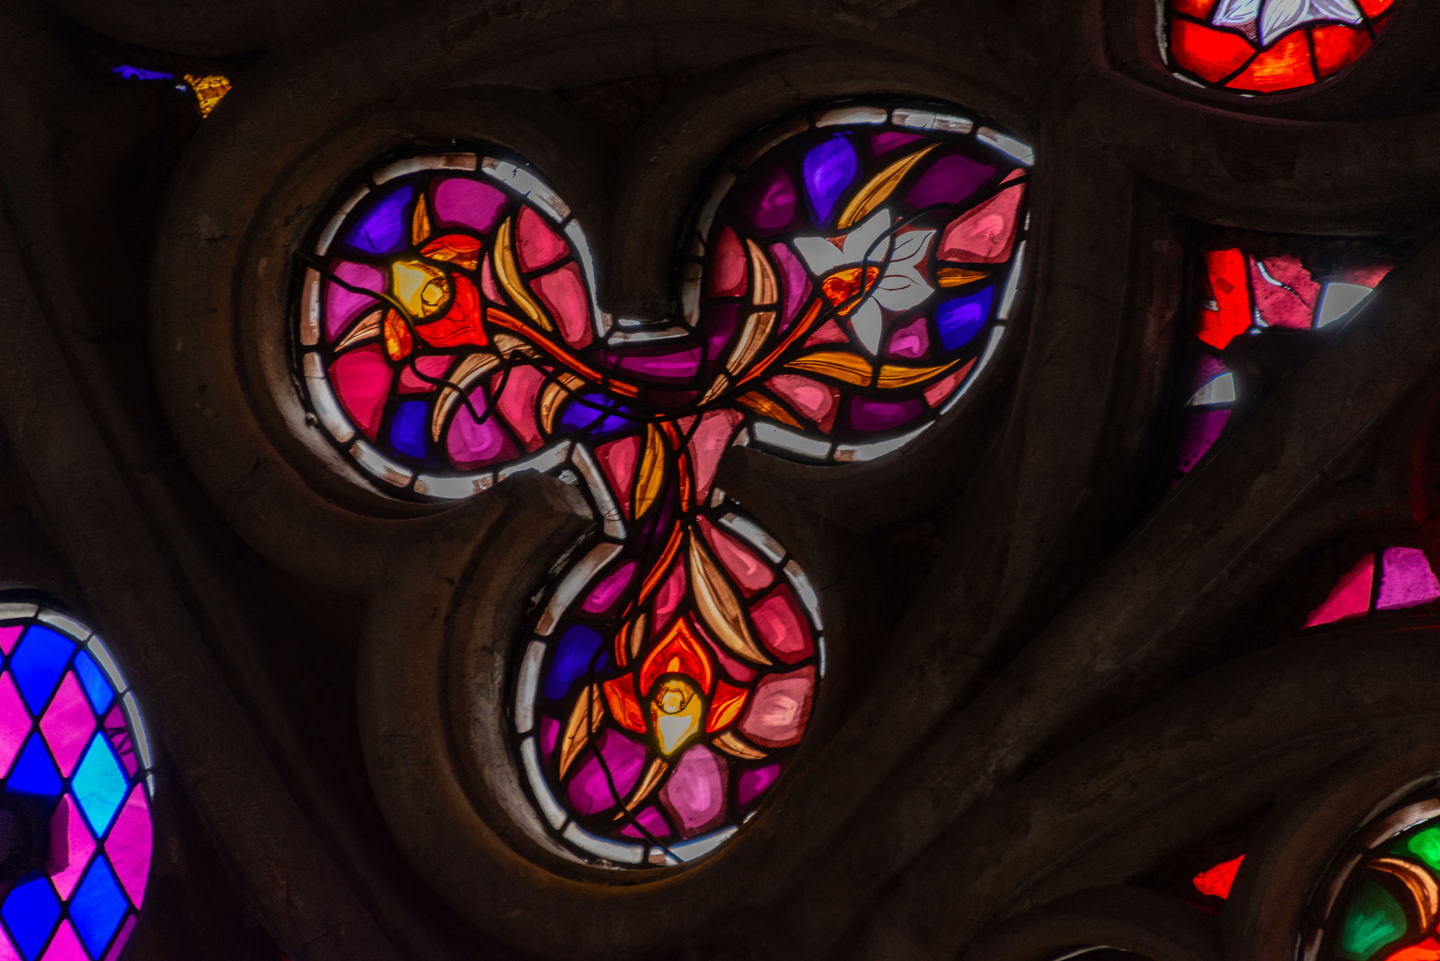
The colors in old glass came from specific metals. Smithsonian Magazine lists “cobalt for blue,” “manganese for purple,” and “gold for pure red” (Smithsonian). Yellow and orange came from silver stain, a 14th-century technique using a “solution of mainly silver nitrate” that gives colors that “range from pale lemony yellows to deep dark oranges” (V&A). Clear or near-clear glass filled the rest.
That’s the core: cobalt blue, ruby red, manganese purple, amber, and clear. A deep green fits too; the NPS brief names “cobalt for deep blues and greens” among the historically popular ingredients now hard to reproduce. Skip lime, pink and turquoise, and the window reads as old before anyone looks at the design. Purple and orange, the two Halloween colors, both have a real pedigree.
The same Smithsonian piece notes that in a stained-glass window “some colored glass panes are overpainted with a metallic stain to depict faces, fabric folds, and other details.” And old glass was uneven. Leonie Seliger, head of stained glass conservation at Canterbury Cathedral, told writer Victoria Finlay in 2014, “We’ve been desperately trying to find someone who can handblow glass unevenly.” A little texture in your clear areas helps.
The Haunted-Mansion Version: American Victorian Glass
Cathedral glass is one look. A haunted Victorian house is another, and the NPS brief is the best guide to it.
- It was everywhere. “The 60 years from about 1870 to 1930 were the high point for stained glass in the U.S.,” and by 1900 it “was being mass-produced and was available to almost everyone.” Mail-order catalogs from sash and blind companies offered “over 100 low-cost, mass produced designs.”
- It went in the house, not just the church. The brief lists “windows, doors, ceilings, fanlights, sidelights,” plus door panels and transoms. A half-round fanlight over the front door, or a pair of narrow sidelights beside it, is the most convincing place to put a faux panel.
- The colors date it. “Pre-1880 glass is usually smooth translucent colored glass,” while “glass with bold, deep colors is typical of the 1880s and 1890s, along with jewels, drapery glass and rippled glass.” That flamboyance “faded out with the rest of Victoriana by about 1910.” A creepy 1880s house gets the deepest, gaudiest colors you have.
- The line style dates it too. Zinc came “first appeared in 1893,” developed by Chicago Metallic with Frank Lloyd Wright. Zinc is “usually too stiff to employ in curvilinear designs,” so it went with the straight lines of Prairie School windows. Curves mean lead came. For a Victorian mansion, draw curves.
The brief quotes the 1926 House Beautiful Building Annual: “the crude stained glass windows in many of the Mansard-roof mansions of the ’eighties [1880s] prove how dreadful glass can be when wrongly used.”
Opalescent glass, the milky, streaked Tiffany look, came later in the period. The NPS brief says John LaFarge and Louis Comfort Tiffany “experimented independently throughout the 1870s to develop opalescent glass,” which LaFarge “was first to incorporate into his windows.”
Trace or Print These First
We made a free set of stained glass window templates for every method below: a single lancet, paired lancets under a small rose, a full rose window, diamond quarries with a border band, a black-line grisaille version for clear cling, and a Victorian fanlight. Print them at size, tile them for a big window, or trace them onto film.
Measure your glass first, inside the frame, and scale the template to fit with a margin all round. Artscape’s instructions call for “a 1/16” gap” between the film edges and the window frame (Artscape, installation).
Four Ways to Make It
| Method | Rough cost for one window | Best look | Comes off | Watch out for |
|---|---|---|---|---|
| Liquid leading and window paint | $15 to $40 | Raised lead lines, glossy jewel color | Peels, per Plaid | 24 hours to dry, 7 days to cure; indoor side only |
| Static cling film or cling vinyl | $20 to $45 | Crisp printed patterns, or hand-drawn grisaille | Peels, no adhesive | Smooth glass only; Gila rules out leaded and 40+ year old glass |
| Tissue or cellophane behind black cardstock | Under $15 | Soft, matte, very bright when backlit | Untape it | Paper burns; condensation on cold glass |
| Painted acrylic panel inside the frame | $70 to $80 | Closest to real glass; reusable every year | Lift it out | Must not block a bedroom window; keep lamps off it |
Costs are our estimates from the products below, checked September 27, 2026.
Liquid leading and window paint
Plaid’s Gallery Glass is the long-running version of this: a squeeze bottle of black “Liquid Leading” for the lines and water-based colors to fill them. Plaid’s pattern instructions are specific (Plaid, pattern-pack instructions):
- “Apply Liquid Lead from the center of the design working outwards,” and “Keep the nozzle tip one inch above the project surface, apply even pressure to create a uniform line.”
- Let the lines dry. Plaid’s digital-download guide says this “usually takes several hours or overnight” (Plaid, digital downloads guide).
- “Apply the paint to the perimeter of a leaded design section, then fill in. Add paint equal to the leading line level, applying the paint onto the leading, using it as a bumper.”
- For bubbles, “Tap directly under the section.”
- “Let Gallery Glass dry for 24 hours. Fully cures in 7 days. Drying times vary due to humidity, temperature, and thickness of paint.”
Plaid also says “Do not shake or stir your Gallery Glass Paint,” to clean the glass “with alcohol or soap” first, and that it’s “Not recommended for outside use” (Plaid’s product notes for its Window Cling Art Kit). The same notes put the dry time as “skins over in about 8 hours; allow 24 hours for through-dry,” adding that “Thicker fills and cooler rooms may take longer.” Plaid’s beginner guide just says “24 hours, depending on thickness” (Plaid, how-to and FAQ). Plan on a full week before you handle it much.
You don’t have to paint straight onto your window. Plaid’s download guide builds the design on a spare sheet of glass with the pattern taped under it, then says to “Gently peel your dried design off the glass” and move it. Its beginner guide says that once it’s on a window “it becomes semi-permanent and adheres in place until removed.” For a big window, paint it in sections on a flat sheet, peel each one, and lay them up on the inside of the glass. It’s easier than painting on a vertical surface, and a mistake costs one section, not the whole window.
For the clear areas, Plaid’s guide fills background space with Crystal Clear “using a circular swirling motion with your paint nozzle or brush.” That swirl gives the uneven, handmade texture Seliger was describing.

Gallery Glass Jewel Tones Stained Glass Painting Kit (8 Pieces)
Crystal Clear, Amber, Holiday Berry, Turquoise, Purple, Ivy Green and Deep Blue, plus one bottle of black Liquid Leading, all 2 oz. Deep Blue, Purple, Holiday Berry, Amber and Crystal Clear cover the cobalt, manganese, ruby, silver-stain and clear palette above, and Ivy Green works as the deep green; leave the turquoise in the box. Clear is the color a period window uses most, so expect to add a larger bottle of Crystal Clear for grisaille grounds and quarry grids.

Gallery Glass Liquid Leading, Black, 2 fl oz
A spare bottle of the black leading. The listing says a 2 oz bottle lays about 36 linear feet of line, and a full window drawn with wide lines and support bars can use more than that, so count your lines before you start.
Static cling film and cling vinyl
Cling film holds by static, so it comes off in November. Two ways to use it:
Draw your own on clear cling. Grafix Cling Film comes in 9 by 12 inch sheets, Clear or White, .007 inch thick, and “will cling to smooth, glossy surfaces without leaving any sticky residue.” Asked whether you can print on it, Grafix answers “No. Permanent markers/pens work the best,” and if it stops clinging, “just clean with Windex and the material should once again cling” (Grafix’s product notes). Lay a sheet over the grisaille template and trace it with a thick black paint pen: that’s a black-line-on-clear window, the same idea the Met describes. Sheets are small, so a quarry grid, where each sheet ends on a lead line, hides the seams best.

Grafix Static Cling Window Film, Clear, 9 x 12 in (50 Sheets)
Fifty sheets of clear cling, sold by Grafix itself on Amazon. Enough to tile two or three average windows in a quarry pattern, or to make a set of small grisaille panels for a transom and sidelights. Draw on it with permanent markers or paint pens; Grafix says it isn't printable.
Use a printed leaded-glass film as the base. Artscape and Gila both sell decorative static-cling films. Artscape’s films “will adhere to a clean smooth glass or plexiglass surface” and “will not adhere to frosted or textured glass,” and go on with soapy water and a squeegee (Artscape, installation). Its FAQ says “All Artscape window films are non-adhesive,” so “there will be no messy residue,” and that you have “approximately two weeks from the original application day” to remove and reapply a panel for long-term use. A clear textured leaded pattern makes a good grisaille ground; add a colored border of painted clings around it.

Artscape Regent Window Film, Textured Leaded Glass Design, 24 x 36 in
Clear, frosted-texture film printed with a leaded pattern of long lozenges and diamonds. On its own it reads as plain Victorian leaded glass; with a border of colored clings it becomes a grisaille window. It blocks the view through the glass, so pick a window you don't need to see out of.
Gila’s installation sheet adds conditions worth following for any cling film (Gila, static cling installation instructions):
- Apply to the “INSIDE surface” of the glass.
- “Apply film to cool shaded windows when glass temperature is between 45-90°F,” and “do not apply in direct sunlight or freezing weather.”
- “The film fully ‘cures’ over the next week to 10 days,” and you should “Wait at least 3 days after installation before cleaning.”
- Removal “is as easy as peeling the film away from the glass.”
It also has two rules about which glass to avoid; see before anything goes on the glass below.
Tissue or cellophane behind black cardstock
Print the template on plain paper, tape it to black cardstock, and cut out every glass area with a craft knife, leaving the lead lines. Glue tissue paper or colored cellophane over the openings on the back, one color per opening. The cardstock is the came, so leave the lines wide or it tears. We already use tissue this way in the jar luminaries in our DIY Halloween decorations guide; this is the flat version.

KIVTFF 11 x 17 Black Card Stock, 80 lb (15 Sheets)
Tabloid-size black card, dyed through so a cut edge shows black, not a white core. Big enough for a sidelight or a two-sheet lancet, and stiff enough to hold wide lead lines after the glass areas are cut out.
Two cautions, one sourced and one our own:
- It burns. NFPA’s Halloween safety sheet says “Dried flowers, cornstalks, and crepe paper catch fire easily. Keep all decorations away from open flames and other heat sources like light bulbs and heaters” (NFPA, Halloween fire safety tips). Tissue is the same stuff. Light this one with LEDs only, and not a lamp pressed against it.
- Cold glass gets wet. Pella explains that condensation forms “when water droplets collect on a cold surface because there is humid air in contact with it” (Pella, window condensation). Tissue taped flat to a cold pane sits right where that water collects on a humid party night. Stand the panel an inch or so off the glass on the sill, or tape it to the sash frame, not the pane.
Painted acrylic panel inside the frame
Build the design with liquid leading and paint on a clear acrylic sheet (Plaid lists “acrylic sheets” among Gallery Glass surfaces), then set the finished panel inside the window opening, in front of the real glass.
Plaskolite, which makes OPTIX acrylic, sets the limits (Plaskolite, OPTIX FAQ):
- Leave room for it to move. Acrylic expands and contracts, so “applications should be designed to allow a 1/16th inch per foot of length and width.” Cut it a little small and let it rest in the opening. Don’t force it in tight.
- Keep it cool. “OPTIX® should be used in applications with normal temperatures of 175°F or less, with short-term exposure up to 190°F,” beyond which it can “soften and become deformed.” No halogen or incandescent lamp near it.
- Clean it gently. “Use mild soap and water with a soft microfiber cloth,” and “Do not use razor blades, scrapers, or squeegees as they can scratch the sheet.”
- Leave the masking on until you paint. “During storage, masking should be left on the sheet,” but don’t store it for years that way: “Old masking is difficult, if not impossible, to remove.”

OPTIX Clear Acrylic Sheet, 1/4 in, 18 x 24 in
Plaskolite's OPTIX extruded acrylic, sold by ShapesPlastics, with film masking on both sides. The listing says it cuts by scoring about a third of the way through and snapping. A quarter inch stands up on a sill by itself; size it to your opening minus the expansion gap.
Don’t use this method on a bedroom window you might need to climb out of. See keep the window a way out.
Before Anything Goes on the Glass
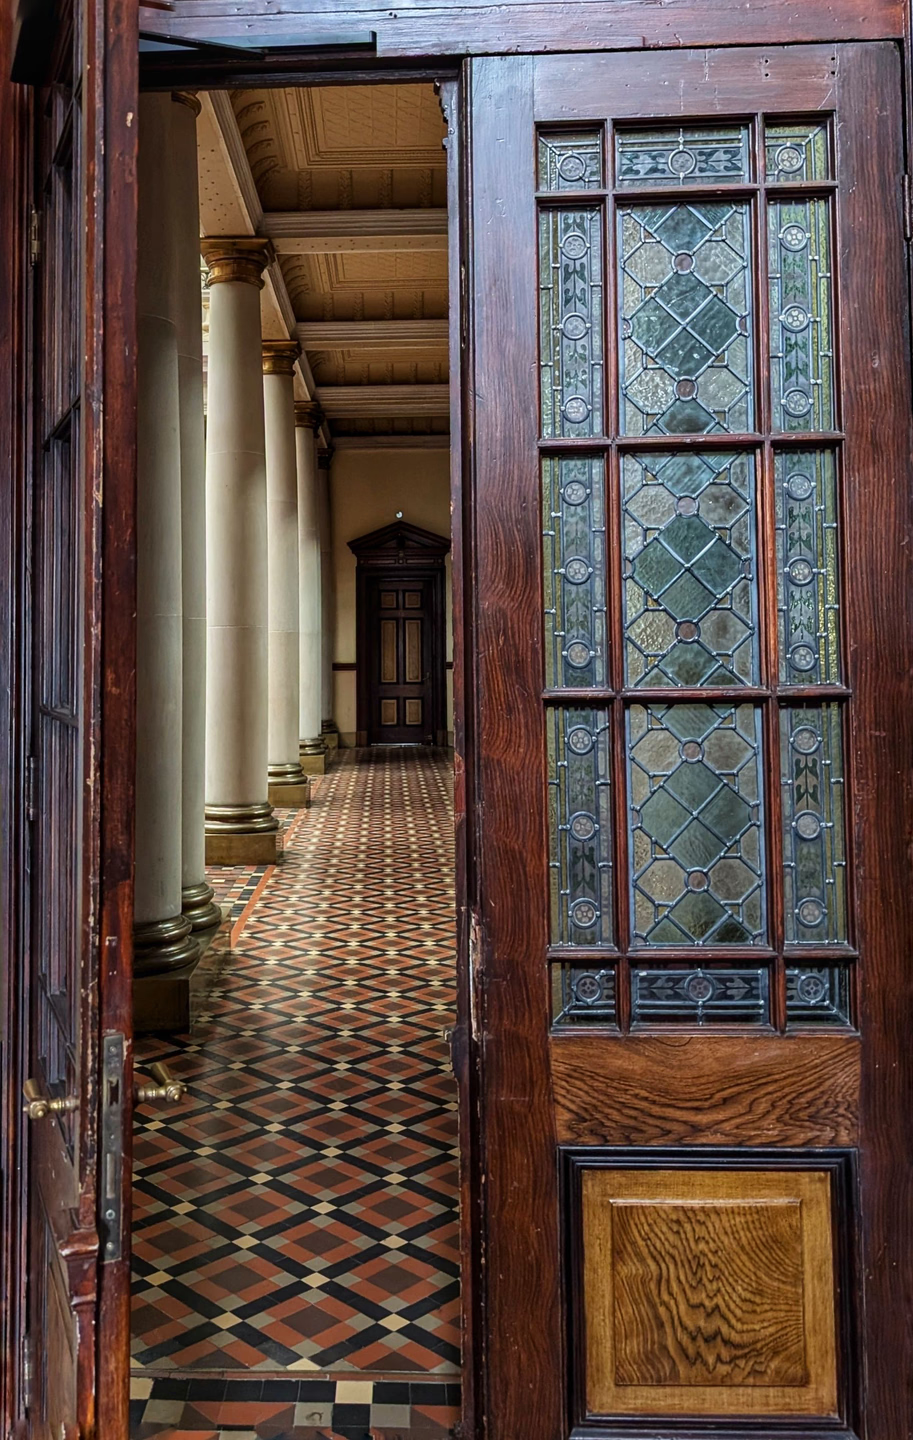
Old or leaded glass: don’t. Gila’s instructions say “DO NOT apply film to glass containing holes, or frosted, etched, leaded, cracked, deeply scratched, flawed or otherwise defective glass,” and “DO NOT apply film to glass that is more than 40 years old.” That’s Gila’s rule for its own films; Artscape’s pages don’t address old glass either way. If you live in an actual old house with actual leaded glass, a freestanding acrylic or cardstock panel in front of it is the safe choice. If you clean real leaded glass, the NPS brief warns that “Most common household glass cleaners contain ammonia and should not be used.”
Check for a room-side coating. Some modern windows have a low-E coating on the inside face of the glass. Cardinal’s LoĒ-i89, for example, goes on “the room side glass surface (surface #4 of a dual pane insulating glass unit …)” (Cardinal, technical service bulletin CG06). Cardinal says abrasive cleaners “should not be used” on it, and that because it reflects heat back into the room, “the room side pane of glass will be colder,” with “a higher probability of room side glass condensation” in winter. That’s another reason to keep paper off the pane. Your window’s paperwork or its maker will tell you whether you have one.
Razor blades: the makers disagree. Gila’s instructions say “Carefully use a razor blade to scrape away dirt, paint, or residue from the glass,” and Artscape says to clean the window “using a razor blade if necessary.” Cardinal says the opposite: “As with standard non-coated glass products, razor blades or other sharp instruments should not be used.” Plaskolite says never on acrylic. Our take: skip the blade on new windows, coated windows and acrylic, and use soap, water and a soft cloth. If glass has paint spatter that won’t come off any other way, check with the window’s maker first.
Fall is crack season anyway. Pella says stress cracks happen “when a thermal gradient causes different parts of the glass to expand by different amounts,” start “perpendicular to the glass edge,” and that it gets “more customer calls about stress cracks in the spring and fall, when areas are experiencing hot temperatures during the day and then much cooler temperatures at night” (Pella, why did my window crack). Pella doesn’t name decorations as a cause, and we’re not claiming they are. But Gila warns, about warming filmed glass with a hair dryer, “Be careful not to warm the filmed glass too much, as this can cause the glass to break” (Gila, FAQ). Don’t aim a hot lamp at the glass, and don’t use heat to speed anything up. Gila does say all its films “can be applied to dual-pane windows if used correctly,” but it also says its dark-dyed films “absorb a larger amount of solar heat” and go “to the OUTSIDE of dual-pane windows.” Our inference from that and Pella’s uneven-heating explanation: on sunny insulated glass, avoid big dark painted or cardstock areas pressed flat against the pane.
Lighting It
Day and night are two different windows
Stained glass shows whichever side has the most light behind it. The NPS brief, writing about photographing windows, says “interior lights should be turned off” and that windows across the room “may need to be shaded or blocked to avoid ‘front lighting’ on the window from competing with the transmitted light.” It also says opalescent glass “often was intended to be read from the exterior as well as the interior.”
For you, that means:
- By day, it’s for the people inside. Sunlight comes through and the colors glow in the room. From the street, the window looks dark.
- At night, it’s for the street. Turn the room light on behind the window and the colors show outside. Inside, the same window goes dull.
- Kill the competition. For the street view, keep the porch light low or off near that window; for the inside view at a daytime party, keep room lamps off the glass.
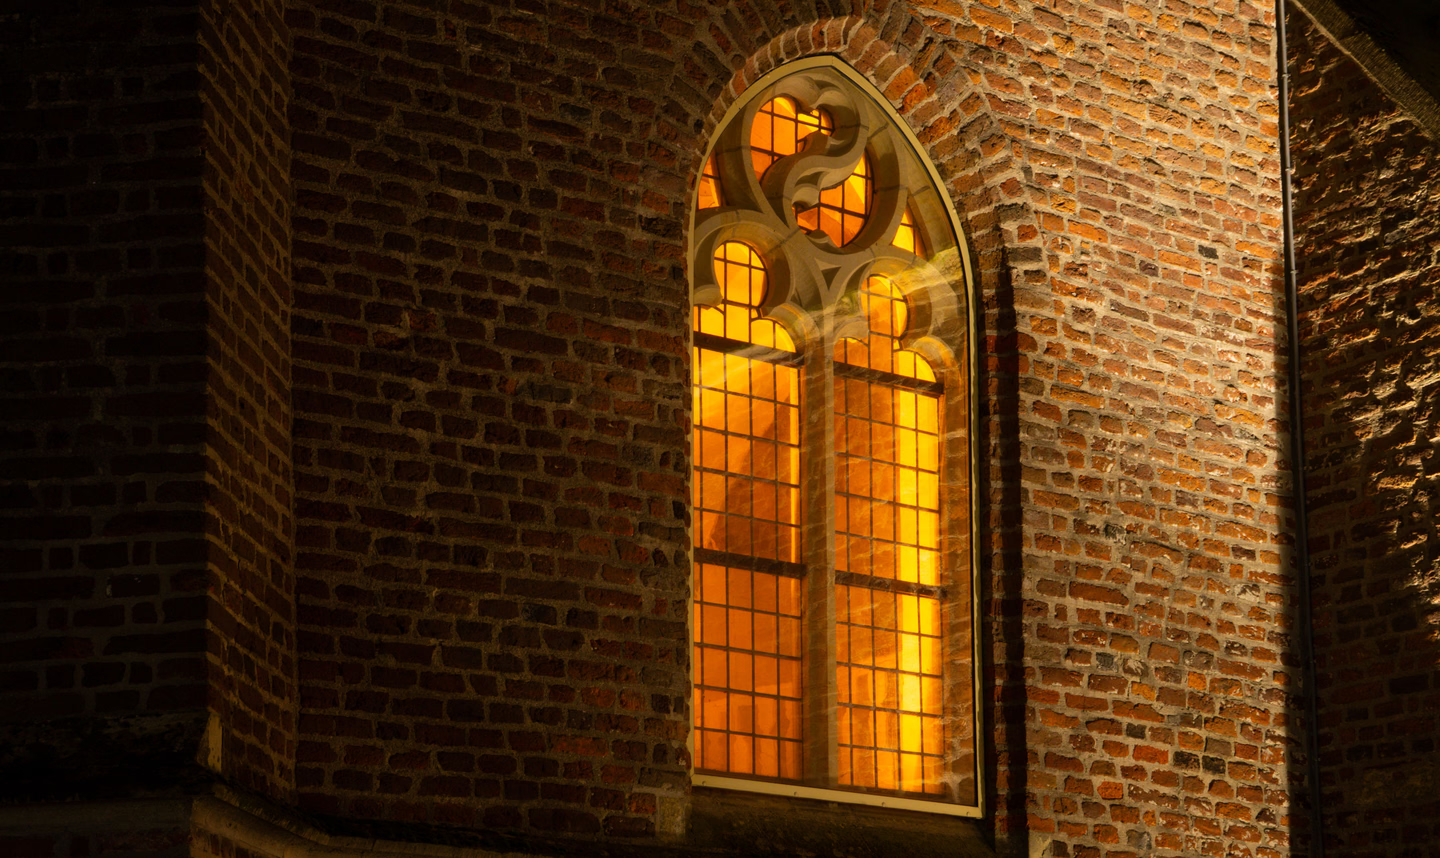
Place and aim the lamp the way you would for any backlit window. Our Halloween window displays guide covers lamp distance, gel colors and diffusion screens, so we won’t repeat it here. One addition for stained glass: a white or warm-white source shows the true colors of your paint. A colored backlight shifts them, and blue behind a ruby panel turns it muddy.
Use LEDs
ENERGY STAR says “Incandescent bulbs release 90% of their energy as heat,” while “LEDs use heat sinks to absorb the heat produced by the LED and dissipate it” (ENERGY STAR, LED lighting). With acrylic rated to 175°F and paper that NFPA says catches easily, the lamp behind a faux window should be LED. CPSC also says to “Only use lights that have been tested for safety by a recognized testing laboratory” and to check sets for “broken or cracked sockets, frayed or bare wires, or loose connections” (CPSC, Halloween safety tips).
If you tint a lamp with theatrical gel, know the limit. Rosco lists its polyester Roscolux as “Softening: 257°F (125° C)” and its polycarbonate filters as “Softening: 320°F (160° C),” with melting points of 572°F and 425°F (Rosco’s filter specs). The softening point is the practical limit. The acrylic panel’s 175°F is lower still.
For a flicker, as if candles were burning somewhere in the house, a flame-effect bulb in a lamp a few feet back does it without an open flame. The window displays guide has the floods and flame bulbs we use.
Keep the Window a Way Out
Bedrooms and basements depend on their windows as fire exits. The International Residential Code requires that “every sleeping room shall have not less than one operable emergency escape and rescue opening,” and that it be “operational from the inside of the room without the use of keys, tools or special knowledge” (ICC, 2021 IRC section R310). The US Fire Administration tells households to find “2 ways out of every room,” make sure “doors and windows are not blocked,” and notes that “Residents could have less than 2 minutes to escape a home fire once the smoke alarm sounds” (USFA, home fire escape plans). NFPA’s tip sheet says to “keep exits clear of decorations so nothing blocks escape routes.”
Film and paint on the glass don’t stop a sash from opening. A panel is different. On any window someone might need to get out through, rest the acrylic or cardstock panel loosely so it lifts out in one move, and never screw, wedge or glue it into the sash. If guests are staying over, put the panel on a window they won’t need.
Taking It Down
- Cling film: peel it off, per Gila and Artscape. Store Grafix sheets flat on their backing; if they lose their grip next year, Grafix says a wipe with Windex brings the cling back.
- Gallery Glass: Plaid describes it as “semi-permanent, removable” and made to “peel & reposition.” Peel it slowly from a corner. Designs you built on a spare sheet can go back on that sheet for storage.
- Cardstock panels: untape and store flat.
- Acrylic panels: lift out, wipe with mild soap and water, and store away from sun with something soft between panels.
For more on dressing the rest of the room behind the window, see our indoor decorating guide and the Victorian gothic decor gallery.