Prop Building 101 Part 1: PVC Frames and Armatures
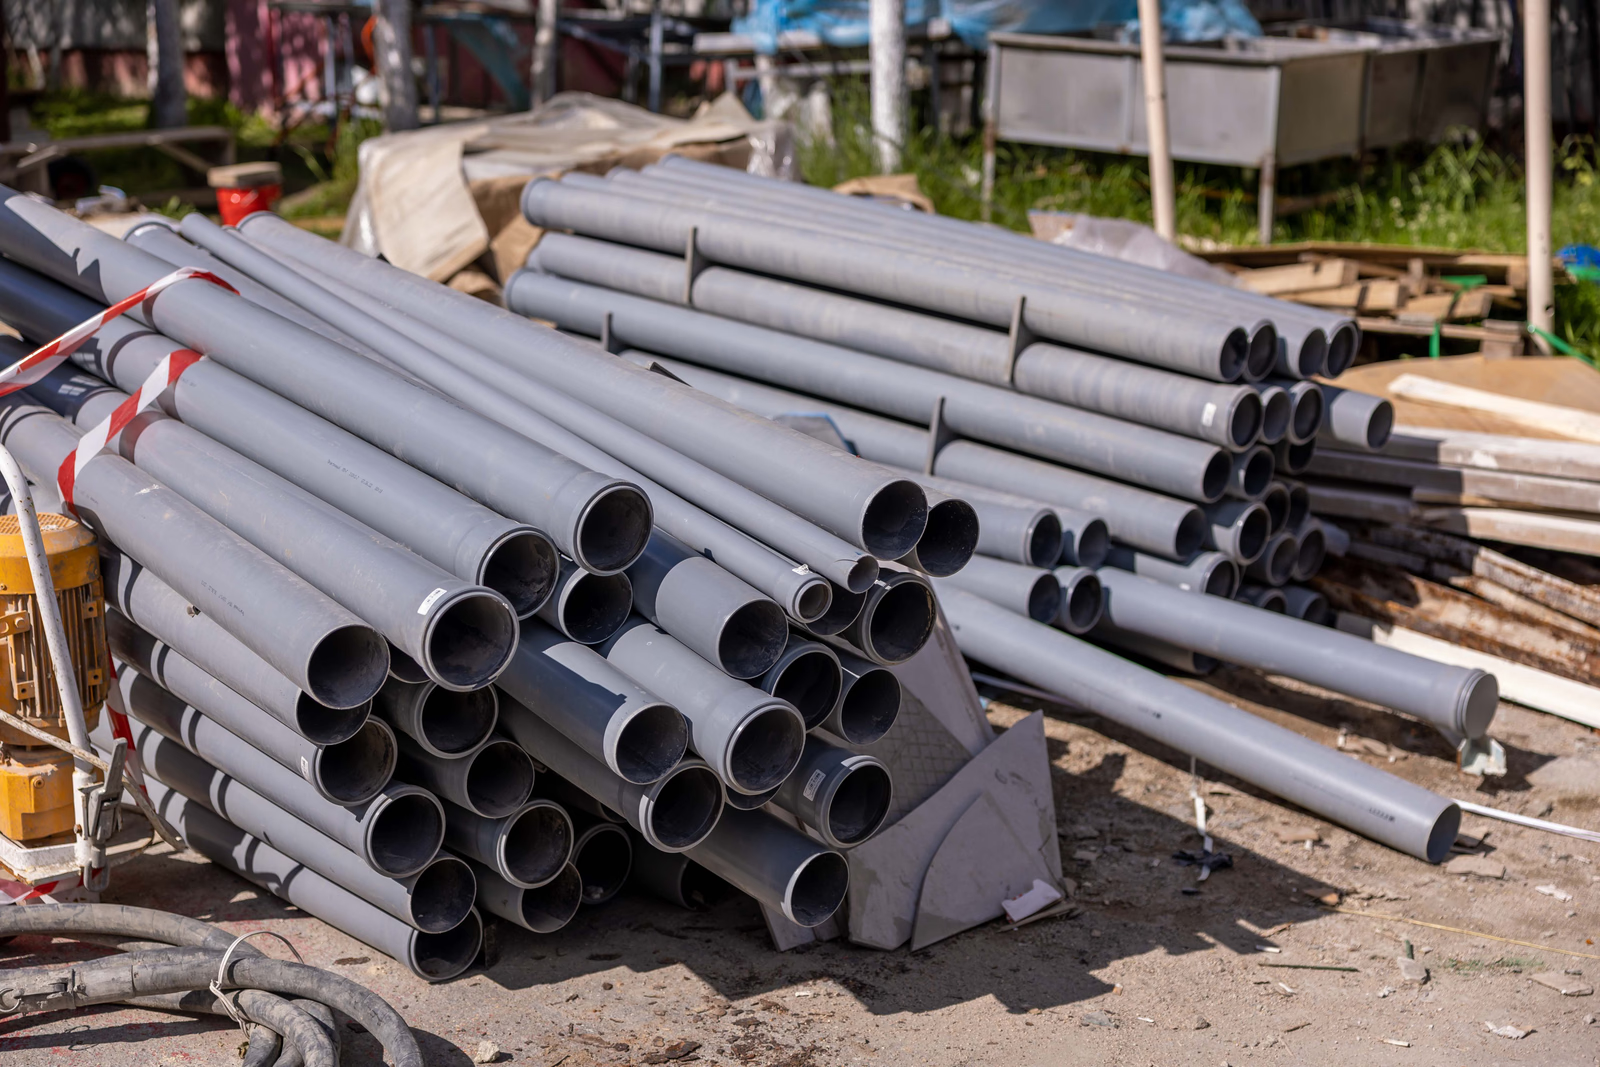
Almost every home haunt has PVC in it somewhere: wall frames for black plastic, the skeleton inside a monster mud figure, the crossbar a ghost flies from. The pipe makers would rather it didn’t. Charlotte Pipe’s technical manual says it plainly: “Never use ABS / CPVC / PVC pipe or fittings in structural application or in any load-bearing applications” (Charlotte Pipe, Plastics Technical and Installation Manual, p. 6).
So be honest about what a prop frame is. It’s off-label hobby use of a plumbing product. Nothing on this page turns PVC into a rated structure. What it does is keep the loads light enough that off-label use stays sensible: fabric, plastic sheeting, foam heads, a papier-mâché shell, a Part 2 monster mud skin. Nobody leans on it, sits on it, climbs it or walks under a heavy load hung from it.
The Two Rules From the Pipe Makers
The same warning box in Charlotte’s manual carries a second line haunters break constantly: “Never strike the pipe or fittings or drive them into the ground or into any other hard substance.” If a frame leg goes into a lawn, dig or auger the hole for the sleeve rather than hammering pipe into hard ground.
The rule that matters more is about air. Charlotte: “Testing with or use of compressed air or gas in ABS / CPVC / PVC pipe or fittings can result in explosive failures and cause severe injury or death,” and “NEVER test with or transport/store compressed air or gas” in them (p. 7). On page 52 it names the hobby versions outright: “never use with compressed air devices such as SPUD GUNS, FLAMETHROWERS, BAIT CANNONS, or COMPRESSED AIR GUNS.” The cement maker agrees. IPS says its Weld-On 705 cement “must never be used in plastic piping system using or being tested by compressed air or gases.” What that means for pneumatic scare props is further down.
Sizes and Weights
Charlotte’s table for plain-end Schedule 40 pipe (ASTM D 1785) gives the numbers that matter for a frame. The 10-foot weights are our arithmetic from the per-100-foot figure.
| Nominal size | Outside diameter | Minimum wall | Weight per 100 ft | One 10 ft stick |
|---|---|---|---|---|
| 1/2” | 0.840” | 0.109” | 15.9 lb | about 1.6 lb |
| 3/4” | 1.050” | 0.113” | 21.1 lb | about 2.1 lb |
| 1” | 1.315” | 0.133” | 31.3 lb | about 3.1 lb |
The pressure ratings in the same table (600 psi for 1/2”) are for water at 73°F. They say nothing about how much a horizontal span will sag under a fabric wall, and no maker publishes a prop load table. Treat 1/2” as the size for armatures, candelabras and anything handheld, and step up to 3/4” or 1” for wall frames and anything taller than you, where a thin span visibly bows.
One number deserves more attention than it gets. Charlotte lists PVC’s notched Izod impact strength at 0.65 ft-lb per inch of notch, against 6.00 for ABS (p. 8). PVC is stiff but it doesn’t like being hit. In our experience frames rarely fail by bending; they crack when they fall over or get kicked.
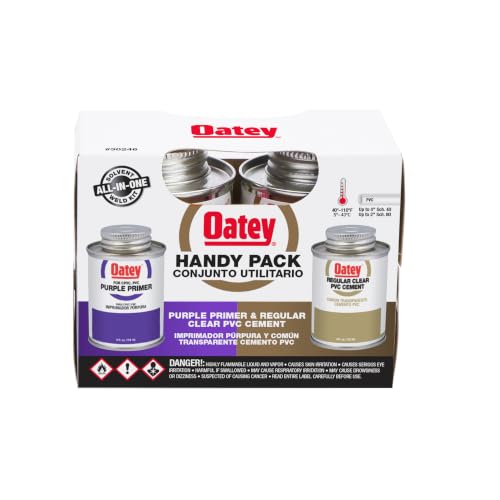
Oatey 30246 PVC Regular Clear Cement and Purple Primer Handy Pack (4 oz each)
Primer and medium-set clear cement in one pack. The listing gives a 40°F to 110°F application range, which rules out cementing in a freezing garage.
Sun, Heat and Cold
Sun. UV attacks only the surface, “to the extremely shallow depths of .001 to .003 inches,” and “does not continue when exposure to sunlight is terminated” (Charlotte, p. 44). JM Eagle’s bulletin on sunlight exposure says the “sole performance characteristic adversely affected by sunlight exposure is impact resistance,” that “white pipe will turn yellow to brown,” and that “pipes of smaller diameter and thinner wall will exhibit more effect” (JM Eagle, The Effects of Sunlight Exposure on PVC Pipe and Conduit). That describes 1/2” prop pipe exactly. A frame that has spent three Octobers in the yard isn’t weaker at holding a sheet. It’s more likely to shatter when it goes over.
Both makers recommend water-based latex paint for protection, and both warn off solvent paint: Charlotte says “Petroleum-based paints should not be used,” and JM Eagle says oil or solvent paints “may damage the pipe and/or not adhere well.” Our front yard graveyard guide covers painting PVC posts.
Heat. Charlotte gives PVC a heat distortion temperature of 158°F at 264 psi and warns that “radiant heat from the sun can increase pipe surface temperatures by 50ºF or more” (pp. 8, 44). JM Eagle’s temperature bulletin says pipe “becomes stiffer with decreasing temperature and more flexible with increasing temperature,” and its table cuts stiffness to 0.88 of the 73°F figure at 100°F and 0.79 at 120°F (JM Eagle, The Effects of Temperature on PVC Pipe). A dark painted span in afternoon sun sags more than the same span did in the garage.
Cold. Charlotte: “plastic pipe becomes more brittle as the temperature decreases,” so “take extra care when handling skids or loose lengths when the temperature drops below 50°F” (p. 7), and PVC becomes more brittle “particularly at temperatures below freezing (32°F)” (p. 76). Late October nights are the worst time to be tossing frame sections into a pile.
Cutting, Deburring and Dry Fit
Charlotte’s procedure for 1/2” to 4” pipe (pp. 57 to 59) is short and worth following to the letter:
- Cut square. “All joints are sealed at the base of the fitting hub. An angled cut may result in joint failure.” Acceptable tools include a “ratchet type pipe cutter, miter saw, reciprocating saw,” and “Ratchet cutters should be sharpened regularly.”
- Cut back cracks. “If any indication of damage or cracking is evident at the pipe end, cut off at least 2” of pipe beyond any visible cracks.” Sun-aged pipe from last year’s frame is where you’ll see this.
- Deburr and bevel. Remove burrs inside and out “with a knife edge, file or de-burring tool,” then chamfer (bevel) the end of the pipe at 10° to 15°.
- Dry fit. “With light pressure, pipe should go one half to two thirds of the way into the fitting hub. Pipe and fittings that are too tight or too loose should not be used.”
Dry fitting is also where you plan which joints stay loose. Our own practice: build the whole frame dry, number each joint with a marker on both pieces, then cement only the subassemblies that never need to come apart (a leg with its foot, a corner cube) and leave the storage joints dry. A frame that knocks down into straight sticks is a frame you’ll still have next year.
A ratchet PVC cutter handles everything up to 1” (its listing puts a cut at 5 to 20 seconds), and in our experience leaves a squarer end than a hacksaw does freehand. For fittings, the furniture-grade 1/2” three-way corners sold for shelving are made for frames rather than plumbing; the seller says they fit 0.84” OD Schedule 40 pipe, which matches Charlotte’s table.

WORKPRO Ratchet PVC Pipe Cutter, up to 1-5/8 in.
One-hand ratchet cutter for pipe up to 1-5/8 in. OD, which covers every size in the table above. Keep a spare blade; Charlotte says ratchet cutters need regular sharpening.
Primer or No Primer
The makers disagree, and both are describing their own products.
- Charlotte Pipe lists primer as “Required ASTM F 656” for Schedule 40 PVC from 1/2” to 4”, with clear regular or medium-bodied cement. It adds that “All purpose cement is not recommended” and that “Aerosol or spray-on type primers/solvent cements are not recommended” (pp. 53, 58).
- IPS says its Weld-On 705 medium-bodied cement “Can be used without primer on non-pressure systems if local codes permit” (Weld-On 705 data sheet).
A prop frame is a non-pressure system with no code inspector, so either choice is defensible. Primer is the conservative one, and the purple dye shows you which joints you’ve done. If the frame will be seen unpainted, skip purple and use a clear primer, or paint over it.
When you do prime, Charlotte’s sequence is primer on the socket, primer on the pipe “to a point ½” beyond the hub depth,” a second coat in the socket, then cement “while primer is wet.” Insert the pipe “giving a quarter turn as the pipe is being inserted,” don’t turn it again after it bottoms out, and “hold pipe and fitting together until the pipe does not back out.” A good joint “will show a continuous bead of cement around the perimeter.” After that: “Do not bend or pull pipe into position after being solvent welded.”
Set and Cure Times
Charlotte’s initial set table is the time before you can handle a joint (p. 54):
| Temperature | 1/2” to 1-1/4” | 1-1/2” to 3” |
|---|---|---|
| 60°F to 100°F | 15 min | 30 min |
| 40°F to 60°F | 1 hr | 2 hr |
| 0°F to 40°F | 3 hr | 6 hr |
Cure before pressure testing, for 1/2” to 1-1/4” at up to 180 psi, runs 1 hour at 60°F to 100°F, 2 hours at 40°F to 60°F and 8 hours below 40°F, and “For relative humidity above 60%, allow 50% more cure time.” No maker publishes a cure time for a prop that isn’t under pressure. We use the pressure cure as the wait before a frame carries anything, which on a damp 50°F October evening is three hours, not fifteen minutes.
The joint count per can is smaller than it looks. Charlotte quotes IPS’s estimate of about 300 joints per quart of cement at 1/2” and 200 at 3/4”, with primer going twice as far. A 4 oz can is an eighth of a quart, so by our arithmetic it’s roughly 37 joints at 1/2” and 25 at 3/4”. A 20-tee cemetery fence has 40 or more joints before you count the posts.
The Cement Is the Fire Hazard
The pipe itself is hard to light: JM Eagle’s PVC safety data sheet calls it “nonflammable and nonexplosive under normal conditions of use” (JM Eagle PVC SDS). The cement is the opposite. The Weld-On 705 Clear SDS lists:
- Flash point: 1.4°F. It gives off ignitable vapor at any temperature you’d build in.
- Hazard statement H225, “Highly flammable liquid and vapor,” signal word “danger.”
- “Solvent vapors are heavier than air and may spread along floors,” and “prevent leakage of vapours into cellars, flues and ditches.”
- P210, “Keep away from heat/sparks/open flames/hot surfaces. No smoking,” and P271, “Use only outdoors or in a well-ventilated area.”
Its solvents are cyclohexanone, methyl ethyl ketone and acetone. There’s no tetrahydrofuran on the list, so don’t assume every PVC cement has the same makeup; read the SDS for the can you bought. Charlotte adds that “Primers and cements are extremely flammable and may be explosive. Do not store or use near open flame” (p. 53).
Put those together in a typical garage. A gas water heater or dryer sits at floor level, and the vapor from an open can drifts along the floor toward it. Our rule is to cement on the driveway with the garage door open, cap the can between joints, and let the frame air out outside before it comes back in.
Changing Direction: Fittings, Not Heat
Charlotte’s position on bending is one line: “Using an external heat source to bend ABS, CPVC, or PVC may result in structural damage to pipe and fittings. Always make changes in direction with fittings” (p. 52). Elbows come in 90° and 45°, and a 45° plus a short stub plus another 45° makes most of the curves a prop needs.
We don’t teach heat bending, and the pipe’s safety data sheet is why. JM Eagle’s SDS: “Do not heat to temperatures greater than 350°F, which causes slow darkening and decomposition. Higher heat (greater than 482°F) increases rate & evolution of HCl gas (an acidic and corrosive gas).” Browning isn’t a sign you’re close; it means the pipe is already breaking down. No pipe maker we can cite gives a safe bending temperature, and fittings avoid the question.
Pneumatic Props: Air and Cylinders Stay Off PVC
A pneumatic pop-up has a compressor, a valve, air line and a cylinder, and PVC shouldn’t be any of them. No PVC “tank,” manifold or air line, and no cylinder improvised from PVC pipe: every part the air passes through should be hose and fittings rated for compressed air.
The mount is a problem too. A cylinder that fires a figure is a moving, repeated load, which is exactly what Charlotte’s “load-bearing” warning rules out, and PVC’s low impact strength means the shock of each stroke lands on the joints. Mount pneumatic cylinders to a wood or metal frame. PVC can still carry the lightweight dressing around the scare: walls, drapes and the static parts of the figure.
The trigger side of a pneumatic build is in Art of the Jump Scare Part 3.
Wind and Staking
A frame wrapped in fabric or plastic is a sail. Anchoring, stake angles and the wind speeds that matter are in our weatherproofing guide, and sleeve posts for fences and headstones are in the front yard graveyard guide. Using PVC walls to shape a walk-through path is in yard haunt basics. Our witch coven yard scene dresses a staked frame like this as a witch, with a weighted cloak so it doesn’t sail, and mannequins and dressed props covers padding, clothing and aging a figure on any frame.
The frame you build here becomes the armature in Part 2: Monster Mud, and the crossbar in Part 4: The Flying Crank Ghost.
Put It to Work

Mannequins and Dressed Props: How to Make a Figure Look Real
Store mannequins, dress forms, skeletons and PVC frames compared, plus padding a tiny display body into real clothes, heads and hands, Rit dye by fiber, painting plastic, blood on fabric, lighting a face and keeping a dressed figure alive outdoors.

How to Weight and Anchor Halloween Props Indoors
What giant-prop and animatronic manuals say about hard floors, where the sandbags actually go, how to strap a tall prop to a wall stud or toggle bolt, and how to keep the floor, the cords, the pets and the exits safe while it stands in your living room.

Vintage-Style Paper Mache Jack-o'-Lanterns, Modeled on the c. 1940 Originals
What the Smithsonian's papier-mache jack-o'-lanterns from around 1940 actually look like, and how to build a hollow copy from instant papier-mache: a scored-halves shell, tissue-paper face inserts, an LED, an aged paint finish, and the sealer argument between Golden and Zinsser.