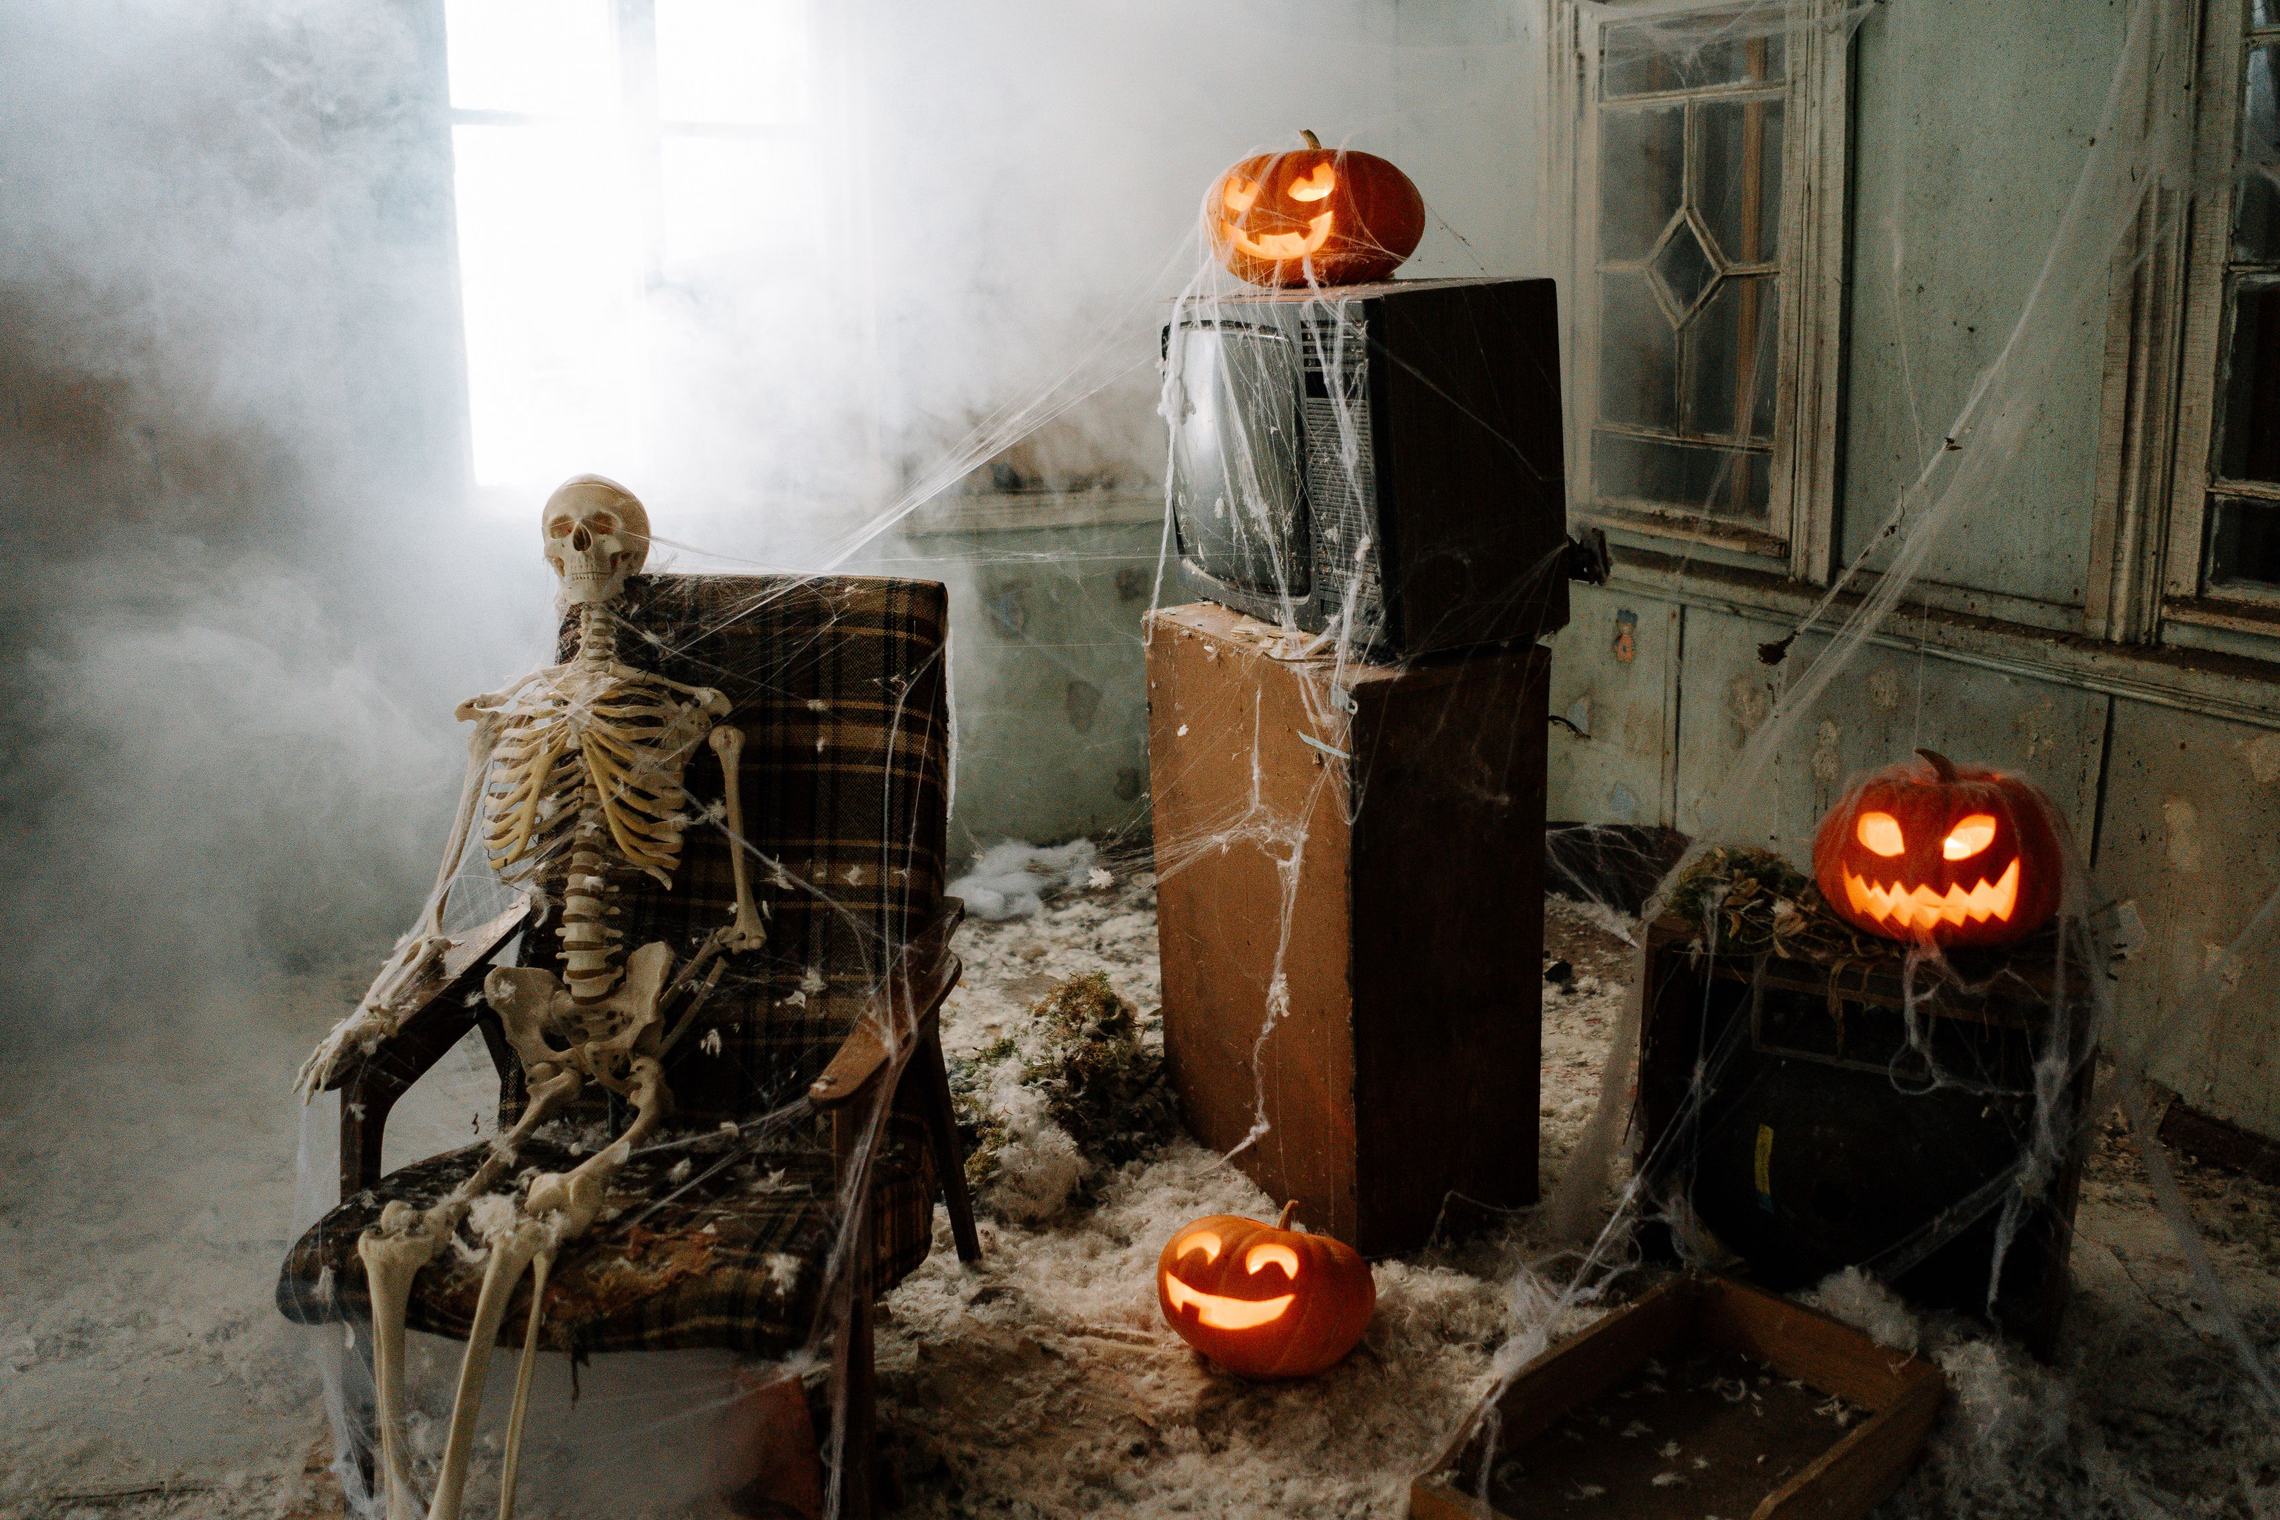
The papier-mache jack-o’-lanterns in the Smithsonian’s collection are about the size of a cantaloupe and open at the top. Two carry a wire handle, and the best preserved have a printed paper face set in behind the cut-out eyes and mouth. You can build one that reads the same way from a bag of instant papier-mache, a ball of newspaper and foil, and some tissue paper. It lives indoors or on a covered porch, and it takes an LED, never a candle.
What the Originals Look Like
The National Museum of American History (NMAH) has at least four papier-mache lanterns in its online catalog, all catalogued as made “ca 1940,” and none on view. Their records name no maker and no country of origin.
| NMAH record | Subject | Materials (as catalogued) | Size |
|---|---|---|---|
| 1991.0176.01 | Jack-o’-lantern, used in Hamilton, Ohio | papier-mache, wire, paint | 7 3/4 x 6 7/8 x 8 1/8 in |
| 1991.0176.02 | Jack-o’-lantern | papier-mache, paint, string | 6 x 5 1/2 x 5 1/2 in |
| 1983.0706.04 | Jack-o’-lantern | papier-mache, wire, paint | 7 1/2 x 7 x 7 3/8 in |
| 1983.0706.03 | Black cat | papier-mache, paper, paint | 7 5/8 x 6 3/8 x 4 3/8 in |
Sizes are the records’ “overall” measurements. The 1991.0176.01 record also gives an “average spatial” set that runs to 9 1/16 inches, so allow for a lantern up to about 9 inches across.
A 2014 NMAH collections post describes the first two as “creepy jack-o’-lanterns with pierced eyes, noses, and mouths,” and says “Electric lights or candles could be inserted through the large opening at the top. Brightly colored facial features are printed on paper inserts inside the lanterns” (NMAH).
Here is what the record photos show. These are our observations, not catalog text:
- The face is molded, not just cut. Heavy brow ridges, raised cheeks and a nose bump stand out from the shell, and the vertical ribs of a pumpkin run all the way around the back.
- The top is an open, slightly ragged rim. There’s no lid. On the wire-handled pumpkins, a thin wire bail runs through holes just below the rim.
- The paint is orange shading to green at the base, with green brows and cheek accents on the faces. Where it has chipped, a pale gray material shows through, and the surface has a fine, cloth-like texture.
- The inserts are printed paper. On 1991.0176.01, yellow and red pupils sit on a dark blue ground behind the eyes, and a row of teeth sits behind the mouth. The smaller 1991.0176.02 has blue-and-white eyes and a red mouth with white teeth. On 1983.0706.04 the openings are empty now, so you can see straight through to the inside. The black cat’s insert gives it yellow-green eyes and a red, fanged mouth, and its back is left open.
The one maker-attributed pumpkin from the same donor is something else entirely: a flat, folding cardboard jack-o’-lantern decoration by the Beistle Company of Shippensburg, Pennsylvania, dated “ca 1931” (1991.0176.03). For Beistle’s die-cuts, Dennison’s Bogie Books and how collectors date paper Halloween, see our history of collecting vintage Halloween.
Pick a Clay
You’re not going to press pulp into a two-part mold the way a factory could. You’ll model a shell by hand over a form you can pull out later, and a commercial instant papier-mache is the easiest material to do that with, because the maker publishes instructions you can follow. Every number in this table is the maker’s own claim.
| Activa CelluClay | Creative Paperclay | |
|---|---|---|
| Form | Dry mix, add water | Ready to use from the pack |
| Air drying | “usually overnight or 24 hours,” humidity dependent | Thin pieces overnight; “larger or thicker projects may take several days” |
| Oven drying | “low temperature oven, with the door cracked open,” no temperature given | “200-250 degrees Farenheit” [sic] |
| Shrinkage | “Virtually no shrinkage with fast and even drying” | Not stated in its FAQ |
| Paints | “Tempera, acrylic, water colors, and oil paints” | “acrylic, watercolor, oil” |
| Source | Instructions PDF | FAQ |
CelluClay is the better fit for a whole shell: it’s sold by the pound and Activa’s own instructions include the hollow-form method below. Paperclay’s Amazon listing says it “accepts and retains fine details,” so save it for the brow ridges and cheeks you add on top.
Activa disagrees with itself on the mix
Activa publishes two mixing instructions and two storage times, and they don’t match:
| Instructions PDF | Activa tips page | |
|---|---|---|
| Mix | “Add 32 oz. of warm water to 1 lb. of CelluClay” | “Add approximately one part water to five parts CelluClay” |
| Mixed clay in the fridge | “for several weeks if kept in an air-tight container or sealed in an air-tight plastic bag” | “for up to one week” in a sealed bag (and “several days” at room temperature) |
The PDF’s own fallback is to knead to “the consistency of clay or stiff dough with no dry spots,” adding dry mix if it’s too wet and water if it’s too stiff. Go by that feel, not either ratio. For storage, plan on the shorter figure. The tips page also says to “Mix CelluClay in a sealed bag (like a Ziploc), to prevent dust from spreading.”

Activa CelluClay Instant Paper Mache, 2 lb
The dry mix Activa's hollow-form instructions are written for. Add warm water, knead to a stiff dough, and model it over foil or plastic wrap. Once dry, Activa says it can be sanded, sawed and drilled, which is how you cut the face and pierce the handle holes. Two pounds covers a shell plus the mistakes.

Creative Paperclay Modeling Compound, 16 oz
Air-hardening and ready to use, with no mixing. It holds fine detail, per its listing, so use it for the raised brows, cheeks and nose on top of a CelluClay shell. The maker says water-based paint can be kneaded into its clays while moist, but that this works best with its Delight compound, so paint Paperclay after it dries.
A note on home-mixed “paper mache clay”
Many online recipes bind paper with ready-mixed drywall joint compound. We’re not publishing one. If you use one anyway, here is what USG says about its own Sheetrock All Purpose Joint Compound on the product’s safety data sheet (revised March 2023):
- “Recommended use: Interior use.” It also lists the product as “Soluble in water.”
- Check the tub first. “Do not use if material has spoiled, i.e., there is a moldy appearance or an unpleasant odor.”
- The dust is the hazard. “Dust irritates the respiratory system, and may cause coughing and difficulties in breathing.” USG says to “Minimize dust generation,” to “Wear approved safety goggles,” and to use “a NIOSH/MSHA approved air purifying respirator as needed.”
- Some skin reacts. The preservative in it “can act as a sensitizer,” with positive reactions “mostly in persons with eczema.”
Sanding is where the dust comes from. NIOSH found drywall sanders exposed to “as much as 10 times the permissible exposure limit” for total dust, and warns that over time the dust “may cause persistent throat and airway irritation, coughing, phlegm production, and breathing difficulties similar to asthma.” Of the five manufacturers’ safety sheets NIOSH reviewed, four “told construction workers to use wet sanding whenever possible,” and vacuum sanding attachments cut exposures “by 80% to 97%” (NIOSH 99-113). On a pumpkin, that means a damp sponge instead of sandpaper, or sanding outside with a respirator on.
Build the Shell
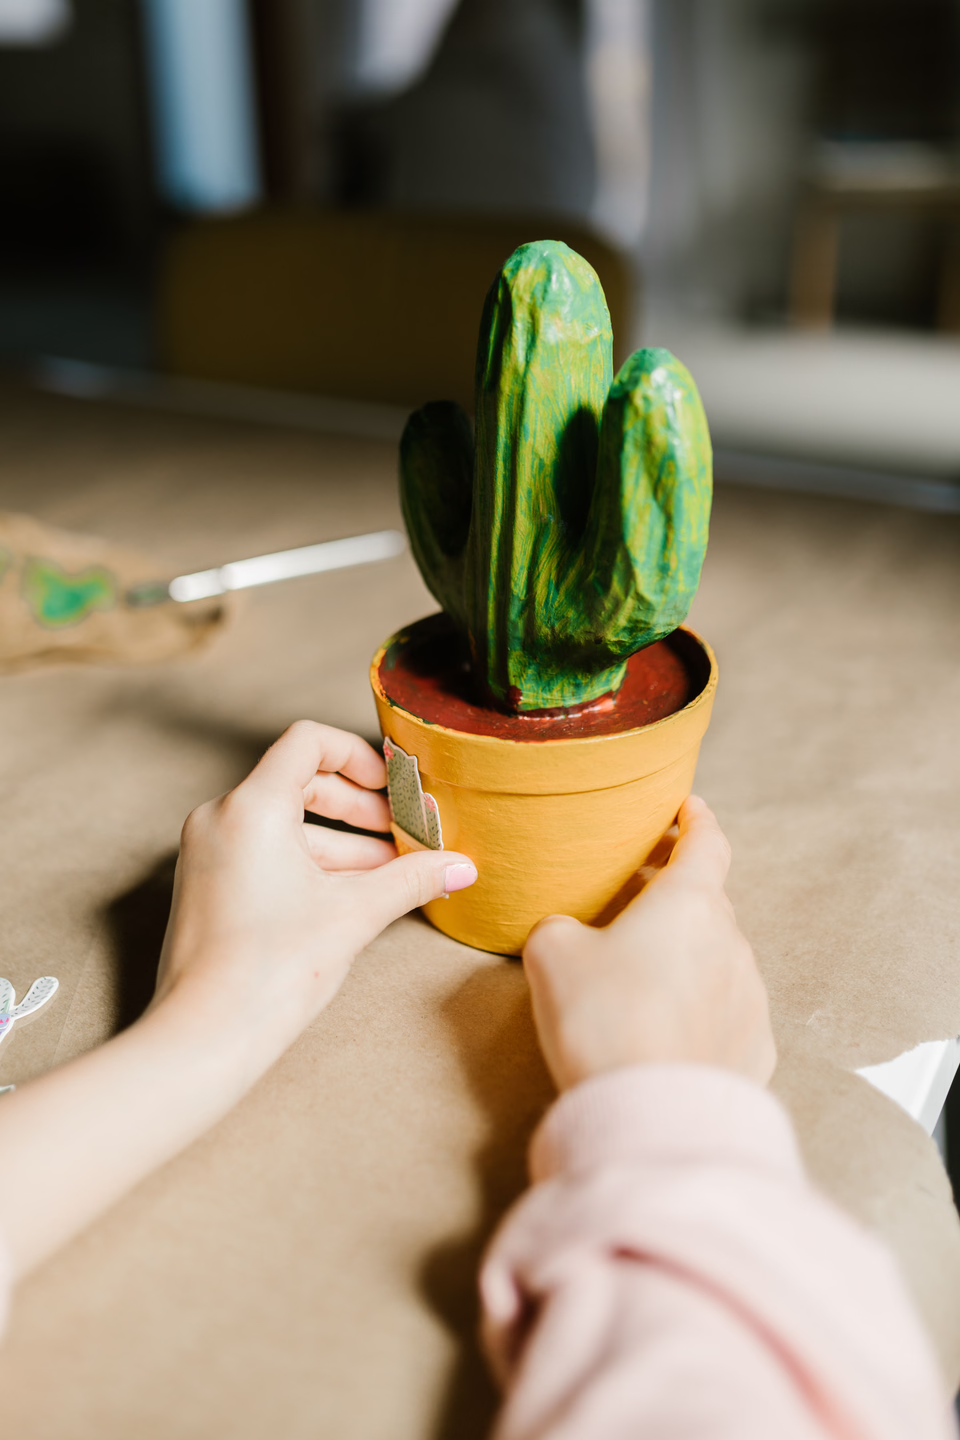
Activa’s method for anything hollow is short: “wrap an armature in aluminum foil or plastic wrap before covering with CelluClay. While wet, use a knife to score form deeply so that when almost dry, the two halves can be separated. After completely dry, rejoin halves with glue, tape, or more CelluClay.” Its list of usable armatures includes “Styrofoam shapes, crumpled newspaper, cardboard, wood, aluminum foil, wire, tubes, boxes, bottles, latex balloons.”
Applied to a pumpkin:
- Make the form. Crumple newspaper into a firm ball 7 to 8 inches across, or use a foam ball that size. A balloon is on Activa’s list, but it can pop when you score the clay and can soften over a drying time measured in days, so the wet shell sags with it.
- Wrap it in foil or plastic wrap, per Activa, so the clay releases. Foil also helps the newspaper hold its shape.
- Cover it. Press the mixed clay on in handfuls and smooth it with damp hands (Activa: “Keep hands damp while modeling”). Activa leaves thickness to you (“You control the thickness”). Keep it even.
- Model the details while it’s wet. Drag the side of a spoon handle from top to bottom for the ribs. Build up the brows, cheeks and nose with extra clay or Paperclay. Activa says to “Add texture and detail while CelluClay is still wet.”
- Score it. Cut a line from the top, down one side, under the base and back up the other side, so the face sits whole on the front half. Cut through the clay down to the wrap, not into the form.
- Wait until it’s almost dry, then separate the halves along the score, lift out the form, and let both halves dry completely, inside and out.
- Cut the openings while the halves are apart. Activa says the dry material “can be sanded, sawed, nailed, and drilled.” A drill bit starts each eye, the nose and the mouth, and a small saw or craft knife finishes them. Cut the open top across both halves, and leave its rim a little rough, like the originals. Drill two holes just below the rim for a wire handle.
- Glue in the face inserts (see Faces That Glow). The inside of the front half is easy to reach now.
- Rejoin the halves with glue, tape or a bead of fresh clay, which are Activa’s three options, and smooth the seam.
Drying time is humidity’s call. Activa says a cool feel means it’s still wet: “CelluClay will feel room temperature when dry.” Paperclay puts thicker work at “several days.” Both makers allow oven drying. Activa gives no temperature. Paperclay says 200 to 250°F, “but be cautious about the materials you’re using alongside the modeling clay such as armatures.” Newspaper, plastic wrap and foam are all in that category, so air-dry it in front of a fan instead.
Leaving a foam pumpkin inside
You can skip the removable form and build straight over a craft-store foam pumpkin. The foam stays in as a permanent core, so the shell only needs to be thick enough to take paint, and you carve the face through both layers. The light rule changes, though: Fun-Kins, which makes carvable foam pumpkins, says “Never use real flames inside Fun-Kins” and to use “any electric light you can think of under 5 watts” (Fun-Kins FAQ). For other makers’ foam, treat that as the ceiling unless the label says otherwise. Cutting through the foam core has its own tool rules; our foam pumpkin carving guide explains why a hot knife is out on polyurethane.
Faces That Glow
The originals put the color on paper behind the openings, not on the shell. Activa’s instructions support both halves of that: “Dry CelluClay surfaces can be decoupaged using a variety of tissues and papers,” and tissue paper can be “adhered to CelluClay with glue.”
To make an insert (step 8 of the build, before the halves go back together):
- Cut a piece of tissue a half inch bigger than each opening all round.
- Paint the pupils, teeth or tongue on it with acrylic, using the Smithsonian colors as a guide: yellow and red eyes on dark blue, white teeth on red. Keep the paint thin so light still comes through.
- Glue it to the inside of the front half behind the opening, painted side facing out.

Koogel Yellow and Orange Tissue Paper, 112 Sheets, 20 x 14 in
Four shades from wheat yellow to deep orange, which covers eye and mouth inserts plus a glowing lining for the whole shell. Paint pupils and teeth on the lighter sheets.
LED only
The NMAH post says the originals could take “Electric lights or candles.” Yours is a paper shell lined with tissue, so it gets a battery LED and nothing else. The NFPA’s Halloween safety tip sheet warns that “crepe paper” catches “fire easily,” and the CPSC asks for “battery-operated lights or glow sticks rather than an open-flame candle” in jack-o’-lanterns (CPSC, October 2022).
Most LED tealights run on a coin cell. Our jack-o’-lantern lighting guide covers why that matters around small children and what Reese’s Law changed about the battery doors.
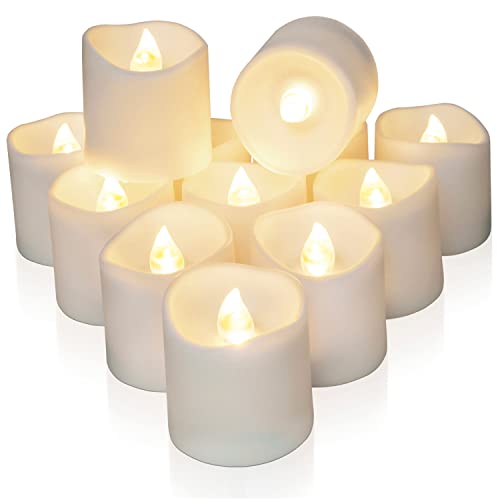
Homemory 6H Timer Flameless LED Votive Tealights, 12 Pack
Switch it on once at dusk and it runs 6 hours, sleeps 18, and comes back on the next evening. Homemory limits it to indoor and covered, dry spots, which is where a papier-mache lantern lives anyway. The battery door has a two-step child lock and needs a small tool.
Paint It Old
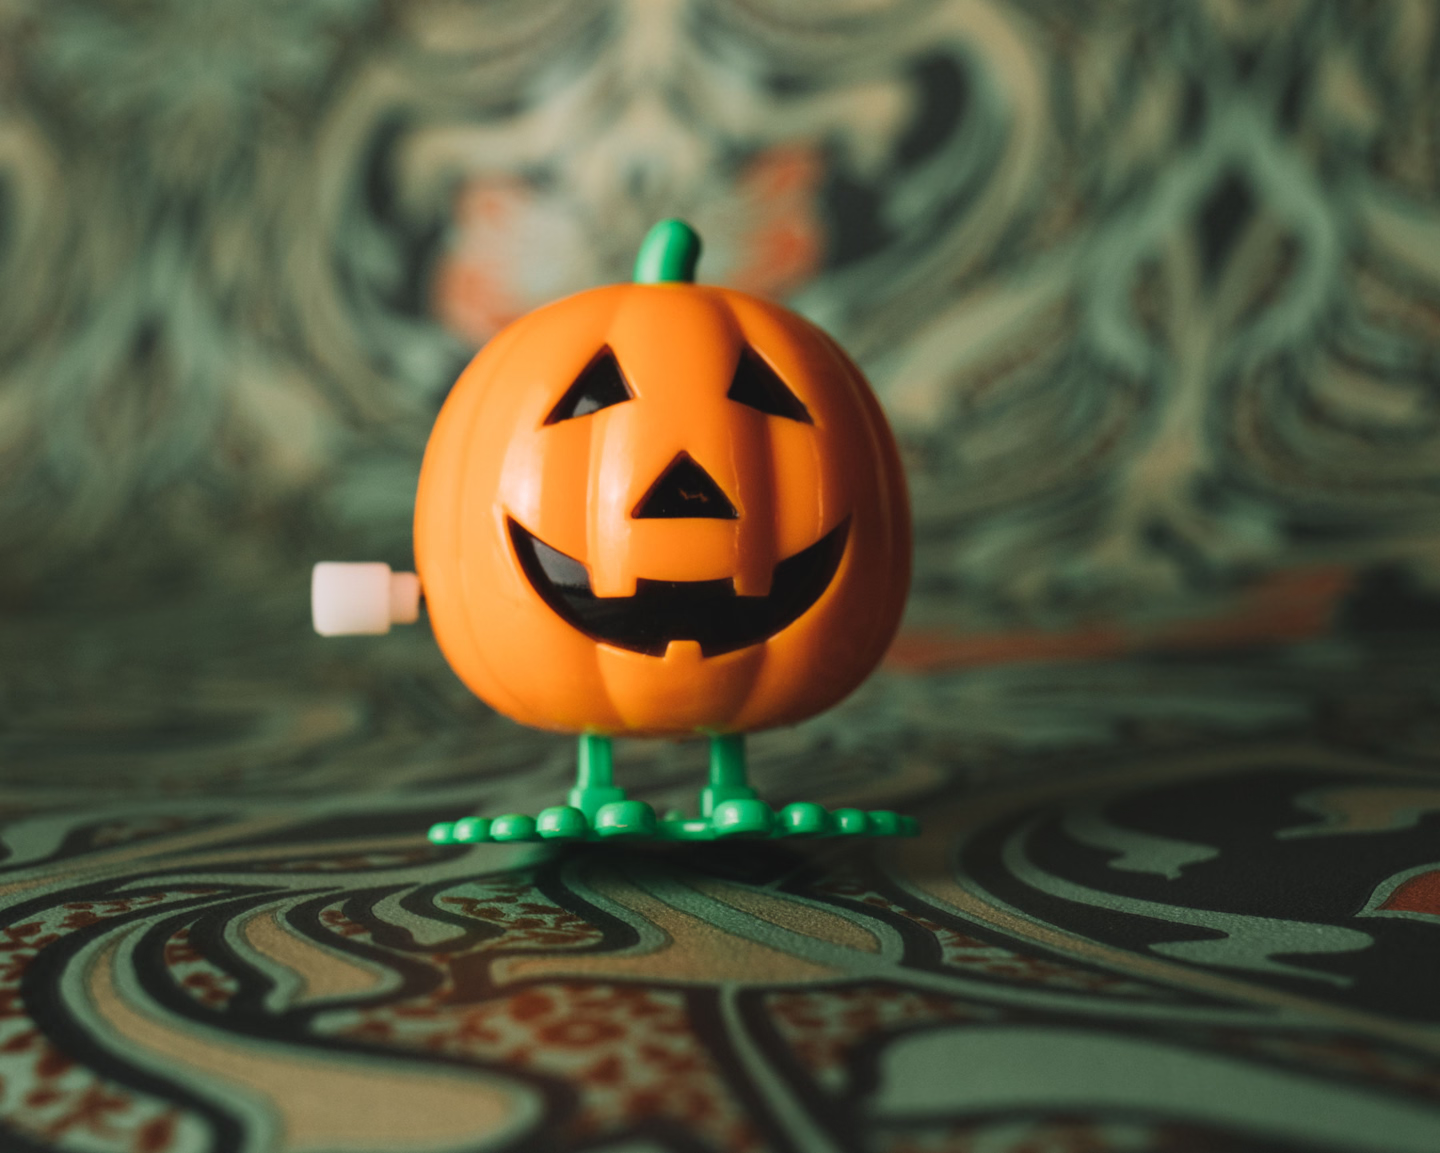
Paint the outside with acrylic, or skip a step and color the clay itself: Activa says to “Add fabric dye, paint color or dry tempera paint to CelluClay while mixing.” For the Smithsonian look, go orange all over, then drift a muddy green up from the base and brush green along the brows and cheeks.
Age it with washes. Activa’s patina method: “use thin washes of variegated paint colors, reapplying as the project dries. When dry, sand highlights and polish surface with paper towels. Apply wax or varnish to complete.” A thin brown wash settles into the ribs and around the brows. Sanding the high points back is what gives the worn, lighter edges the originals have, and it exposes the bare clay underneath, the way chipped paint does on the real ones. Sand with a damp sponge if you used a joint-compound clay.
Or use milk paint. The Old Fashioned Milk Paint Co. says its paint is “limestone and casein” and “is well known for its ability to naturally chip/flake off and crackle when painting over some existing finishes.” Its FAQ has two rules that matter here:
- “Milk Paint needs a porous surface to adhere to,” and the company recommends its Extra Bond additive “on anything other than bare wood.” It adds that new sheetrock and plaster “are actually too porous” and should get a flat latex primer first. No source we found tests milk paint on papier-mache, so try it on a scrap.
- “Mix up only the amount you will use that day.” It contains no preservatives.
For worn edges in a two-color finish, the same FAQ says to “wipe off an edge or corner with a rag while the top layer is still wet,” which saves sanding later. It also says decorative pieces “do not need to be sealed.”
Seal It (or Don’t)
Activa says to “Seal finished projects with shellac, varnish, clear acrylic nail polish or other sealers, as desired.” Paperclay names Plaid’s FolkArt aerosol lacquers or glazes and Delta Ceramcoat varnishes.
Shellac is where the sources split:
| What it says | |
|---|---|
| Golden Artist Colors | “shellac will yellow and become more brittle with age,” and “as a final ‘clear’ layer, we would generally not recommend it” (Sarah Sands, replying in 2018 to a reader comment on her 2016 Just Paint post) |
| Zinsser (Bulls Eye Shellac maker) | A finish “that will not yellow or darken with age” (technical data sheet, March 2024); “Does not darken or yellow with age” (Zinsser’s product page) |
Golden is writing about a clear coat over artwork, and Zinsser about its own product on wood. They don’t cover the same case, and neither has tested a papier-mache pumpkin. For this project the argument hardly matters, because a little yellowing helps a fake antique. Zinsser sells Bulls Eye in Clear and in Amber, and amber is the one to use if you want the warm, tea-stained cast from the first coat instead of waiting for age to add it.
Zinsser’s data sheet gives the brushing version a flash point of 60°F, so it’s flammable while wet. Brush it on away from flames with the window open. It dries to the touch in 30 minutes, can be recoated in an hour, and reaches full cure in 24 hours at 70°F, per the same sheet, which also lists it for interior surfaces.

Zinsser Bulls Eye Shellac, Amber, Quart
The amber version tints as it seals, which suits a faux antique. Zinsser's data sheet says it recoats in an hour and cures in 24, and lists it for interior surfaces. A quart is far more than one pumpkin needs, so you'll have plenty for the next project. Cleans up with denatured alcohol or household ammonia and water.
Keep It Indoors
Treat this as an indoor or covered-porch piece. Three sources point the same way:
- USG lists its joint compound for “Interior use” and as “Soluble in water,” so a joint-compound clay is working against its own main ingredient on a damp porch.
- Golden says “All artist grade acrylics are micro porous and allow air and water to pass through the films” (Just Paint), so an acrylic paint job or acrylic varnish is not a raincoat.
- Zinsser’s data sheet lists Bulls Eye for interior surfaces.
A mantel, a sideboard or a porch under a deep roof is fine. Bring it in before rain, and store it somewhere dry between Halloweens. Our indoor decorating guide has ideas for where to put it, and weatherproofing Halloween decorations covers what can stay out in the weather.
Frequently Asked Questions
Why did my shell crack? Activa ties its “Virtually no shrinkage” claim to “fast and even drying,” so dry it where air reaches every side and turn it now and then. Fill a crack with fresh clay and let that dry before you paint.
Related Resources
Faces for the inserts can come straight from our free classic pumpkin stencils, and the pumpkin carving gallery has layouts. For framed art in the same period style, print our vintage Halloween prints. The rest of our homemade props, including concrete pumpkins for outside, are in 15 DIY Halloween decorations.