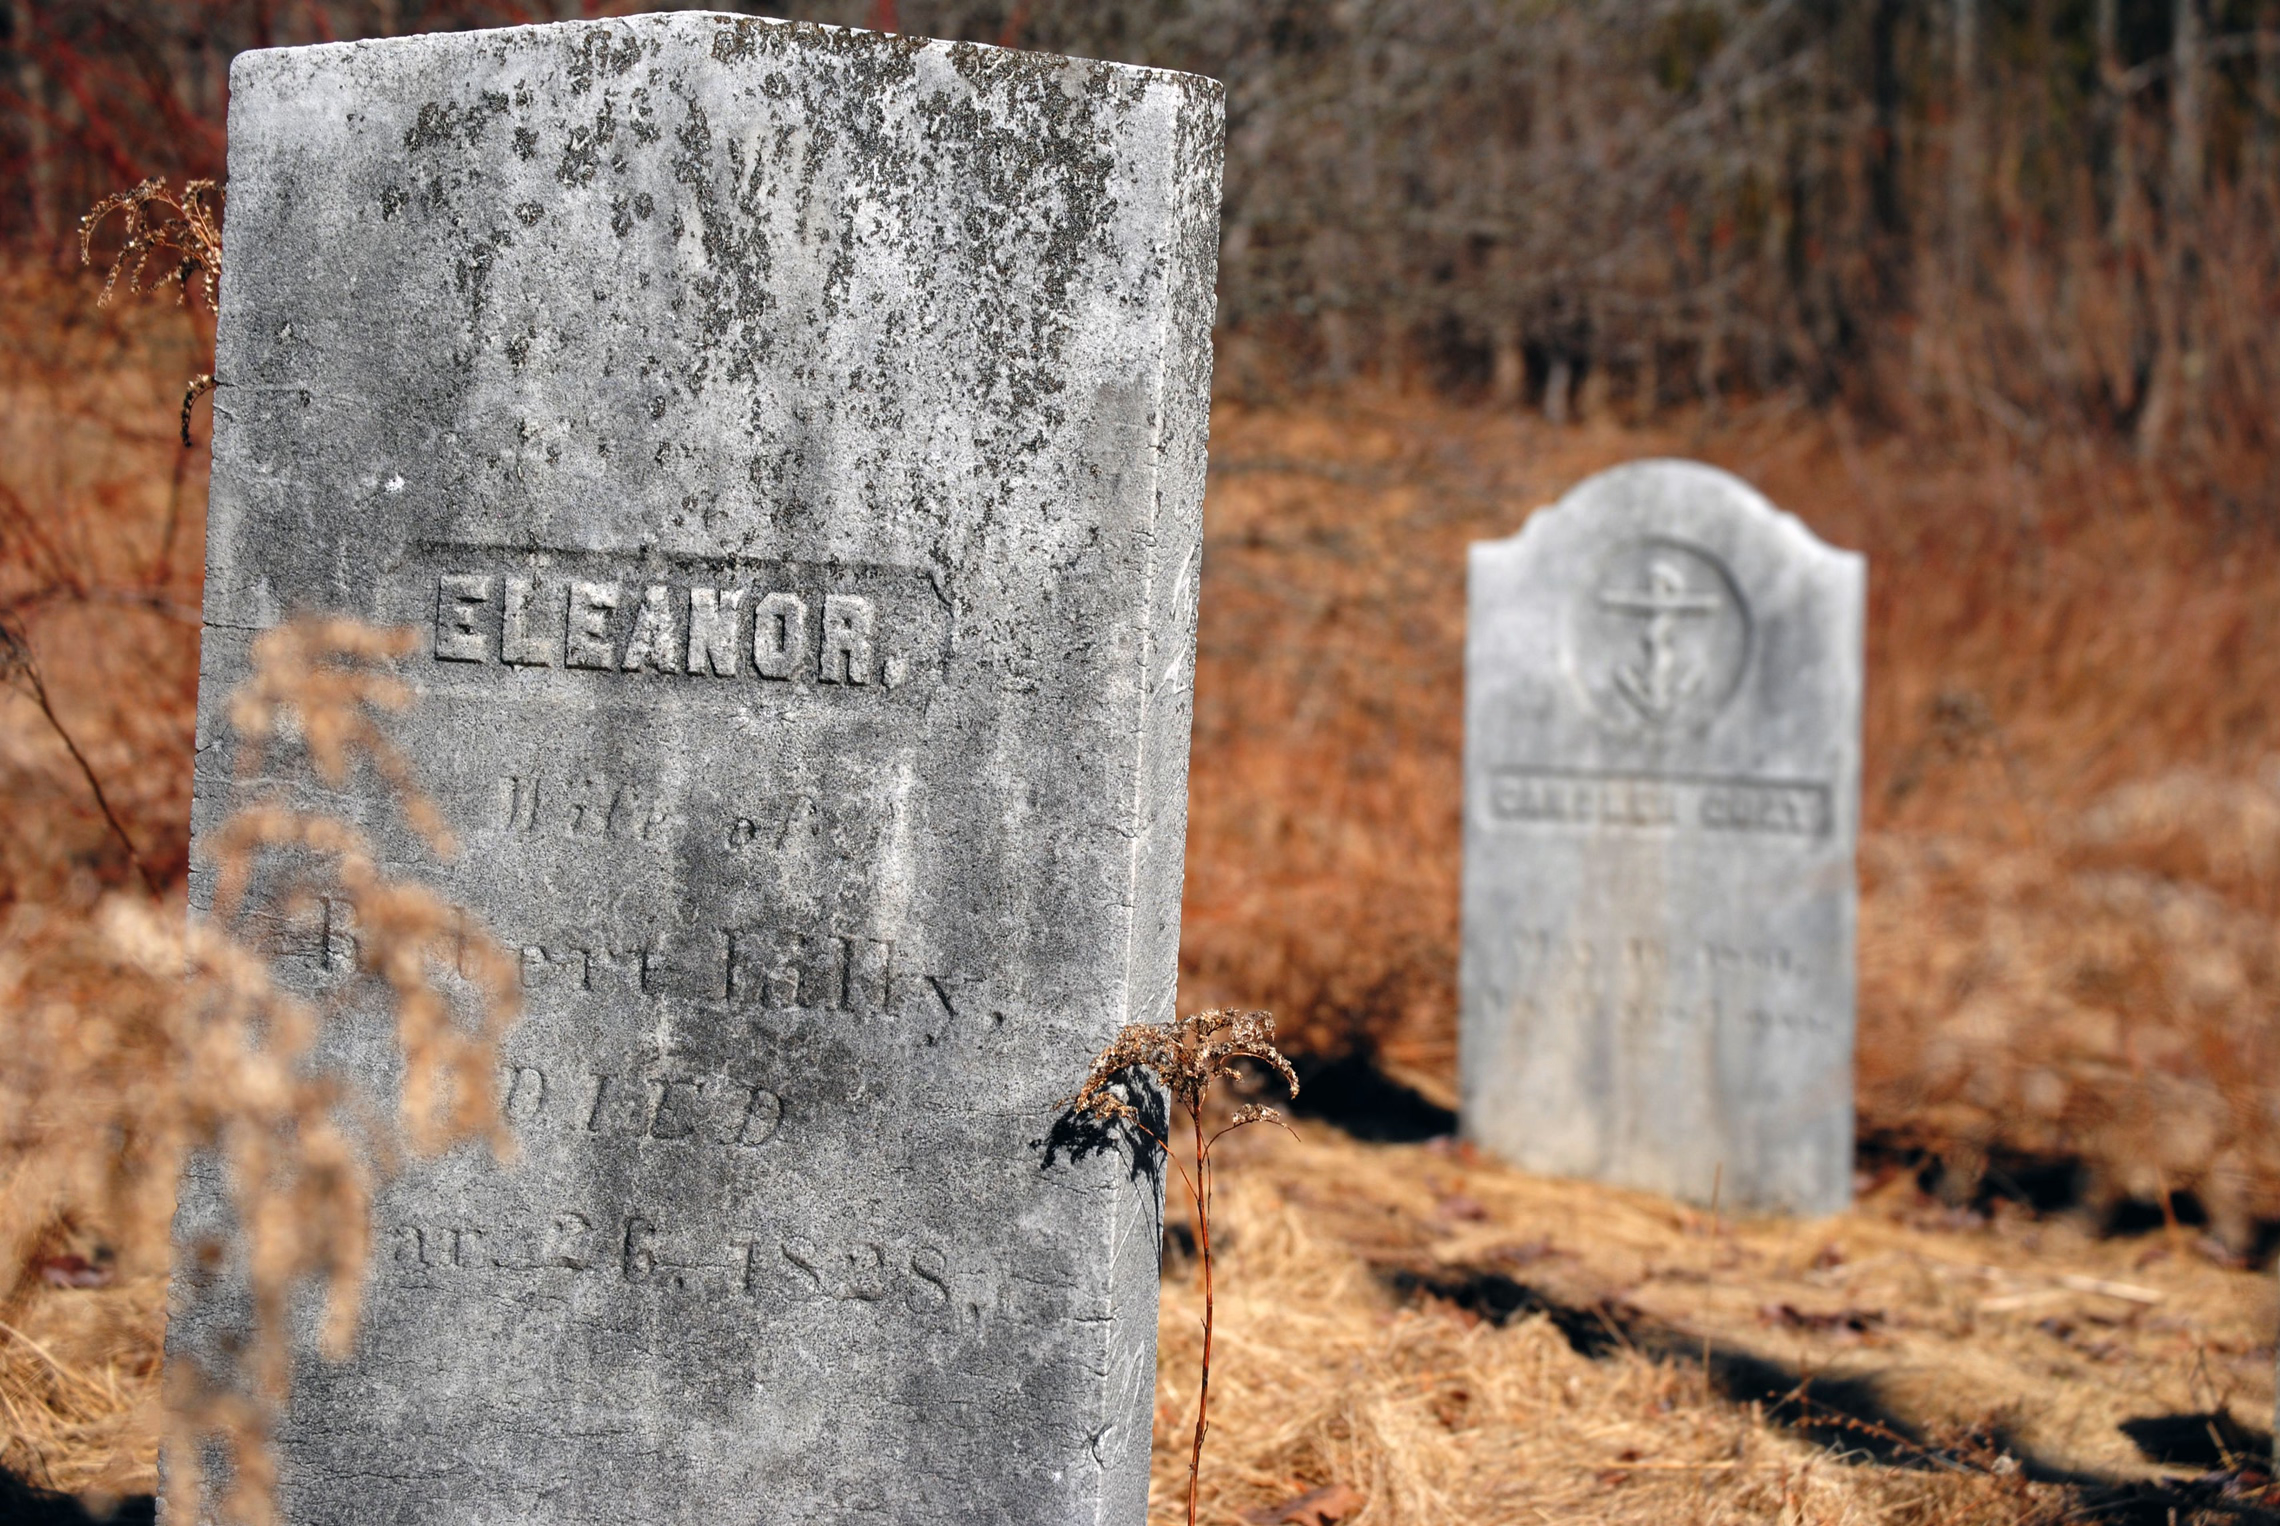
Store-bought graveyards all make the same mistake, and it has nothing to do with the quality of the tombstones. They stand in a neat row, evenly spaced, facing the street, like a display at a garden center.
Real old burying grounds don’t look like that. The National Park Service’s preservation brief on grave markers treats leaning, loose and fallen markers as routine repair work, and names mowers as one of the things that knock them out of place (NPS Preservation Brief 48).
Pick A Century First
Two looks dominate, and they want different stones. Mixing them is fine, but decide which one leads before you cut any foam. The carving dates in this table come from Boston’s parks department (more below); the rest is our own summary of what the two looks need in foam.
| Death’s heads and cherubs (17th to late 18th century) | Urn and willow (late 18th and early 19th century) | |
|---|---|---|
| Carving | Death’s heads, often winged or with crossed bones; winged cherubs from the 1690s | Willow and urn; obelisks, columns and pediments on larger 19th century monuments |
| Height | Short, about knee high | Taller |
| Shape | Three lobes: a rounded top flanked by rounded “shoulders” | Square shoulders under a low arch |
| Paint | Dark slate gray or brown sandstone | Pale marble gray, spotted with lichen |
A four-foot foam slab reads as 19th century or modern, whatever you carve on it. For the Puritan look, go short and squat, and mix in some tiny stones for children. Tombstone Workshop Part 1 follows one Plymouth burying ground through five periods of stone shapes and carving, and covers later cemetery styles.
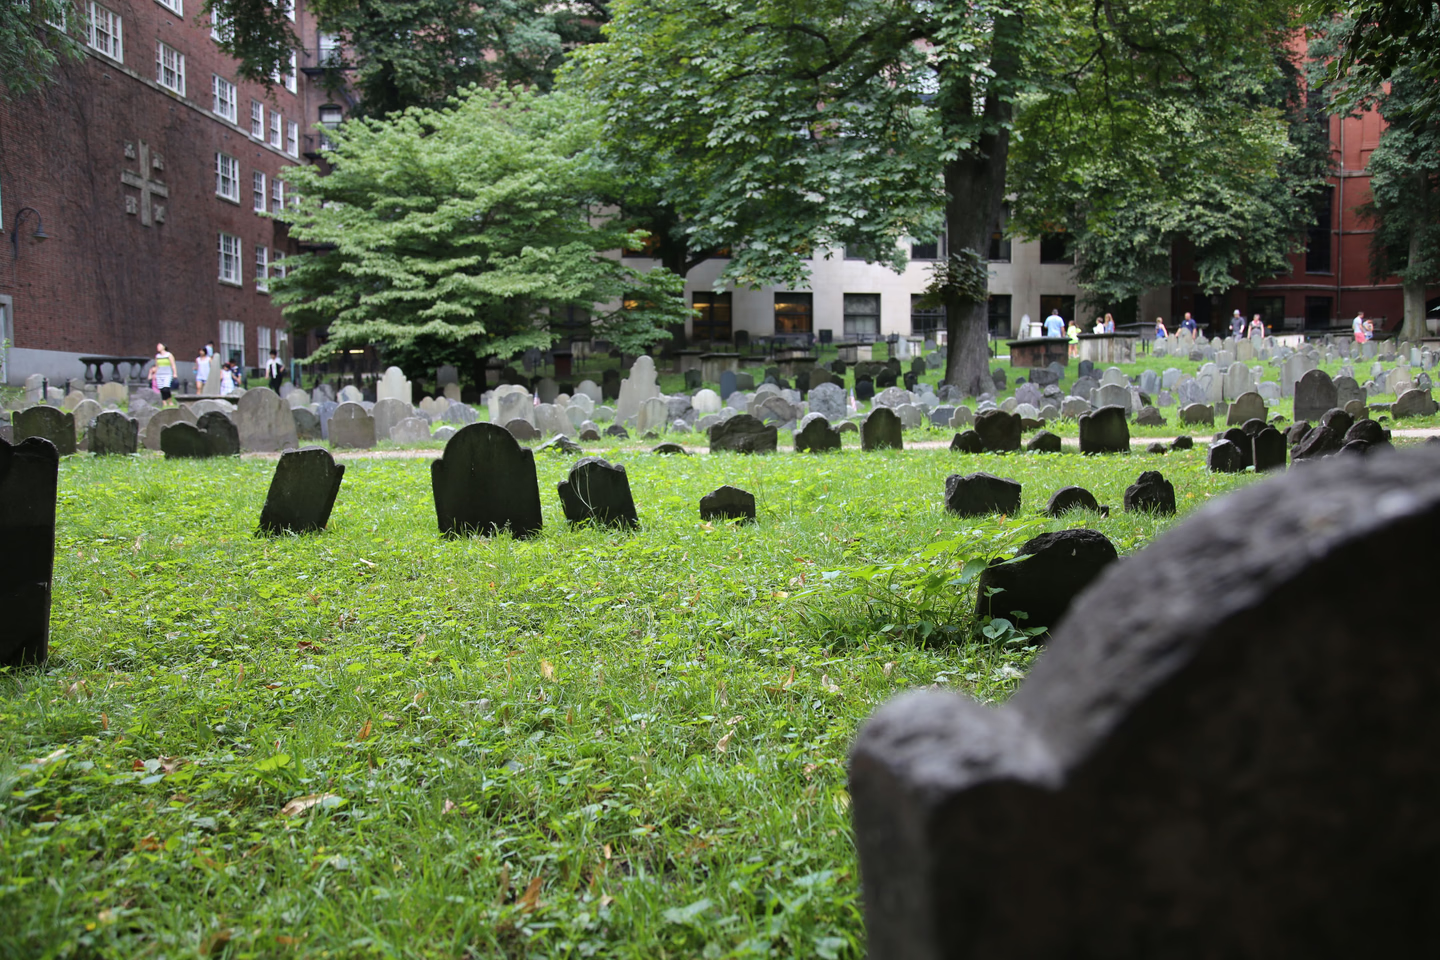
The carving followed a sequence, at least in Boston. According to the city’s parks department, the earliest stones in its burying grounds were simple, roughly hewn “greenstone” markers with little or no carving. Then came the death’s head, a stylized skull “often with wings or crossed bones, or both,” with hourglasses, coffins and carved side panels around it. Winged cherubs appeared in the 1690s, and willow and urn became “the predominant image” of the late 18th and early 19th centuries. The same page cautions that the cherub “never truly displaced the death’s head”: both stayed in wide use into the late 18th century, and the death’s head appears more often on Boston stones (City of Boston).
The in-between designs are the most interesting to carve. Boston’s page also describes “portrait stones,” faces carved with hair, distinct features and clothing that look like real people but are not portraits of the dead. A carver reused his faces, so many of the “portraits” are nearly identical.
For the urn-and-willow look, the same page traces the change to neoclassical taste: the willow, an ancient mourning symbol, and the urn, a Roman vessel for ashes, then obelisks, columns and pediments on larger monuments. It also records a disagreement about meaning. Some historians read the winged cherub as the soul’s flight to heaven and a sign of changing belief, while later research found the shift didn’t line up with any of the century’s religious movements.
What To Write On Them
“RIP” and a pun on a name reads as a joke. A real colonial inscription reads as a real grave.
The 17th and early 18th century stones in the Cambridge and Plymouth transcriptions open with “Here lyeth” or “Here lyes ye body of.” Edward Gray’s 1681 stone on Burial Hill reads “Here Lyeth ye Body of EDWARD GRAY,” as Bradford Kingman transcribed it (Library of Congress). The Marlborough stones Franklin P. Rice transcribed from the 1750s on usually open “In Memory of” instead (Library of Congress). Then come the name and title, the relationship (“wife of”), the date of death and the age, often as “in ye 70th Year of his Age.”
Latin mottos went over the inscription. On the Cambridge stones of 1678 to 1680, Memento mori (“remember you must die”) is paired with Fugit hora (“the hour flies”), and two use the longer Memento te esse mortalem (“remember that you are mortal”), according to W. T. Harris’s 1845 transcription (Library of Congress).
The most familiar verse speaks in the voice of the dead. This is Thomas Brigham’s stone in Marlborough, 1765, as Rice printed it:
Behold & ſee! as You paſs by, As You are now, ſo once was I; As I am now, ſo You muſt be, Prepare for Death, & follow me.
Rice’s Marlborough transcriptions repeat it with small changes, and it was still being carved in 1831: Elizabeth Savery’s stone on Burial Hill in Plymouth opens “Remember me as you pass by” and ends “Prepare for death to follow me” (Library of Congress).
Shorter verses from Rice’s Marlborough book fit a small stone:
- “Time was I ſtood where thou doſt now, And view’d the Dead as thou doſt me” (Sarah Brigham, 1765)
- “Remember time it runeth faſt, The longeſt lives muſt end at laſt” (Sarah Brigham, 1775)
- “Life is Short, but Death is Shure, Sin is the Wound, Chriſt is the Cure” (Lydia Brigham, 1784)
Letter them like a carver would
Four details make lettering read as 17th or 18th century:
- The name in capitals. Kingman and Rice both print the names in capitals over lower-case lines (“of EDWARD GRAY,” “Mr. THOMAS BRIGHAM”). From the sidewalk the name is the line people read first.
- V for U. Gray’s 1681 stone reads “Gent Aged Abovt” in Kingman’s transcription.
- The long s (ſ), which looks like an f without the crossbar. Rice prints it on the Brigham stones of 1751 and 1765: “Behold & ſee! as You paſs by.”
- Raised letters. The e of ye, the r of Mr. and Novr., the th of 25th: the transcribers print them small and raised. Carve them the same way.
To lay the lines out on a full-size stone and transfer them to foam, see lettering layout in Tombstone Workshop Part 1.
A caution about “funny epitaphs.” We couldn’t trace the jokes that circulate online, “I Told You I Was Sick” among them, to any stone in these transcriptions. Every line quoted above comes from a burying-ground transcription.
Our free period epitaph tombstones are lettered with six of these stones, from Elizabeth Belcher’s 1680 Memento mori in Cambridge to our urn-and-willow version of Elizabeth Savery’s 1831 stone, plus a blank copy for your own name. For joke epitaphs and other shapes, our original tombstone templates have six more designs.
The Foam: Buy XPS, Not The White Stuff
Tombstones are cut from rigid insulation board, and there are two kinds on the shelf.
XPS (extruded polystyrene) is the dense, smooth, colored board. It is closed-cell, so it barely absorbs water: Owens Corning’s data sheet for its pink FOAMULAR project panels lists 0.10 percent absorption by volume. It cuts cleanly and holds carved detail.
EPS (expanded polystyrene) is the white beadboard, made of fused beads with gaps between them. DuPont says it lets moisture in over time and is “easily crushed.” It cuts easily and cheaply, but it crumbles at the edges and dents when a kid leans on it.
Two things about buying it:
- The blue board may be gray now. DuPont’s Styrofoam brand XPS was famously blue until a late-2023 reformulation, and its North American plants now make a gray board. If a tutorial says to buy the blue board, the gray one is DuPont’s current XPS.
- Skip faced and foil boards. Some boards carry a plastic film or foil facing. Construction adhesive won’t grip the film, and foil-faced boards are often polyiso, a different foam you should never hot-wire (more on that below).
Owens Corning sells pre-cut project panels, including 2 inches by 24 by 48, which is roughly one full-size tombstone per panel. Buy foam at a home center. It is sold on Amazon in small craft sizes at several times the price.
One number worth knowing: XPS has a maximum service temperature of 165°F. That is not a problem in October, but don’t press a hot spotlight against a stone or leave a dark-painted one baking against a sunny wall in a warm week.
Cutting And Carving
A hot knife melts through foam instead of tearing it, which is the difference between a crisp edge and a crumbly one.

Preciva Hot Knife Foam Cutter Kit with Case, 6 Blades, Digital Temperature Display
Twenty temperature settings on a digital readout, which matters more than it sounds: the right technique is the lowest heat that cuts cleanly. Includes 8, 6, 4 and 2 inch blades, so one kit handles slabs, curved shoulders and small details.

Gonytia 190W Hot Knife Foam Cutter Kit
Sixteen heat levels, two 6 inch and two 8 inch blades, and a folding stand so the hot blade has somewhere safe to rest between cuts. A good budget alternative if you only need straight and gently curved cuts.
Technique comes from Hot Wire Foam Factory, the foam-tool maker, and it is simple: hold the blade at 90 degrees to the foam, “and make sure you don’t go too fast, let the foam melt as you gently push it through.” Forcing the blade drags and tears. Stopping in one spot overheats the foam.
For lettering and carved motifs, the maker-backed tool is a heated engraving tip. Hot Wire Foam Factory’s instructions are to let the tip heat for about 30 seconds, then “Move the heated tip gently across or into the foam. Do not force the tool.” Practice on an offcut first. Tombstone Workshop Part 2 covers engravers, table hot wires, incised and raised lettering, and relief skulls.
The fume question, honestly
Sources disagree on how much hot-wire smoke matters. Hot Wire Foam Factory says the smoke is mostly carbon dioxide and water vapor. The study it cites, a 2017 assessment for the stagehands’ union IATSE, found styrene and related compounds below detection limits, but it sampled only eight times, on EPS, and recommended more testing. Harvard’s Graduate School of Design fab lab requires local exhaust ventilation within 6 inches of the cut and keeping the wire at the minimum temperature that works.
Cut outdoors or in a garage with the door open and a fan pulling air away from you, at the lowest heat that works. Owens Corning’s own list of what its board gives off when it breaks down, and the NIOSH and EPA numbers for styrene, are in Part 2’s fume section.
Never hot-wire polyurethane foam (upholstery foam, camera-case foam, expanding spray foam). Hot Wire Foam Factory says it needs far more heat, “gives off toxic fumes,” and leaves melted plastic behind. Some hot-knife listings say their tool cuts polyurethane. Don’t. Treat foil-faced polyiso board the same way, since polyiso is from the same chemical family.
Gluing Thicker Stones
A 2-inch stone looks flat from the side. Gluing two or three sheets together gives a stone real depth, and it gives you somewhere to hide the anchor.
Use a solvent-free glue made for foam. Solvent-based construction adhesive will eat it, and ordinary foamboard adhesives aren’t made for this job: Loctite’s data sheet for PL 300, a common latex foamboard adhesive, says it needs at least one porous surface to bond, and XPS glued to XPS has none.

Hot Wire Foam Factory Foam Fusion Glue, Solvent-Free
Made by the foam-tool company for bonding XPS and EPS to themselves, and solvent-free, so it won't eat the board. This is the glue their 48-inch tombstone build used.
The tombstone builder quoted below used Foam Fusion and called it “so much easier than using liquid nails and it won’t damage the foam.” She clamped her stack with five or six clamps. Give any glue-up a few days to cure before the stone goes out in the rain.
Build the anchor in while you laminate. Tombstone builder Marsha Bryant’s advice, from a 48-inch Hot Wire Foam Factory build: “Put the PVC in BEFORE gluing the top and bottom and prime the posts.” Cut a channel for a length of PVC pipe running down through the stone and out the bottom, then glue the layers around it.
Paint: The Part That Melts Stones
Owens Corning’s instruction for XPS is blunt: “Paint and glue need to be solvent free.” Ordinary spray paint is solvent-based and will pit or melt bare foam in seconds.
The safe route is water-based. Latex house paint, acrylic craft paint and latex primer all go straight onto foam.
Two products get misused here constantly:
- Krylon Craft Foam Primer is made to protect foam from spray paint, but Krylon rates it interior-only and says to wait 48 hours before the colored topcoat. Fine for indoor props, wrong for the lawn.
- Krylon Fusion All-In-One does not list foam among its surfaces. Some roundups say it is foam-safe. Krylon doesn’t, so don’t spray it on bare foam. It does list PVC, which makes it the right paint for the fence.
A weatherproof, stone-textured base
Many home haunters roll on Drylok, the latex masonry waterproofer, as a base coat. Its sandy texture reads as stone, and it is water-based. Be clear that this is a hobbyist practice, not the maker’s: Drylok’s FAQ says the waterproofer “is not recommended for use on anything other than bare masonry.” We use it on foam because it’s water-based and won’t melt XPS, but test it on an offcut first. For a stone coat the foam-tool maker does rate for outdoor foam, see Hot Wire Foam Factory’s Exterior Foam Coat in Tombstone Workshop Part 3.

UGL DRYLOK Original Latex Masonry Waterproofer, Gray, 1 Gallon
Gray, water-based, with a flat, sandy finish that looks like weathered stone before you paint a single detail. Sika rates the first coat at 75 square feet per gallon. A 2 by 4 foot stone, both faces plus edges, is about 18 square feet a coat, so a gallon covers about four full-size stones once, or two with the second coat Sika calls for.
If Amazon shows a future ship date, Home Depot and Lowe’s carry Drylok Original in the masonry paint aisle.
Know the timings before you open it. Sika’s data sheet calls for air and surface temperatures of at least 50°F, two coats with 2 to 3 hours between them, and a 24-hour wait before a latex topcoat goes on. Drylok’s safety data sheet lists crystalline silica (quartz), which is a hazard as a breathable dust, not while the coating is wet. If you sand a cured coat to soften an edge, wear a respirator.

3M OV/P100 Multipurpose Respirator 65021, Medium
NIOSH-approved half mask with organic vapor and P100 particulate cartridges. The P100 filters handle dust from sanding cured Drylok or foam; the organic vapor cartridges cover spraying the fence.
Paint also protects the foam. Owens Corning notes that sunlight “dusts” the surface of bare XPS, and “once covered, the deterioration stops.” An unpainted edge on the back of a stone is still exposed, so paint every face.
A clear coat is optional, and putting one over painted foam is our practice, not the maker’s. Rust-Oleum’s data sheet for Varathane’s water-based outdoor spar urethane is written for wood, including painted wood, and says to test it in an inconspicuous area first, which “is particularly important when applying over paints or stains.” Foam isn’t on its list. If you use it, brush it over cured paint on an offcut first, in the 55 to 90°F range Rust-Oleum calls for. Never spray a solvent clear coat on bare foam.
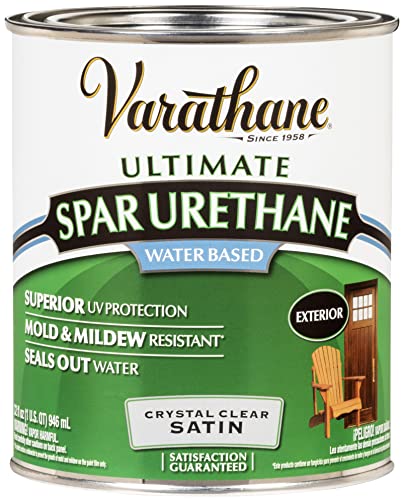
Varathane Water-Based Ultimate Spar Urethane, Quart, Satin
A brush-on outdoor clear coat that cleans up with soap and water. Rust-Oleum writes it for wood, including painted wood, and says to test it over paint first; on foam it's our practice, not the maker's. Brush it over cured latex paint on an offcut before a stone, never onto bare foam, and choose satin so the stones don't shine under the spotlights.
Weathering: Paint The Stone Type, Not Generic Gray
The most common weathering advice, “make it look old,” is useless. Real stones age according to what they are made of, and the Park Service’s preservation brief explains the differences:
- Slate has low porosity, so it holds its carving, but “its layered structure can result in delamination”: it fails by splitting into layers rather than softening. Keep the lettering sharp, weather it lightly, and paint a flaked-off layer at one edge.
- Sandstone, limestone and marble are softer and more porous than granite, and the brief says their deterioration is “noticeable during the initial years of exposure.” Round the edges and soften the lettering.
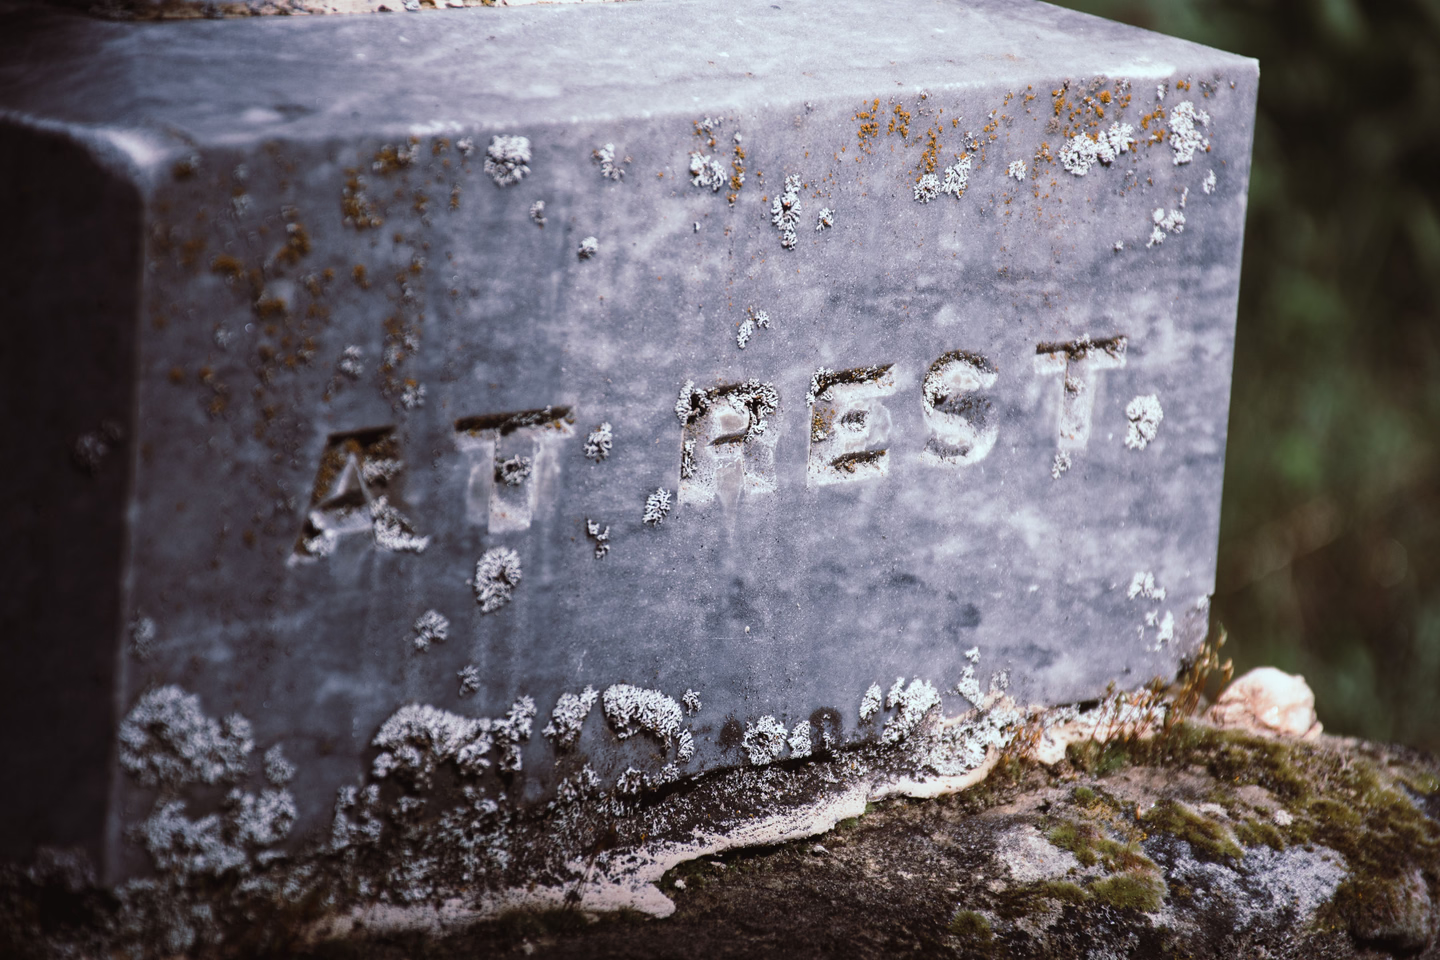
- Lichen, algae and fungi hold in moisture, and some produce acids that erode marble and limestone. A pale marble base blotched with dark growth is far more unsettling than gray.
Our wash-and-wipe method does most of the work:
- Base coat the whole stone in your stone color. Over Drylok, wait the full 24 hours first.
- Brush a dark wash of thinned umber or brown iron oxide over the whole face. Golden rates those earth pigments among the most stable for outdoor murals.
- Wipe it off with a paper towel before it dries. The dark stays in the carving and the crevices, which makes the lettering readable from the sidewalk.
- Paint drips running down from the lettering and the top edge, where water would really run.
- Stipple greens and yellows low on the stone for moss and lichen.
Tombstone Workshop Part 3 covers the rest: a palette from Golden’s exterior pigment advice, the streak, crust and soil-splash patterns the Park Service describes, where each lichen grows, and why dark paint and clear plastic can warp XPS in the sun.

Pro Grade 2 Inch Chip Brushes, 36 Pack
Cheap natural-bristle brushes you can wreck without guilt. Stiff bristles are exactly right for stippling lichen and dry-brushing edges, and at about fifty cents each you can keep one per color.
Most latex paints also list a minimum application temperature on the can. Late-October nights in much of the country fall below that, so paint in a garage if you’re starting late.
Layout: Clusters, Footstones, And A Deliberate Lean
- Cluster in families. Group three to five stones tightly, with the tallest for the head of the family and the smallest for children. Leave open ground between clusters.
- Add footstones. Rice’s Marlborough transcriptions record a footstone after most headstones, usually carved with just a name or initials and sometimes a year (“Footstone: T. B.”). Set a small plain stone a body’s length behind each headstone. A pair of stones with a grave between them reads as a grave. A single stone reads as a decoration. Shape the ground to match the date: a heaped mound reads as a recent burial, and old graves sink into hollows, as Tombstone Workshop Part 4 explains. For a colonial graveyard, the mound goes on the one new burial.
- Lean and sink them. Tip a few stones a few degrees in different directions. Bury one deep enough that the bottom line of lettering disappears.
- Face the lettering toward the sidewalk, since nobody can read the back of a stone.
Mind the viewing distance. Our outdoor decorating guide makes the point that tombstones become gray lumps from 30 to 50 feet away. A graveyard belongs in the 5 to 15 feet between the sidewalk and the porch, or it needs light and fog to read from the street. Sketch the clusters, walkway and power runs in our yard haunt planner before you set a single sleeve.

Skeletons And Fog
A skeleton climbing out of its own grave turns a set of stones into a scene. Put it where the body would be: on the grave between a headstone and its footstone, with the skull and arms above ground and the legs buried under mulch or leaves.

- Zip-tie the joints. Poseable joints loosen over a month outdoors. A zip tie at the elbow and shoulder holds the reaching pose through wind and curious kids.
- Stake the pelvis. A landscape staple over the pelvis, pushed into the lawn under the mulch, keeps the whole skeleton from being dragged off.
For UV-rated ties, poses that look natural, and skeletons sitting on benches or climbing the fence, see our skeleton posing guide.

Crazy Bonez Original Pose-N-Stay Halloween Skeleton, 5 FT
Life-size and poseable, so the arms and neck hold a reaching, clawing pose. Zip-tie the joints you want locked for the season.
Fog is what makes a graveyard read from the street, but read the machine’s manual before you put it on the lawn. Many consumer fog machines, including the Chauvet Hurricane 1200, are rated for indoor use only. Chauvet’s Hurricane 1200 manual says not to use it outdoors or expose it to rain or moisture, not to set it on a flammable surface or let flammable materials near it, never to leave it unattended, and to give it at least 20 inches (50 cm) of ventilation clearance.
So don’t tuck an indoor machine into the leaves behind a foam stone. Set it on concrete or a paver under a roof, such as the open garage mouth or the dry edge of a covered porch, plug it into a GFCI outlet, and let the fog drift out across the stones. Keep foam props, leaves and mulch well clear of the hot nozzle (XPS is rated only to 165°F), and switch it off whenever nobody is watching it. Our fog calculator sizes a machine to your yard, and outdoor fog techniques covers chillers, timers and working with the wind. For more machines, see our best fog machines roundup.

Chauvet DJ Hurricane 1200 Fog Machine with Timer Remote
Fast two-minute heat-up and a timer remote for short bursts. Chauvet rates it indoor only, so run it dry, on concrete, from the garage mouth or a covered porch edge, with someone keeping an eye on it.
Anchoring Without Creating An Impalement Hazard
A foam tombstone is a sail. Every October, somewhere, a gust lifts one off its stake and leaves the stake standing in the dark lawn.
That is why rebar sticking up out of the ground is a real hazard, and why the plastic mushroom caps sold for rebar don’t fix it. In drop tests reviewed by OSHA, sandbags of 140 to 160 pounds fell from 3 to 7 feet onto capped rebar, and “the mushroom CAPS provided absolutely NO protection.” The manufacturers told OSHA the caps were designed for scratch protection only.
The fix is to keep everything rigid at or below the grass:
- Glue a post (a length of PVC pipe or wooden dowel) into the stone’s internal channel so it sticks out 8 to 10 inches below the stone.
- Dig or auger a hole and set a slightly wider PVC sleeve in it, top flush with the grass, then pack the soil back around it. Don’t hammer it in: Charlotte Pipe’s technical manual says never to strike pipe or fittings “or drive them into the ground.”
- Drop the stone’s post into the sleeve. When a stone blows over, it takes its post with it, and all that’s left is a hole level with the lawn.
Call 811 before digging deep in a lawn with buried lines, and walk the yard after any wind. Tombstone Workshop Part 4 adds the Park Service’s resetting rules for real stones (gravel-lined holes, hand tamping, never concrete) and a slotted base that hides the sleeve.
For small stones, landscape staples pushed through the base until their tops sit flush with the foam and the grass work without leaving anything rigid standing. Our weatherproof decorations guide covers fishing-line guy lines for the tall ones.
The Fence
A short iron-look fence around a family plot is our own suggestion, not a period rule. The Park Service’s brief groups fences and gravesite enclosures with the grave markers themselves as the things historic cemeteries built from stone, brick, concrete, metal and wood, without dating them. A fence frames the graveyard so it reads as one scene instead of scattered props. Hang a yard haunt warning sign on the gate post and the plot looks deliberately closed off.
PVC pipe and fittings make the easiest version. Paint it: PVC manufacturers recommend latex or a PVC-compatible paint for anything left in the sun, and Charlotte Pipe says Schedule 40 isn’t recommended for prolonged direct sunlight unprotected. Westlake recommends a light-colored paint; a matte, near-black gray looks more like old iron, and for a one-month display the difference in heat is small.

Krylon Fusion All-In-One Matte Spray Paint, Deep Gray, 12 oz
Krylon lists PVC among Fusion's supported surfaces, so this bonds to the pipe without sanding or primer. Matte deep gray reads as weathered iron at night. Use it on the fence only, never on the foam stones.
Lighting And Power
Light the stones from low and in front, so the carving throws shadows and the lettering stands out. Our lighting color theory masterclass covers the graveyard palette, and outdoor lighting techniques covers placement. If you run fog, lighting from behind at an angle makes the beams visible; see outdoor fog techniques.
One plug-in color spotlight per stone cluster is enough. The one below is SUNVIE’s CHRS-12-01; the specs come from SUNVIE’s product page.

SUNVIE 12W RGBW Plug-In Landscape Spotlight (CHRS-12-01)
SUNVIE's own page lists an IP65 aluminum housing with a tempered glass lens, RGBW LEDs with a 3000K warm white, a remote, and a ground stake and wall bracket. One light can be a cold moonlight blue on a slate stone or a sickly green on a marble one. It also has flash and fade modes; pick one steady color for stones.
Keep the power safe:
- No candles. The Consumer Product Safety Commission counts about 5,600 candle fires a year (its 2017 to 2019 average), and a foam graveyard is a yard full of plastic foam, which Owens Corning labels combustible. Use battery or LED light.
- Outdoor-rated cords and GFCI protection. The CPSC’s decorating advice is to check that outdoor lights are “certified for outdoor use,” to “only plug them into a ground-fault circuit interrupter (GFCI)-protected receptacle or a portable GFCI,” and to make sure each extension cord “is rated for the intended use.”
- No cords across walkways. Falls, including from putting up and taking down decorations, are about a quarter of Halloween emergency room visits, per the CPSC. Route cords behind the stones, not across the path trick-or-treaters walk.
What It Costs
Foam prices vary too much by region to quote reliably, so check your local home center. The tools and finishes:
| Item | Cost | Notes |
|---|---|---|
| Hot knife | $60 to $77 | The one real buy; lasts for years |
| Foam glue | About $22 | For laminating thick stones |
| Drylok, 1 gallon | About $36 | One coat on four full-size stones, two coats on two |
| Chip brushes, 36 pack | About $18 | One brush per color |
| Respirator | About $33 | For sanding cured Drylok or foam, and spraying |
| Fence paint | About $7 a can | Plus PVC pipe and fittings |
| Spotlights | About $13 each | Two or three light a small plot |
A Realistic Timeline
- Three to four weeks out. Buy foam, cut and carve, laminate thick stones, and roll on Drylok while air and surfaces stay above 50°F. Wait 24 hours, then paint and weather.
- Starting late? Cut and carve in a day, paint in a garage, and skip the lamination: single-thickness stones placed in clusters still read well.
- Two weeks out. Set the sleeves, place stones, build the fence, run the lights.
- Every windy night. Walk the yard and reseat anything that has lifted.
- November 1. Pull the sleeves the same day you pull the stones.
The free yard haunt setup countdown puts these steps on a two-page checklist with the power, fog, neighbor and teardown steps from our other yard guides, starting eight weeks out.
Frequently Asked Questions
Can I use the white foam from packaging? Usually it’s EPS, and it will crumble at the edges and dent. Some packaging foam is polyurethane or polyethylene, which you should never hot-wire. It works for a stone at the back of a cluster that nobody will touch. For anything near the sidewalk, use XPS.
Do I have to seal the stones? Paint itself protects XPS from sunlight, and XPS barely absorbs water, so a well-painted stone survives a wet October. A Drylok base coat adds texture and another water-based layer.
Can I spray a clear sealer on them? Not on bare foam. Flex Seal Clear and most aerosol clear coats carry solvents (Flex Seal’s safety data sheet lists toluene and acetone) that eat polystyrene. Paint the stone with latex first. If you want a clear coat on top anyway, that’s our practice rather than any maker’s: test a water-based outdoor clear over cured paint on an offcut first.
What skeleton works for a climbing-out-of-the-grave pose? A poseable, life-size one whose joints hold a position. Bury the legs, pose the arms reaching forward, and zip-tie the elbows and shoulders so they stay put all month. To give it dried skin first, see corpsing a skeleton.
Is cardboard good enough instead of foam? For a covered porch or a single night, yes: our tombstone templates trace onto cardboard fine. On an open lawn, cardboard soaks up dew and rain and sags within days. XPS survives the month.
How do I store foam tombstones? Flat or on edge, in a garage or basement rather than an attic, since Owens Corning rates its FOAMULAR XPS only to a maximum service temperature of 165°F. Cover carved faces with an old sheet so nothing scuffs the lettering, and never stack heavy boxes on top.
Related Resources
Start with our free tombstone templates, then see yard haunt basics for the rest of the yard, DIY Halloween decorations for quicker builds, the best Halloween lighting roundup if you need more fixtures, and the best Halloween props for store-bought skeletons, ravens and fillers.
To add three witches around a glowing cauldron beside the stones, see our witch coven yard scene. For the history behind all of this, read the yard haunt movement.