Tombstone Workshop Part 4: Sunken Graves and Mounting

A finished stone standing on flat grass looks like a lawn ornament. The ground around a real stone tells you how long ago the burial happened, and getting it right costs almost nothing. Our front-yard graveyard guide covers clusters, footstones and lean, and its anchoring section covers the PVC sleeve and why capped rebar isn’t safe. This lesson is about the grave itself.
New Graves Are Mounded, Old Graves Sink
On a Halloween lawn, a heaped mound of dirt reads as a recent burial: loose soil piled over a grave that hasn’t settled yet.
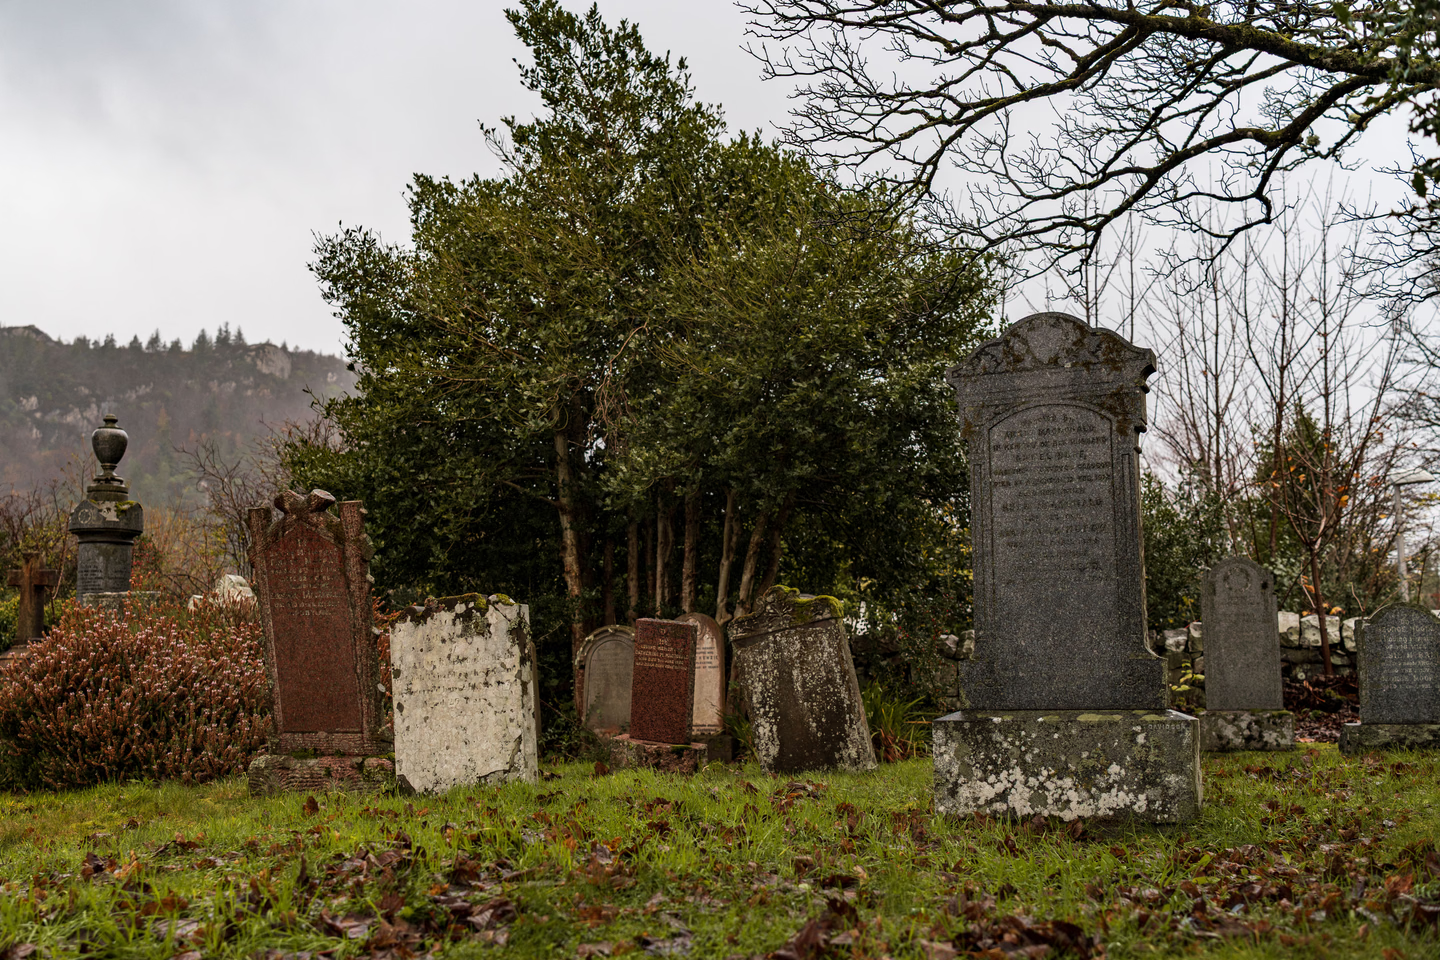
Old graves go the other way, and here there is a source. The National Register nomination for Newtown Cemetery in Harrisonburg, Virginia, counts “683 standing headstones and upwards of 120 depressions that may represent unmarked graves.” It describes them closely: “While the depressions vary in width, most conform to the size of at least one grave shaft and fall in line with a row of standing markers. For some, there is a recognizable vegetation change from lawn grass to slightly denser, greener growth overall.” For those unmarked graves, “it is not known whether these burials ever had markers, or ones that did not last, or ones that fell over and were buried over time by the deposition of eroded soil,” though “At some unmarked sites, probing suggests the presence of a stone lying beneath the soil” (Newtown Cemetery National Register nomination, section 7).
That gives you two grave shapes, each telling a different story:
| Ground | What it says |
|---|---|
| A heaped mound of bare soil | Recent, still settling |
| A grave-sized hollow in line with the row, sometimes with denser, greener grass | Old, perhaps unmarked |
A colonial graveyard of level ground and hollows, with one fresh mound of raw dirt at the end of a row, is more unsettling than a yard of identical mounds. Somebody new has joined them.
Building Grave Shapes Without Killing the Lawn
Anything that blocks light on grass for a month can kill it. That’s the principle behind occultation, the gardening technique of covering ground with an opaque tarp to kill what’s under it. University of Minnesota Extension says “Occultation typically requires at least four weeks to be effective,” and grows more effective “up to about six weeks” (UMN Extension, Solarization and occultation). University of Maryland Extension, describing turf removal under a cover, says “It may take 6-8 weeks for the turfgrass to die and begin to decompose, depending on the temperature and weather conditions” (UMD Extension, Lawn and turfgrass removal methods). Tough perennial grasses take far longer: in Virginia Tech’s tarping trials, bermudagrass “was killed 14-16 weeks after tarping” (Virginia Cooperative Extension, SPES-616NP).
A month-long October display sits right at Minnesota’s four-week mark. Our practice, from those numbers:
- Build mounds late. Put a mound in place for the last two weeks, not the whole season.
- Lift flat pieces weekly. A plywood ledger stone, a foam base or a tarp under a mound should come up once a week so the grass sees light.
- Use a planting bed if you have one. A mound or hollow in a mulched bed beside the lawn costs nothing to the grass.
A fresh mound: our method
Heap a grave-sized pile of bagged leaves or crumpled cardboard, about 6 feet long and 2 to 3 feet wide, then cover it with a thin layer of dark garden soil or dark mulch. Make it higher at the middle than the ends and rougher than you think; freshly shoveled soil isn’t smooth. Keep it off the path so nobody steps into it in the dark.
A sunken grave: our method
You can’t dig a hollow into a lawn you want to keep. You can fake the edge. Rake a low lip of leaves or mulch around a grave-sized rectangle in line with the headstone and footstone, leaving the middle clear, so the middle reads as lower. From the sidewalk at night, with the light low and to one side, the lip throws a shadow that reads as a depression.
Half-buried and fallen stones
A marker that fell and was slowly covered by eroding soil is one of the possibilities the Newtown nomination raises for its unmarked graves, and probing at some of them suggests a stone below. Lay a small, weathered stone flat on the ground at the uphill end of a grave and heap a little soil or mulch over its lower edge. It makes the rest of the graveyard look older than any paint job.
Brief 48 adds another real detail: “Gophers and other burrowing animals produce uneven ground and holes that are trip and falling hazards to visitors” (NPS Preservation Brief 48, p. 14). The same warning applies in your yard. Suggest a burrow with a dark, flat disk of painted foam or a pile of loose soil, never a real hole where someone can step.
Ground Breakers on the Right Grave
A figure clawing out of the ground belongs on a grave that has settled: level ground or a hollow, not a fresh heap. Stage it where the body would lie, between the headstone and the footstone, with the head toward the stone.
- The figure. Only the torso, arms and head need to show. Corpse a store skeleton first with our corpsing lesson, and bury the rest under leaves.
- The soil line. Paint the soil-splash band from Part 3 on the nearby headstone, and scatter a little loose soil on the grass around the figure, as if it were thrown up from below.
- Anchor it. A landscape staple over the pelvis, pushed flush into the lawn under the leaves, as the graveyard guide describes for skeletons.
Setting Stones the Conservators’ Way
The National Park Service’s Brief 48 describes how cemetery conservators reset real stones. Several of its rules carry over to foam.
Hand-tamp, and drain the hole. “Soil at the bottom of the hole should be compacted by hand, not with a power tamper. In most cemeteries, crushed stone or sharp pea-size gravel mixed with angular sand can be used to line the hole and then hand-tamped around the stone after it is placed in the hole. The gravel helps facilitate drainage and keeps the stone from settling” (p. 16). Applying that to the graveyard guide’s PVC sleeve is our idea, not the Park Service’s: a sleeve set in bare soil fills with water in a rainy week. Put an inch or two of gravel in the bottom of the hole before the sleeve goes in, and tamp gravel and soil around it by hand.
Never concrete. Brief 48 is blunt: “Markers should not be set in concrete.” For a foam stone, a concrete footing is also permanent, which makes November 1 harder.
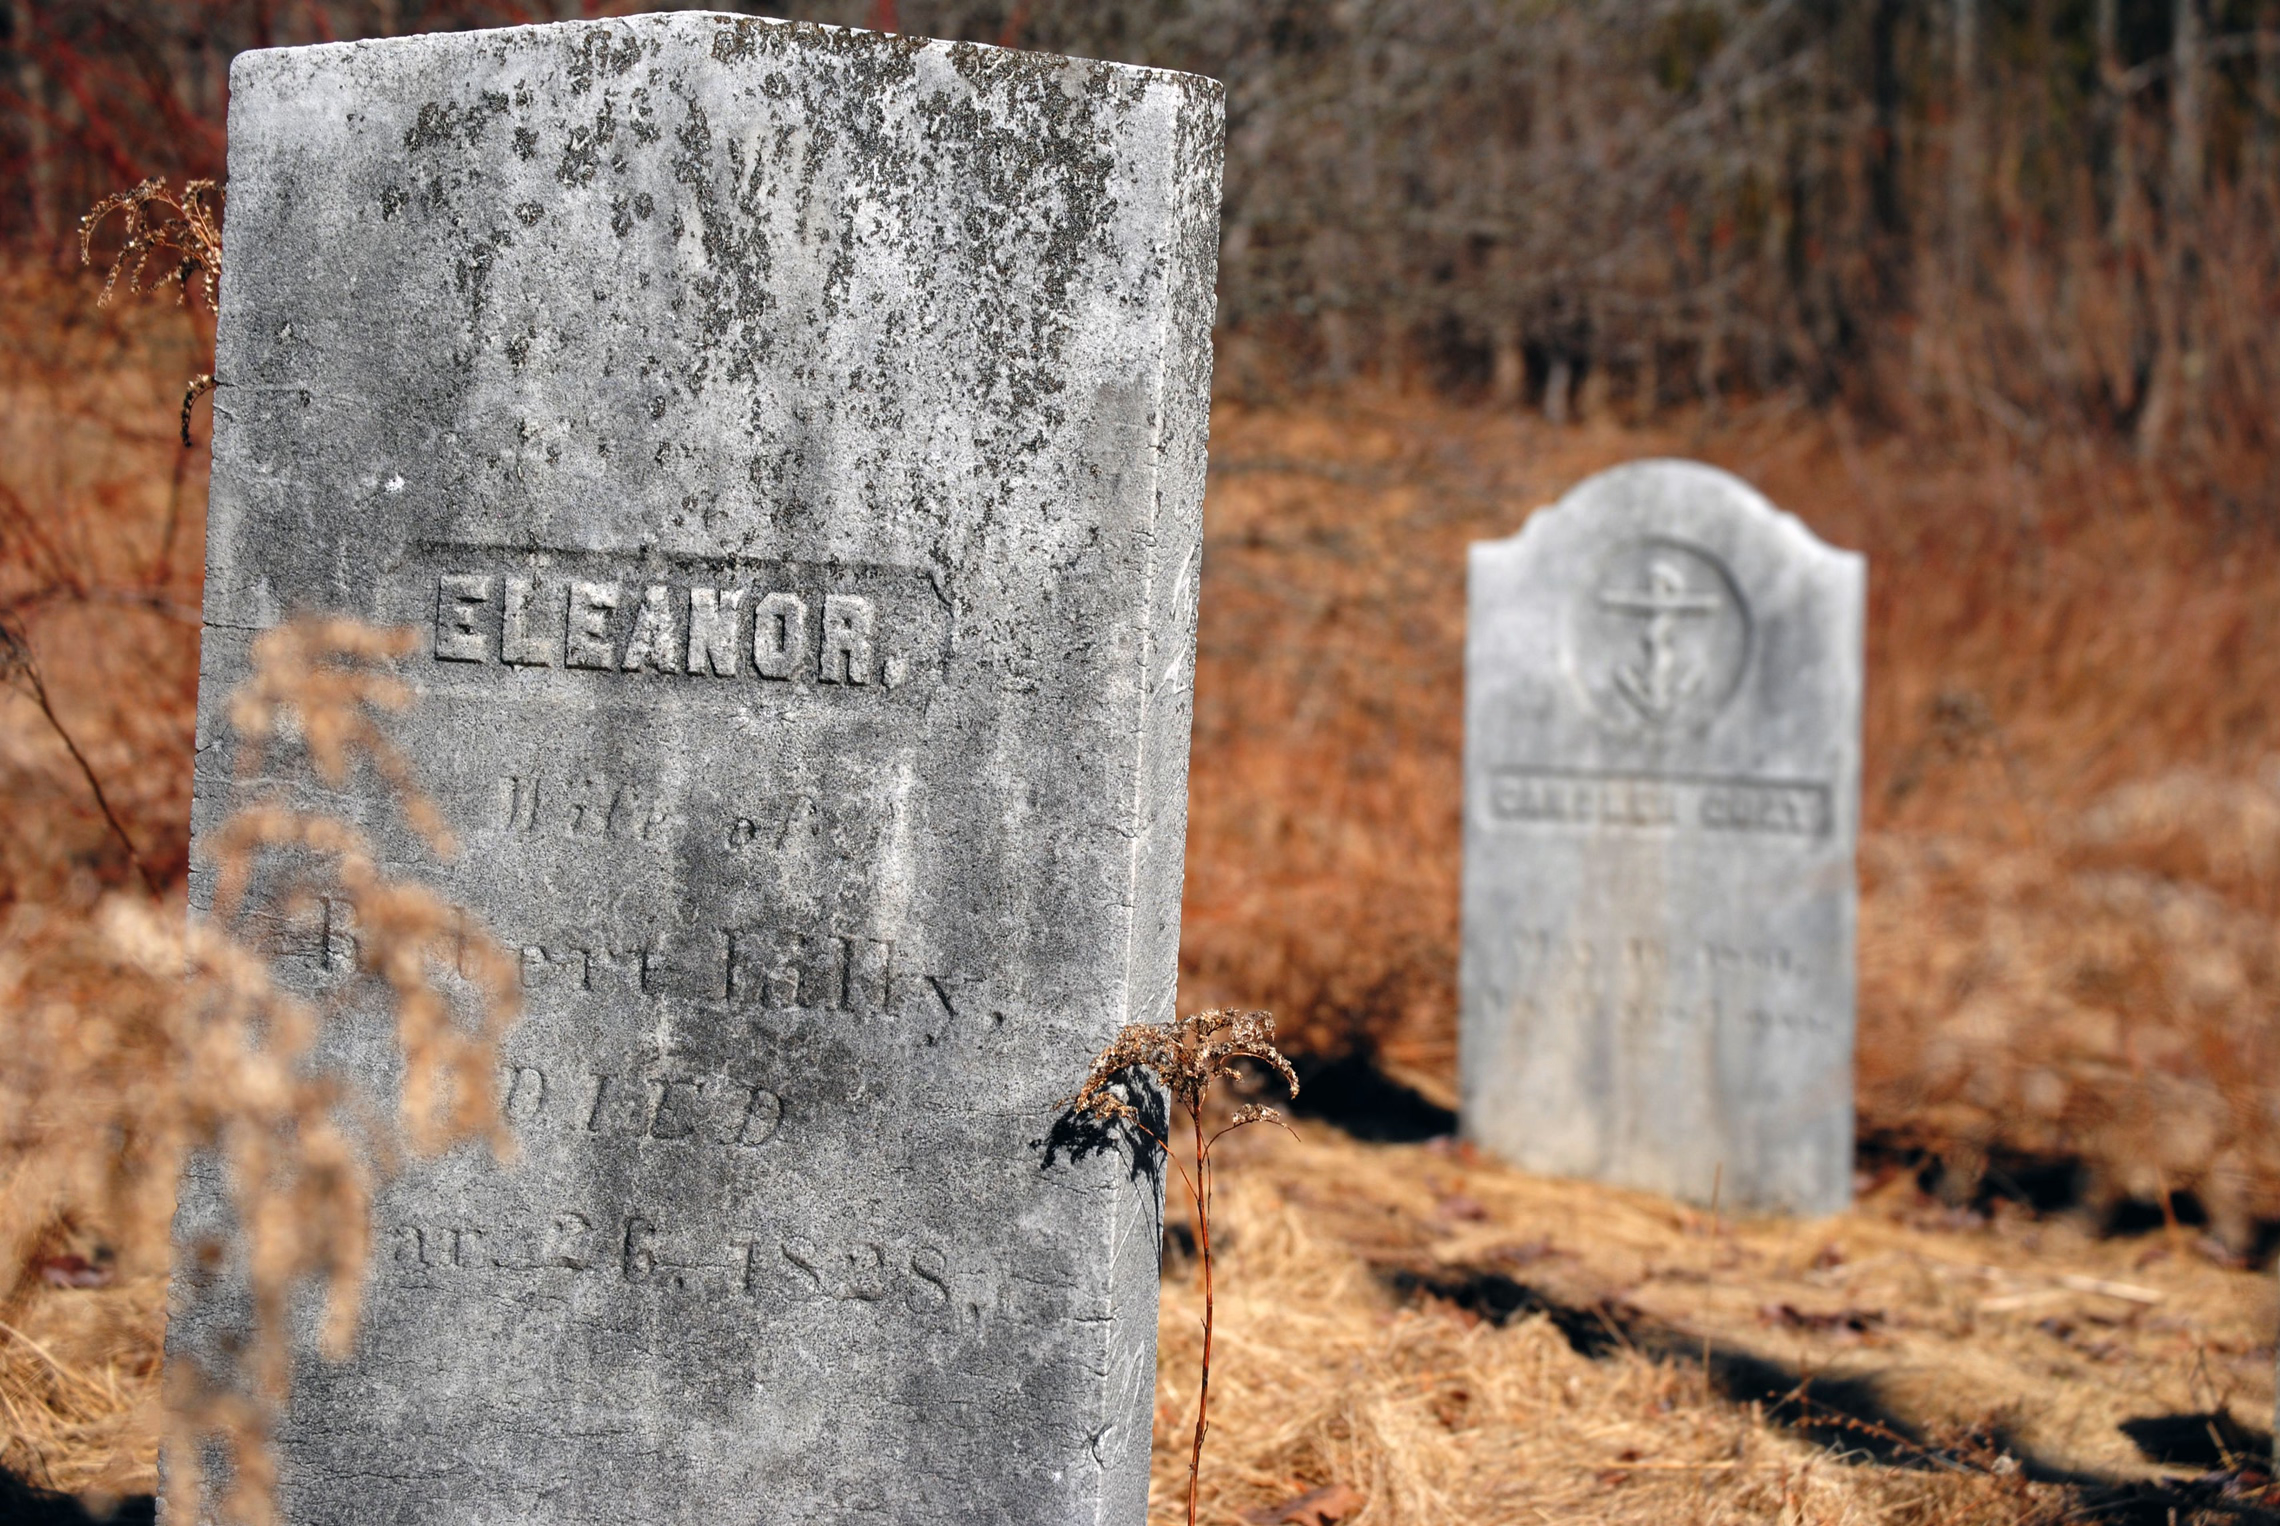
Ground-supported stones. “Ground-supported stones are a common type of historic grave marker. This type includes the traditional New England slate and brownstone markers” (p. 15). A colonial stone should rise straight out of the grass with no visible base. Bury the bottom few inches, as the graveyard guide suggests, and let the grass meet the stone.
Slotted bases. For a Victorian stone, copy the tab-and-slot marker, where “the tabbed upper stone was set in a slotted base” (p. 2). Cut a thick foam base with a slot, glue a tab on the bottom of the stone, and run the stone’s post down through the slot into the sleeve. The base hides the sleeve and the gap around the post. Brief 48 notes that “Many bases were intended to sit flush on grade while some were set a few inches below ground” (p. 16), so either height is accurate. Lift a base weekly if it sits on grass.
Level is a choice. Brief 48’s goal for a reset stone is that it be “level and plumb.” A leaning stone is one nobody has reset. Lean a few, deliberately, and keep the stones by the sidewalk upright so none can tip onto a visitor.
What not to copy
One builder in Hot Wire Foam Factory’s gallery drills “a 1/2-inch hole in the base of the tombstone” and says “I hammer a rebar pole into the yard which fits into the 1/2-inch hole in the base of the tombstone. This keeps it from falling over in the wind” (Hot Wire Foam Factory gallery, Cemetery Haunt Props). It holds the stone, but when a stone blows off, the rebar is left standing in a dark yard. The graveyard guide covers the OSHA drop tests showing that plastic rebar caps don’t prevent impalement. Use a flush sleeve instead. Our weatherproof decorations guide covers guy lines for tall stones.
Light the Ground, Not Just the Stone
National Register Bulletin 41 advises photographing grave markers “from near surface level” when “the high contrast of light and shadow” brings out inscriptions and relief (NPS, National Register Bulletin 41). The same low, raking angle shows the ground. A light set a few inches above the grass and off to one side throws shadows across a sunken grave’s lip, a fresh mound’s rough soil and a ground breaker’s arms. Our outdoor lighting techniques lesson covers fixtures and placement, and the yard haunt planner lays out graves, paths and power runs before you set a single sleeve.
Put It to Work
How to Build a Front-Yard Graveyard That Looks Genuinely Old
Foam tombstones that survive October, paint that won't melt them, anchoring that won't impale anyone, and the lean and clutter of a real colonial burying ground.

Mannequins and Dressed Props: How to Make a Figure Look Real
Store mannequins, dress forms, skeletons and PVC frames compared, plus padding a tiny display body into real clothes, heads and hands, Rit dye by fiber, painting plastic, blood on fabric, lighting a face and keeping a dressed figure alive outdoors.

How to Build a Pirate Cove Yard Haunt
A skeleton crew, a wrecked bow, a smoking cannon and a lit treasure chest: where the pirate look really comes from, what the Dead Water ship's manual forbids, how to duct fog into a cannon, LED-only lanterns, a blue sea without water, and shanties that aren't pirate songs.